14
❑
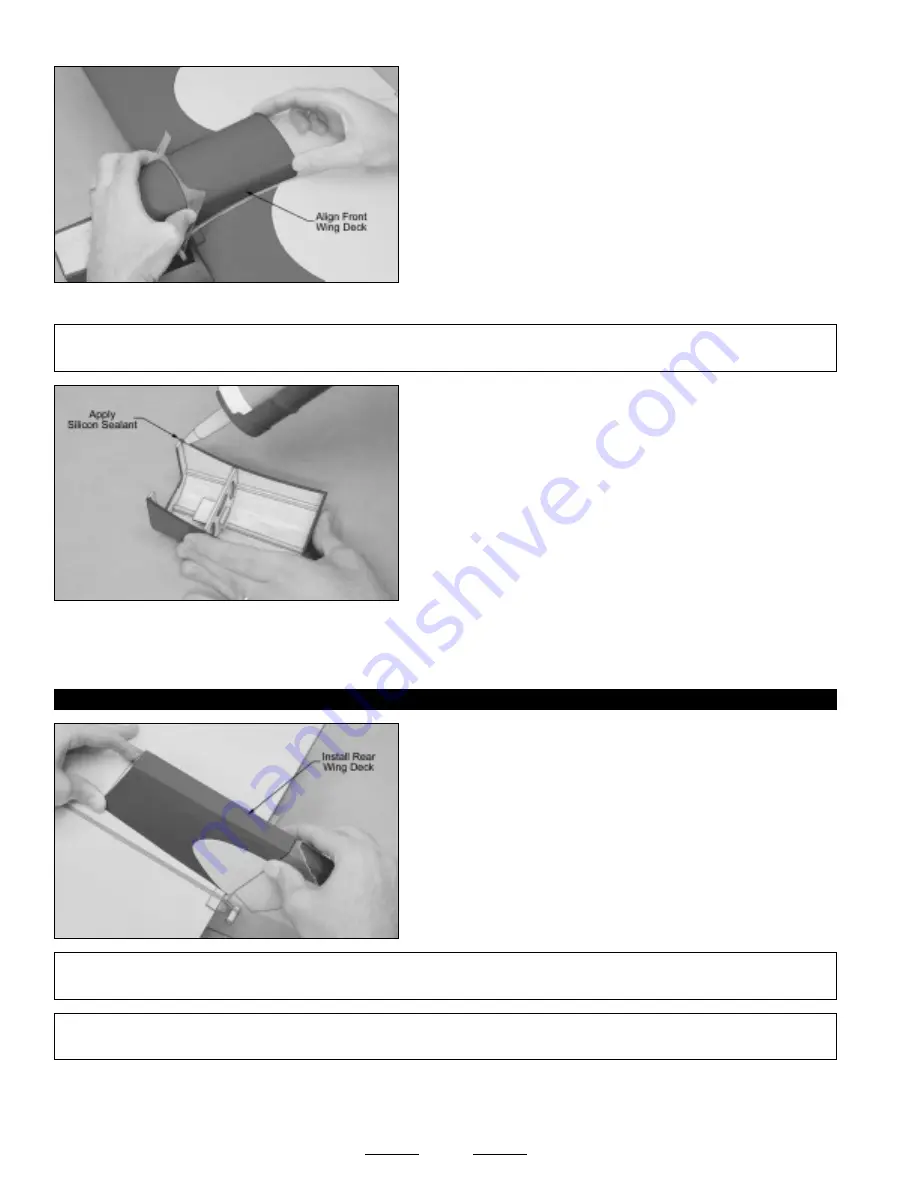
Install the wing, making sure that it's centered and pushed as far
forward as possible. Position the front wing deck onto the wing. When
lined up properly, the sides and top of the wing deck should be even
with the sides and top of the fuselage, and there should be few or no
gaps between the base of the wing deck and the wing.
☞
Some small gaps between the base of the wing deck and the wing
are normal. They will be filled with silicon when the wing deck is glued
into place.
❑
Apply a generous bead of silicon sealant to the base of the front
wing deck, making sure that you cover all of the gluing surfaces. This
includes not only the sides of the wing deck, but the front and back, too.
☞
Make sure to use enough silicon sealant to fill any small gaps or
irregularities in the glue joint.
❑
Set the front wing deck back into place and realign it. When satisfied with the alignment, push the wing deck down firmly
and remove any excess silicon sealant, using a paper towel and water. Hold the wing deck securely in place, using pieces of
masking tape.
STEP 2: INSTALLING THE REAR WING DECK
❑
Use the same procedures in the previous step to align and install the
rear wing deck. When lined up properly, the sides and top of the wing
deck should be even with the sides and top of the fuselage, and there
should be few or no gaps between the base of the wing deck and
the wing.
☞
Notice that the back edge of the rear wing deck overlaps the trailing
edge of the wing.
✦
✦
✦
✦
✦
IMPORTANT
✦
✦
✦
✦
✦
It will take the silicon sealant about 24 hours to fully cure. We suggest not moving the assembly during this
time. You must allow sufficient time for the silicon sealant to dry.
❑
After the silicon sealant has fully cured, look carefully at the glue joints between the front and rear wing decks and the wing. If
there are any gaps in the glue joints, carefully fill them using extra silicon sealant, making sure to remove any excess before it cures,
using a paper towel and water. This will ensure the strongest possible bond.
✦
✦
✦
✦
✦
IMPORTANT
✦
✦
✦
✦
✦
So that the wing can be installed and removed, there should be a narrow gap between the fuselage and the
back of the wing deck.
☞
You may need to spread the rubber bands out slightly, so that they don't interfere with the installation of the wing deck.
✦
✦
✦
✦
✦
IMPORTANT
✦
✦
✦
✦
✦
So that the wing can be installed and removed, there should be a narrow gap between the fuselage and the
front of the wing deck.


