


4 / 5
Doc ID --197 • REV 05
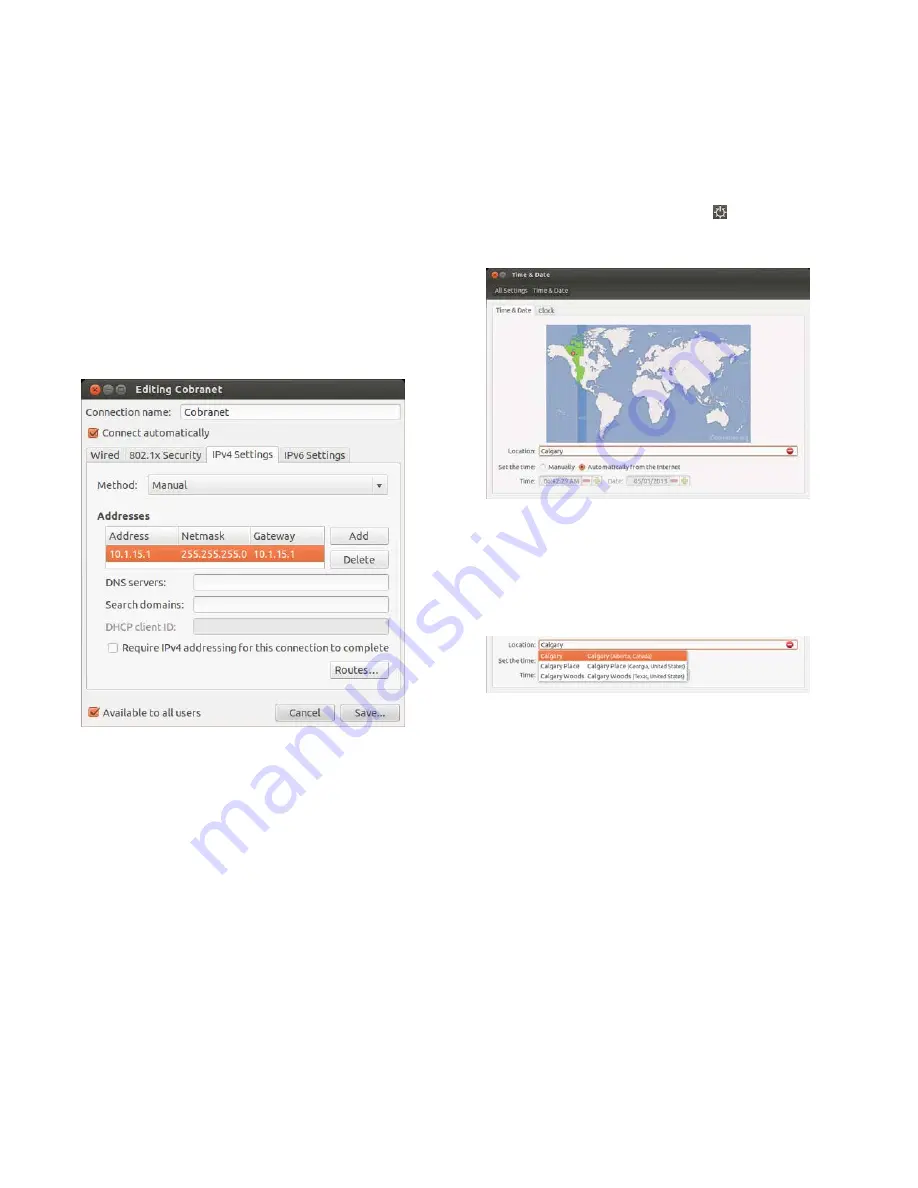
3. In the Addresses section, add the information for Address,
Netmask and Gateway fields.
Note:
The field will be red while editing. When you enter a
correctly formatted IP address, it will turn green.
4. Validate the correct DNS information for your client’s
Internet connection, and then in the DNS servers field,
enter the DNS information in the following format.
<ipaddress>comma<ipaddress>
Example:
8.8.8.8,8.8.4.4
5. Click Save.
To set up a static CobraNet connection:
1. In the Method field, click the drop-down arrow, select
Manual from the list, and then click Add.
2. In the Addresses section, add the information for Address,
Netmask and Gateway fields.
3. DNS entries are not needed for CobraNet, so leave the
DNS servers field blank.
4. Click Save.
5. Click Close.
6. Reboot the CH-OS-L device by selecting the Power Gear
icon in the upper right hand corner of the screen, and then
select Restart.
7. When the system reboots, open your browser and
navigate to a site to validate Internet connectivity, such as
Yahoo, Google, etc.
Changing the time zone
Your ClareHome CH-OS-L controller comes preloaded with the
Ubuntu operating system and is preset to the Eastern Time
zone. If you are installing your CH-OS-L controller in a different
time zone and you wish to change the system time and date,
follow the directions below.
To change the time zone:
1. From the desktop, click the Gear icon in the upper-right
corner, select System Settings from the drop down menu,
and then click the Time and Date icon.
2. Click the Time & Date tab, if it is not already selected.
3. In the Location field, type the name of your city, or the
name of a large city in your time zone, where you are
installing the CS-OS-L.
As you type, the system displays a list of matching cities.
4. Choose your city from the list.
Notice that the system highlights the time zone on the map and
pinpoints the selected city.
Setting the time and date
The system gives you two options for setting the time and date,
Manually or Automatically from the Internet. We recommend
that you select Automatically from the Internet to sync the clock
with your Internet server clock.
To set the time and date automatically:
1. Click Automatically from the Internet.
The system searches the Internet and automatically sets
the time and date for your city.
2. Reboot the CH-OS-L to sync the local time setting with the
ClareHome services.


