3 - 20
3.5
Setting Additional Controls
There are a few more controls that you will set once and probably never change again. Or you may
use them for testing. Most of these are available through the main menu, but Monitor Select and ID
have exclusive buttons of their own.
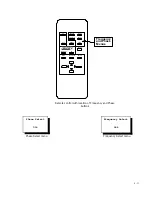
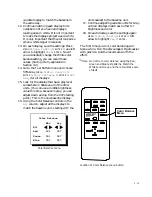
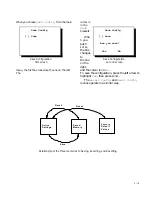
MON SEL
is a special button on the remote, and it
means Monitor Select. It is used to turn off the
display’s ability to respond to all other remote
control commands. When you try to control one
display with the remote, it sometimes happens
that the neighboring displays respond to the IR
signals, too, especially if you are some distance
from the units. Infra-red radiation is not focused
like a laser beam; it spreads out.
To handle this situation, use the
MON SEL
(then
ENTER
) on all the units you
don’t
want to
control. This prevents these units from
responding to all remote commands
except
another
MON SEL
command, which opens this
menu again.
In some environments there is stray infra-red
radiation which can cause the units to
misbehave. Use
MON SEL
to counteract this.
MON
SEL
has no effect on the reception of RS232
commands.
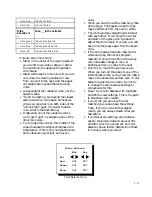
ID
is another special button, a command which
does not appear in the main menu. This
displays the unit’s Group ID and Unit ID
numbers. In this menu, you can set the Group
and Unit ID numbers with the left and right
arrow keys.
The two ID settings identify the display unit
for RS232 commands. Group and Unit are hex
numbers ranging from 0 to F (0 to 15 decimal).
Normally, all displays in one banner will have
the same Group number, and the Unit numbers
will start with 0 at the left end and increase to
the right, like reading (in western cultures).
To change the Group and Unit
numbers,
press
ID
on the remote control, and highlight
either number. Then use the left/right arrow
buttons to change it.
The ID values are saved and recalled when
you Save and Recall Settings (see page 3-18).
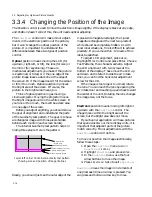
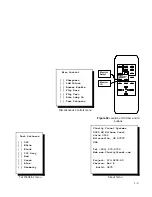
In the
Misc Control
menu, you will find the
following special controls:
Sharpness
should always be on. If the box is
not checked, the video goes through a low-pass
filter, softening the image. Sharpness
must
be
on to set Frequency and Phase.
16M Colors
, when checked, means the system
uses 16 million colors; otherwise it uses 256
thousand colors.
Buzzer Enable
turns on (or off) the beep you
hear when a remote control command is
received. The triple beep, which means a
command was received but will not be executed,
is not affected; they are always audible. You
might hear a triple beep when you try to turn
the display on and the lamp access door is open.
The interlock is open and the lamp won’t light.
Flip Horz
and
Flip Vert
reverse the image .
Auto Lamp On
is the normal state. It means
the unit will try to turn on the lamp (strike the
lamp) after the electronics module gets power
(and after some initialization procedures and a
short delay time). If this box is not checked, the
electronics module goes into a STBY mode, the
STANDBY
LED stays on, and the unit waits for an
On command. When you select
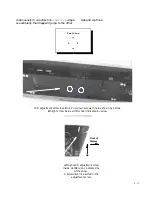
Test
Patterns
and press
ENTER
, the Test Patterns
menu appears. These are all internal test
patterns, which cannot be used for Frequency,
Phase or Black or White Level adjustments. Be
sure to set Test Patterns to
Off
when you are
through testing. The
About
item in the main
menu opens a general information screen giving
the name and address of the manufacturer and
some factory information about the firmware
version.
Summary of Contents for Leopard VN-3820-VA
Page 1: ...Leopard VN 3820 VA User Guide ...
Page 2: ......
Page 3: ...VN 3820 VA VN 3830 VA User s Guide 070 0032 06 7 October 2003 ...
Page 8: ...vi vi ...
Page 14: ...1 6 ...
Page 28: ...2 14 ...
Page 52: ...3 24 ...
Page 57: ...4 5 Don t spray liquids directly onto the face of the screen ...
Page 58: ...4 6 ...
Page 63: ...5 5 ...
Page 66: ...5 8 ...
Page 84: ...6 18 ...
Page 91: ...6 25 Bottom view showing measured locations of parts ...
Page 95: ...6 29 ...
Page 99: ...6 33 ...
Page 101: ......

