AIR SUPPLY
WARNING!
Compressed air can be dangerous. Ensure
that you are thoroughly familiar with all
precautions relating to the use of
compressors and compressed air supply.
Tools of this type, operate on a wide range of air pressures. It is recommended that air
pressure be set to between 50 and 1l0psi. at the tool when running.
Higher pressure and unclean air will shorten the tools’ life because of faster wear, and could
be a safety hazard.
Water in the air line will cause damage to the tool, ensure it is properly maintained at all
times.
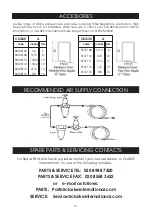
The recommended procedure to connect this tool to an air supply, is shown on page10.
The air inlet used for connecting air supply, has a standard 1/4” BSP thread.
Line pressure, or hose ID., should be increased to compensate for unusually long air hoses
(over 10M). Minimum hose dia. should be 6mm (1/4”) ID., and fittings should have the same
inside dimensions.
ASSEMBLY and
OPERATION
Ensure the Stapler is not loaded, then, with the air supply turned OFF, connect the air line to
the 1/4” BSP connector. (A Whip Hose with Quick Fit coupling is available from your Clarke
dealer)
5
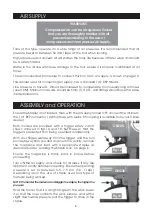
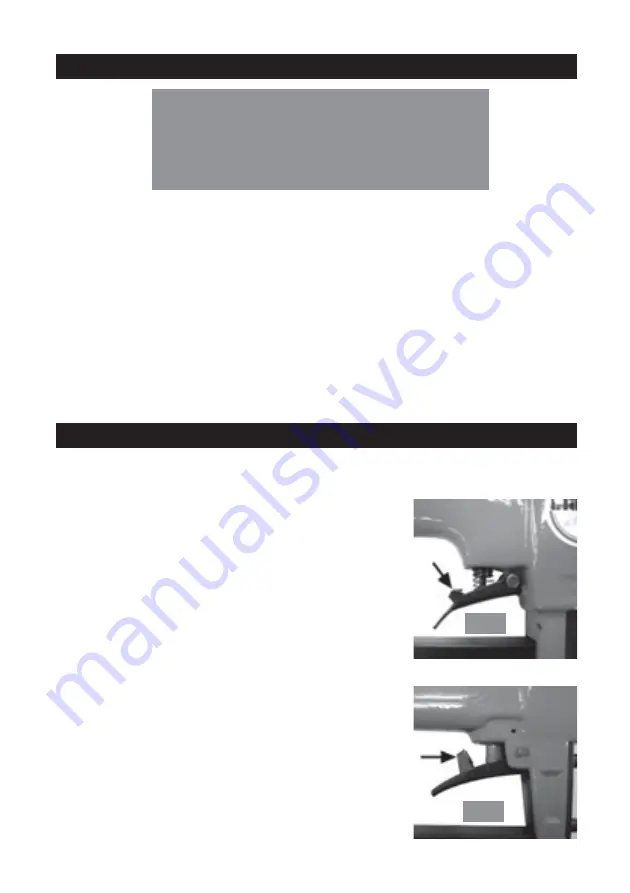
Both models are provided with a trigger safety catch,
shown arrowed in figs 1A and 1B. Set these so that the
trigger is prevented from being operated accidentally.
With your fingers well away from the trigger, and the tool
pointed away from you and anyone in the vicinity, remove
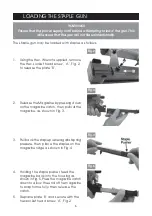
the magazine and load with appropriate staples as
described under ‘Loading the Staple Gun’ on page 6.
Ensure the magazine is firmly back in place before
proceeding
Turn ON the air supply, and check for air leaks. If any are
apparent, rectify before proceeding. Ensure the operating
pressure is set to between 3.5 -7.5 bar (50 - 110psi,
depending upon the size of staple used and type of
material being worked.
NOTE: The harder the material, and bigger the staple, the higher the
pressure.
Hold the tool so that it is at right angles to the work. Lower
it so that the nose contacts the work surface, and with a
slight downwards pressure, pull the trigger to drive in the
staple.
Fi
g.1A
Fi
g.1B
CSG2K
CSG3K
Summary of Contents for 3110258
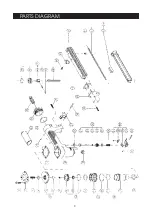
Page 9: ...PARTS DIAGRAM 9...


