


9
Parts & Service: 020 8988 7400 / E-mail: Parts@clarkeinternational.com or Service@clarkeinternational.com
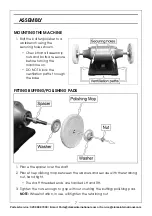
REPLACEMENT POLISHING MOPS
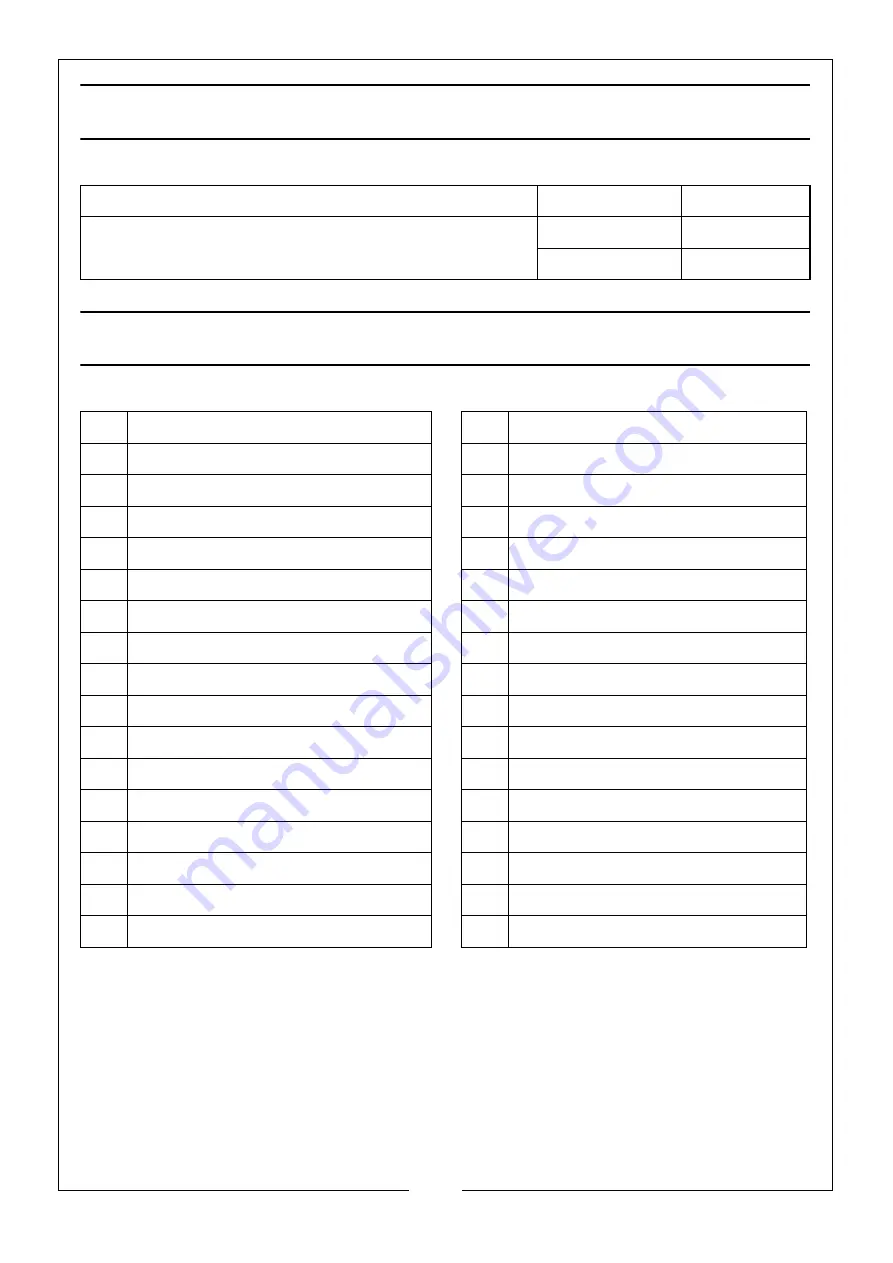
COMPONENT PARTS
TYPE
PART No
150 mm REPLACEMENT POLISHING MOPS
OPEN
6500486
STITCHED
6500487
1
Nut M12 (Left-hand tread)
18
Power cable gland
2
Retaining disc
19
Switch
3
Less thread buffing wheel
20
Philips screw M5x8
4
Spacer bush
21
Switch board
5
Nut M5
22
Base
6
End cap
23
Nut M8
7
Corrugated retainer
24
Capacitor bracket
8
Bearing 6202
25
Capacitor
9
Power cable & plug
26
Philips screw & washer M6x20
10
Rubber sleeve
27
Base plate
11
Multi-wire cloth buffing wheel
28
Rubber foot
12
Rotor
29
Philips screw & washer M4x12
13
Nut M12
30
Cable clip baseplate
14
Stator
31
Philips screw M6 x 16
15
Philips screw & washer M5x200
32
Strain relief baseplate
16
Ext tooth lock washer
33
Strain relief plate
17
Philips screw & washer M4x8
Summary of Contents for 6500485
Page 12: ......


