O
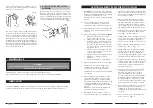
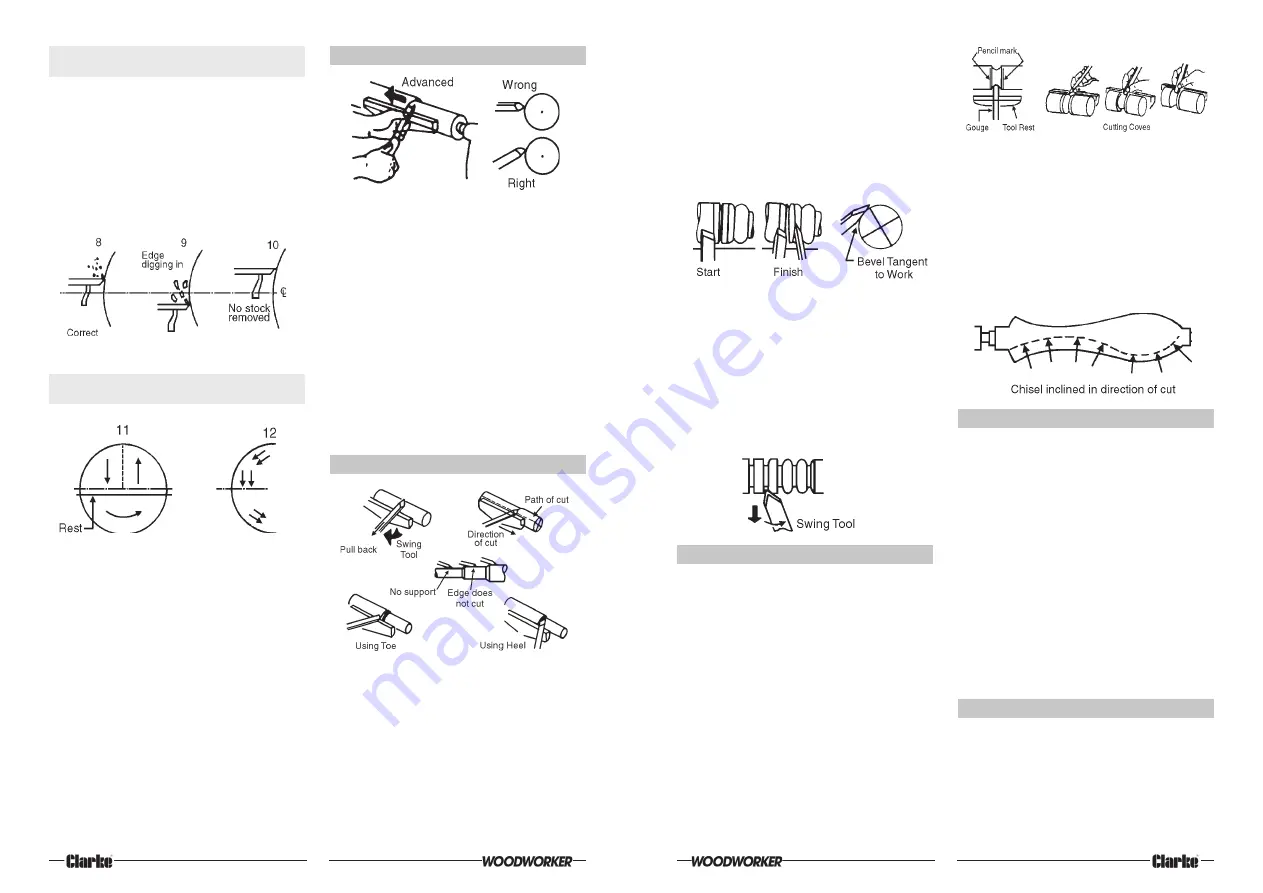
2.4 How to Position Tool Rest for
Circumference Scraping
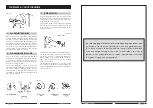
In scraping operations, the tool rest position is
not as critical as it is for cutting operations. The
chisel generally is held horizontally, though it can
be held at an angle to reach into tight places.
Considering that the wire edge of the chisel
does the scraping, sketches 9 and 10 show the
results of too low or too high a position for the
rest, and sketch 8 shows the chisel action with
the rest correctly positioned.
3. USING THE GOUGE
14
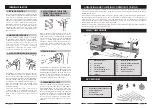
2.5 How to Position Chisel and Rest for
Diameter Scraping
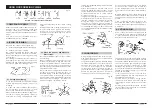
When scraping on the diameter, that portion of
surface to the right of centre is moving upwards
(Sketch 11). If the chisel is placed in this area, it
will simply be carried up off the rest and out of
your hands. All diameter scraping operations
must be done at the left of centre.
Three different chisel contact points are shown
in Sketch 12. It will be noted that, when the chisel
is above the workpiece centre, or below it, the
work surface sweeps past the chisels’ edge at
an angle and tends to carry the chisel in one
direction or the other along the rest. Only when
the chisel contacts the work on the centre line
does the work surface pass squarely under the
chisels edge. This then, is the position in which it
is easiest to hold the chisel steady. To obtain
this position, place the rest approximately 1/8"
(3mm) - thickness of chisel, below the centre.
Three gouges the 1/4”, 1/2”, and 3/4” are ample
for general DIY turning, but other sizes from 1/8”
to 2” can be purchased.
The main use of the gouge is for rough
circumference cutting of raw stock down to a
cylinder of working size. it is the best tool to use
for rapidly cutting away large areas of the
workpiece, but when so used does not produce
a smooth surface. With practice, it can be used
for cutting coves and the shaping of long cuts.
It is also useful for scraping.
When used for cutting, the gouge is always held
with the convex side down. It should be rolled
approximately 30
°
to 45
°
in the direction in which
it is being advanced along the rest, and the
cutting edge will be a little in advance of the
handle.
4. USING THE SKEW
Two skews, the 1/2 and 3/4” sizes, are all that
are needed for general use. Other sizes are
available. This tool is nearly always used to make
finished cuts, to cut vees and beads, and to
square shoulders. Properly used, it produces the
best finish that can be obtained with a chisel. it
should not be used for scraping, as this quickly
dulls it.
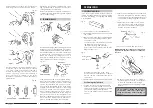
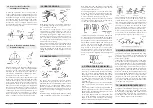
For finish cutting, the skew is held with the cutting
edge considerably in advance of the handle,
Fig. 15
Fig. 14
Now draw the skew straight back whilst raising
the handle slowly, until the edge of the heel at
the pencil line starts to cut.
As the edge begins to cut, roll the skew in the
direction of the vee, so that the exact portion
of the edge, when started cutting, will travel in
a 90° arc down to the bottom of the vee.
Upon reaching the bottom of the vee, the skew
should be on edge. Reverse the movements to
cut the side of the adjacent bead.
It is important that only the extreme heel should
do the cutting. This means that the bottom edge
of the bevel, next to the vee, must at all times
be tangent to the arc of the bead being formed.
Easier beads can be shaped with a spear point
chisel. Use pencil marks and sizing cuts as
before. Push the chisel straight into each cut
and rotate it horizontally to round off the
adjacent edges. It must be moved slightly in
the direction of rotation at the same time, to
keep the point from digging into the adjacent
bead.
8. CUTTING COVES (CONCLAVES)
This is the most difficult single cut to master, but
one of the most important in good wood turning.
First, use pencil marks to indicate the edges.
Then rough-it out to within about 3mm of the
desired finish surface by scraping with the gouge
or round nose chisel. If the cove is to be very
wide, sizing cuts can be made to plot the
roughing out.
Once it is roughed out, the cove can be finished
in two cuts, one from each side to the bottom
centre.
At the start of either cut, the gouge is held with
handle high and the two sides of blade held
between the thumb and forefinger of tool rest
hand, just behind the bevel.
Position the fingers ready to roll the blade into
cove. Hold the blade so that bevel is at a 90°
angle to the work axis, with the point touching
the pencil line and pointing into work axis.
From here, depress the tip slightly to start the cut,
then continue to move tip down in an arc
toward the bottom centre cove, at the same
time rolling chisel uniformly so that at the end of
the cut it will be flat at the bottom of the cove.
The object is to keep the extreme tip of the
gouge doing the cutting from start to finish.
Reverse movements to cut the opposite side.
Coves can be scraped to finish using the round
nose chisel or a file, but these methods do not
generally produce perfectly curved coves.
9. MAKING A LONG CONVEX CUTS
First turn work down to approximate size, using
sizing cuts (as required) to determine various
diameters. Finish cut can then be made with
either skew or gouge.
If the skew is used, the principles of operation
are the same as those employed in cutting a
bead, except that the curve is longer and may
be irregular. Use the extreme heel throughout.
Start at the longer end of the curve (if curve is
irregular) and progress toward the steeper end.
If a gouge is used, make the cut in the same
direction. Start with the handle well back from
the point, swinging it in the direction of tool travel
to overtake the point, if necessary, when the
steep part of the curve is reached. The object is
to keep the extreme point doing the cutting
throughout, with the bevel at a tangent to the
curve as much as possible.
10. MAKING LONG TAPER CUTS
Long taper cuts are made like long convex cuts,
with the skew or gouge. However, the angle
between the cutting edge and handle is kept
constant during the entire cut. The handle is
not swung around. Always cut downhill. Do not
cut too deeply at the centre of the taper.
19
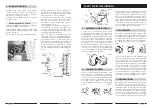
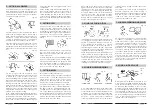
Fig. 34
Fig. 33
Fig. 32
Fig. 31


