Service Manual-CA60 24-Electrical System
41
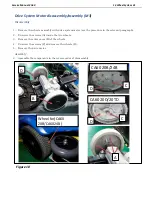
Battery charger disassembly/assembly
Disassembly
1.
Drain the recovery tank.
2.
Turn the ignition key to “0” and remove it.
3.
Make sure that the machine cannot move independently.
4.
Turn the recovery tank sideways, then disconnect the battery connector.
5.
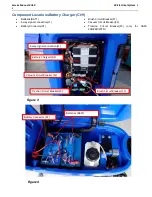
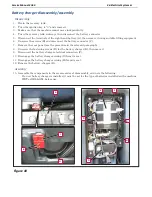
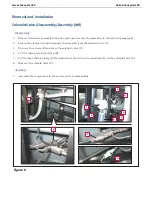
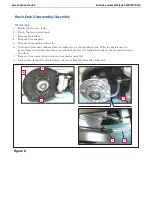
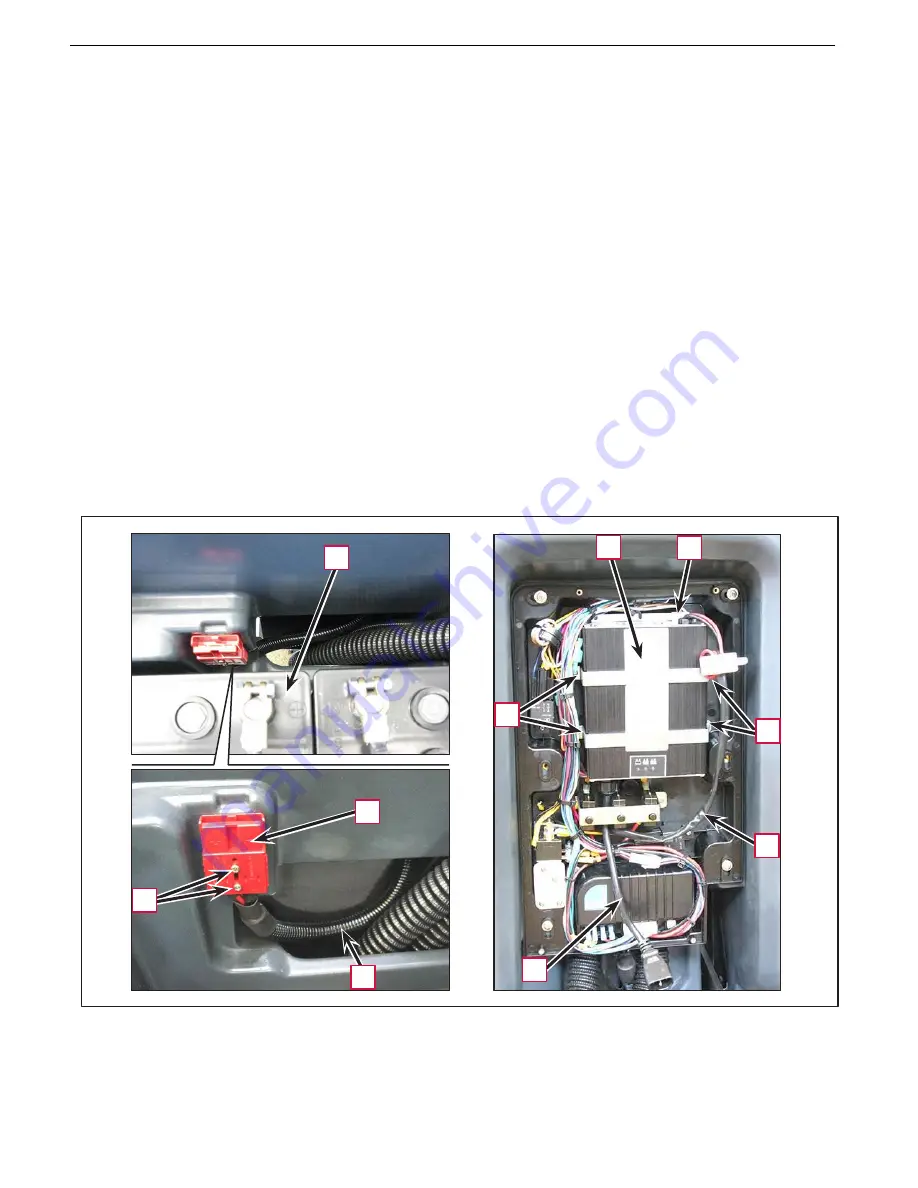
Disconnect the terminals of the right-hand battery (A), then remove it using suitable lifting equipment.
6.
Unscrew the screws (B) and disconnect the battery connector (C).
7.
Remove the rear panel (see the procedure in the relevant paragraph).
8.
Unscrew the fastening screws (D) for the battery charger (E), then move it.
9.
Disconnect the battery charger electrical connection (F).
10.
Disengage the battery charger wiring (G) from its seat.
11.
Disengage the battery charger wiring (H) from its seat.
12.
Remove the battery charger (E).
Assembly
13.
Assemble the components in the reverse order of disassembly, and note the following.
•
If a new battery charger is installed, it must be set for the type of batteries installed on the machine,
WET or GEL/AGM, before use.
E
F
A
D
D
C
H
B
H
G
Figure 10
Summary of Contents for CA60 20B
Page 15: ...Service Manual CA60 03 General Information 12 Dimensions Continues CA60 20D CA60 20TD Figure 4...
Page 16: ...Service Manual CA60 03 General Information 13 Dimensions Continues CA60 20B Figure 5...
Page 17: ...Service Manual CA60 03 General Information 14 Dimensions Continues CA60 24B Figure 6...

