7
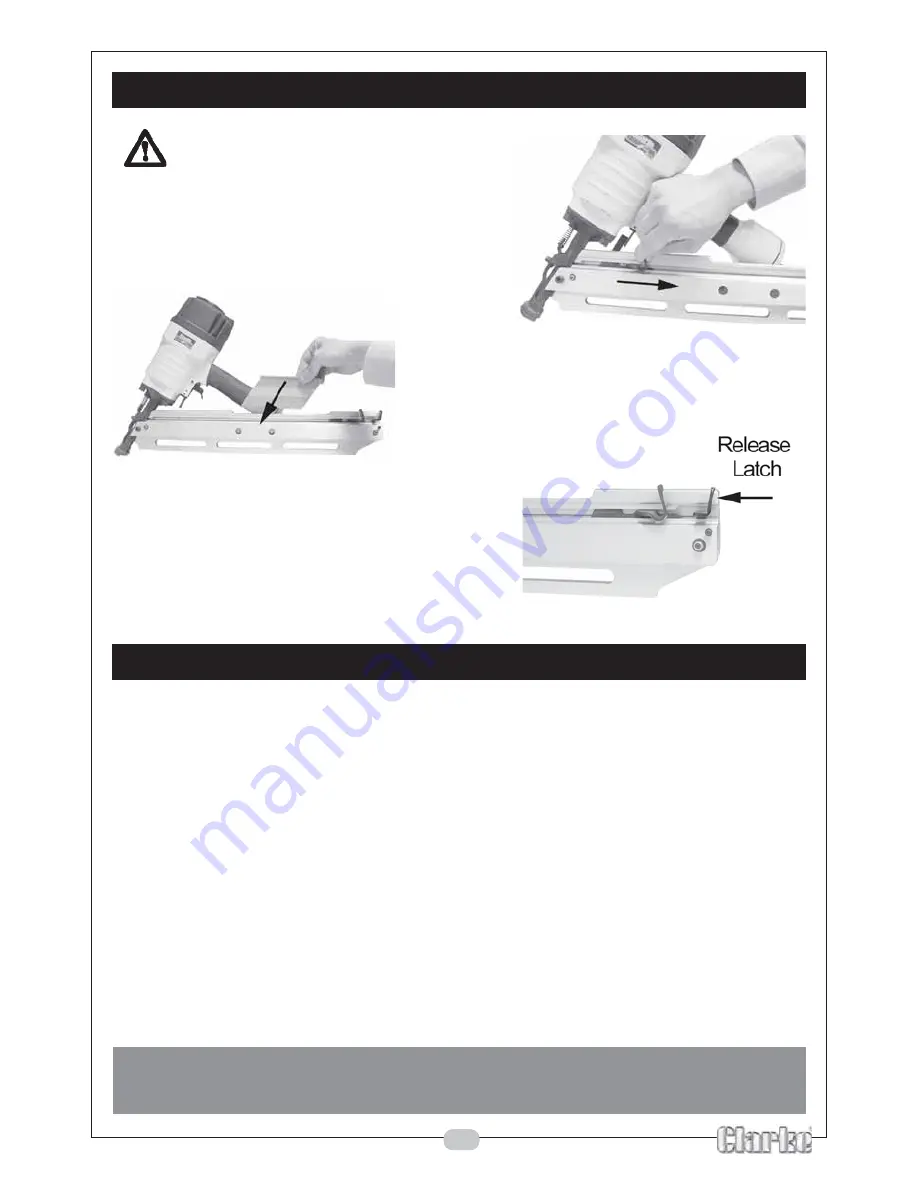
LOADING NAILS
Always disconnect the nailer from the air supply
before loading nails.
1.
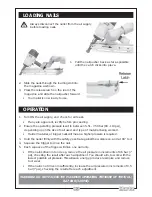
Pull the nail pusher back as far as possible
until the catch clicks into place.
2.
Slide the nails through the loading slot into
the magazine as shown.
3.
Press the release latch on the rear of the
magazine and slide the nail pusher forward.
•
Your nailer is now ready to use.
OPERATION
1.
Turn ON the air supply, and check for air leaks.
•
If any are apparent, rectify before proceeding.
2.
Ensure the operating pressure is set to between 5.51 - 7.58 bar (80 - 110 psi),
depending upon the size of nail used and type of material being worked.
•
Harder material, or bigger nails will mean a higher pressure is required.
3.
Hold the nailer firmly with the safety yoke flat against the workpiece, and at 90
o
to it.
4.
Squeeze the trigger to drive the nail.
5.
Each squeeze of the trigger will drive one nail only.
•
If the nail is driven in too deep, reduce the air pressure in increments of 0.5 bar (7
psi), checking the result after each adjustment. You should aim, to work with the
lowest possible air pressure. This will save energy, produce less noise and reduce
tool wear.
•
If the nail is not driven in sufficiently, increase the air pressure in increments of 0.5
bar (7 psi), checking the result after each adjustment.
WARNING! DO NOT EXCEED THE MAXIMUM OPERATING PRESSURE OF THE TOOL;
8.27 BAR (120 PSI).
Summary of Contents for Contractor CFN34
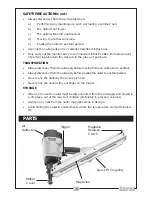
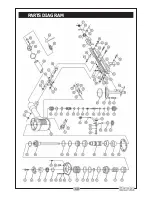
Page 10: ...10 PARTS DIAGRAM...


