background image

This machine must be wired up in accordance with the following colour code:

BLUE

-

NEUTRAL

BROWN

-

LIVE

GREEN/YELLOW

-

EARTH

Connect the BLUE coloured cord to the plug terminal marked “N”

Connect the BROWN coloured cord to the plug terminal marked “L”

Connect the GREEN/YELLOW coloured cord to the plug terminal marked “E”

If this appliance is fitted with a plug which is moulded on to
the electric cable (i.e. non-rewireable) please note:

1.

The plug must be thrown away if it is cut from the
electric cable. There is a danger of electric shock if it
is  subsequently inserted into a socket outlet.

2.

Never use the plug without the fuse cover fitted.

Fuse Rating

The fuse in the plug must be replaced with one of the same rating 

(13 amps)

 and this

replacement must be approved to BS1362.

If in doubt, consult a qualified electrician. Do not attempt any electrical repairs yourself.

Cable Extension

Always use an approved cable extension suitable for the power rating of this tool (see
specifications), the conductor  size should also be at least the same size as that on the
machine, or larger. When using a cable reel, always unwind the cable completely.

3.

Should you wish to replace a detachable fuse carrier, ensure that the correct
replacement is used (as indicated by marking or colour code).

4.

Replacement fuse covers can be obtained from your local dealer or most electrical
stockists.

IMPORTANT:

If a cable extension is needed, it is essential to comply with the following data.

Voltage

Extension length

Cable section

230v

Up to 20m

2.5mm

2

230v

From 20 to 50m

4mm

2

This product is provided with a standard 13 amp, 230 volt (50Hz), BS 1363 plug, for
connection to a standard, domestic electrical supply. Should the plug need changing at
any time, ensure that a plug of identical specification is used.

Electrical Connections

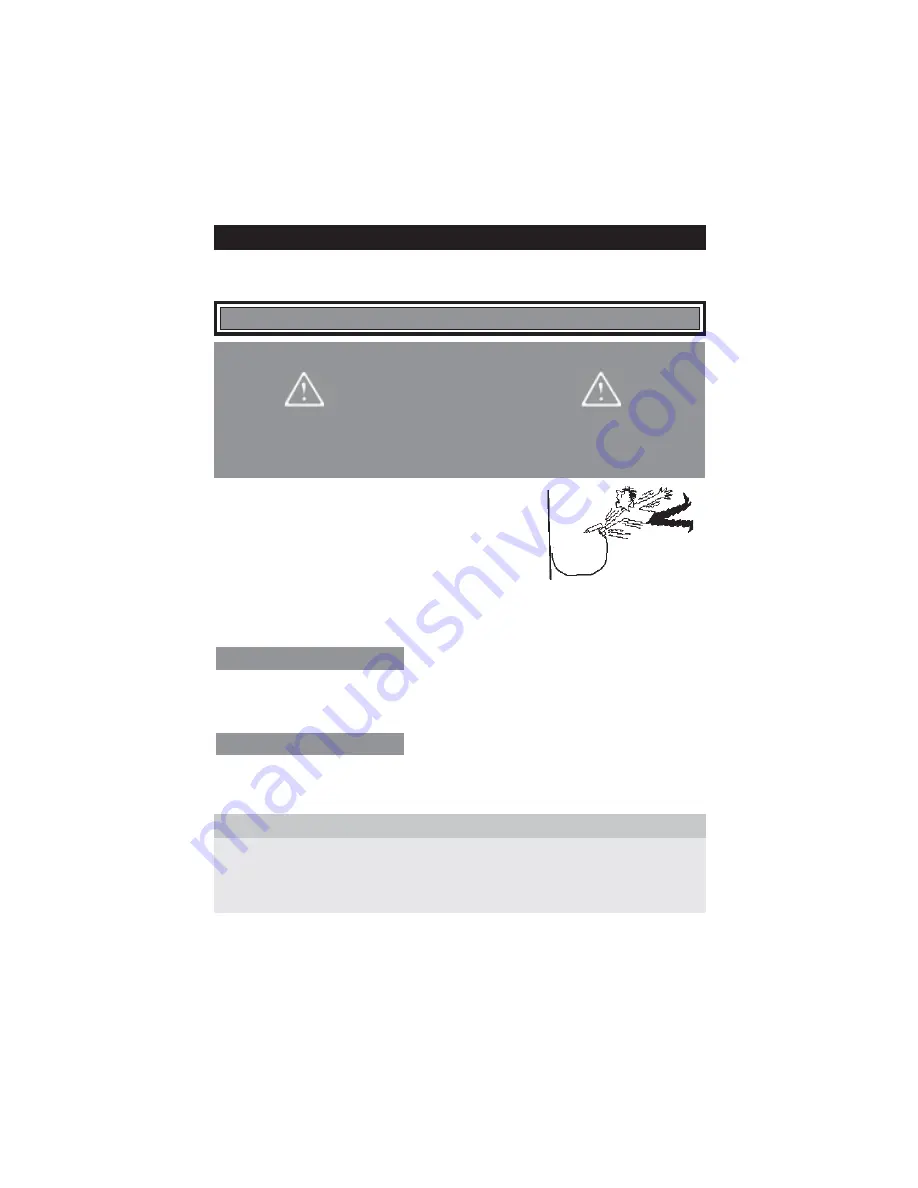
WARNING ! THIS APPLIANCE MUST BE EARTHED

WARNING

This equipment MUST be connected through an RCD (Residual Current Device)

-7-

Summary of Contents for Log Buster 3

Page 1: ...OPERATION MAINTENANCE INSTRUCTIONS 0205 MODEL NO Log Buster 3 PART No 3402020 LOG SPLITTER 4 Tonne Force LOG SPLITTER 4 Tonne Force...

Page 2: ...50mm Minimum Diameter 50mm Please note that the details and specifications contained herein are correct at the time of going to print However CLARKE International reserve the right to change specifica...

Page 3: ...sed as soon as possible Double Ended Spanners 2 off 10mm x 12mm 1 off 13mm x 16mm 1 Off Operating and Maintenance Instructions 1 Off Log splitter main body including motor and oil pump 1 Off Safety Co...

Page 4: ...ies 5 ALWAYS wear safety goggles manufactured to the latest European Safety Standards Everyday eyeglasses do not have impact resistant lenses they are not safety glasses 6 ALWAYS keep work area clean...

Page 5: ...ps can create a hazardous work environment The operator must take all necessary precautions to minimize the risk of accidental damage or injury due to wood being ejected from the machine The operator...

Page 6: ...ER use the machine in a dangerous environment i e damp or wet conditions or expose it to rain DO NOT use in a potentially explosive atmosphere around paint flammable liquids etc ALWAYS comply with the...

Page 7: ...self Cable Extension Always use an approved cable extension suitable for the power rating of this tool see specifications the conductor size should also be at least the same size as that on the machin...

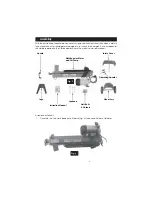
Page 8: ...k list on page 2 Any discrepancies should be reported to the Clarke dealer where the machine was purchased Main Body inc Motor and Oil Pump Handle Safety Cover Operating Handles Wheel Assy Nuts Bolts...

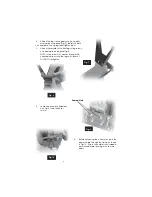
Page 9: ...ten bolts 3 Attach the handle to the front legs using screws nuts and washers supplied Fig 8 NOTE insert screw with washer through the handle and secure to the legs with locknut DO NOT Overtighten Fig...

Page 10: ...cover removed this is a safety cover making it necessary to use both hands to operate Fig 12 5 Carefully turn the machine over onto its feet Stand the log splitter on a firm level surface attach the...

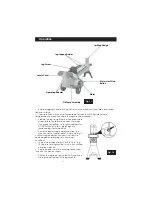
Page 11: ...le to the splitter only stack those logs that are ok for splitting i e length and diameter DO NOT attempt to split green logs dry seasoned logs split more easily Route the power supply cord safely fro...

Page 12: ...bient temperature After several hours of continuous use the pump may become very hot This is not detrimental to the machine however it is very important to not cause overheating of the oil by attempti...

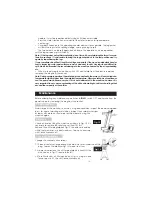
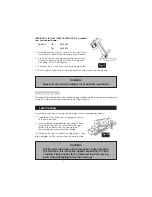
Page 13: ...operation the splitting wedge will become blunt and require sharpening To do this simply remove burrs and flat spots using a fine file Fig 17 Jam Clearing Use extreme care when clearing jammed logs t...

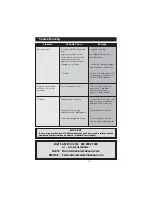
Page 14: ...Check oil level Top up if necessary If problem persists consult your nearest Clarke dealer Oil leaks Leaking from the tank Check the bleed screw has been unscrewed before operating the machine Washer...

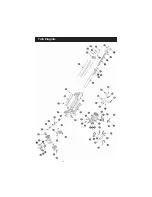
Page 15: ...Parts Diagram 15...

Page 16: ...Cover 1 16 SD30016 Double Ended Threaded Stud 4 18 SD30018 Cross Head Screw M6 x 20 2 19 SD30019 Handle 1 20 SD30020 Foot Pad left 1 21 SD30021 Foot Pad right 1 22 SD30022 Leg Assy 1 23 SD300023 Lock...

Page 17: ...T3 5 x 14 6 52 SD30052 Power Cable Plug 1 53 SD30053 Cable Clamp 1 54 SD30054 Terminal Box 1 55 SD30055 Oil Cylinder Rear Cover 1 56 SD30056 Grub Screw M8 x 10 2 57 SD30057 Handle Housing left 1 57a S...

Page 18: ...18...

Reviews: