background image

9

Parts & Service: 020 8988 7400 / E-mail: Parts@clarkeinternational.com or Service@clarkeinternational.com

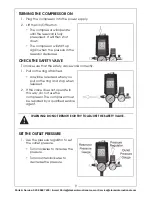
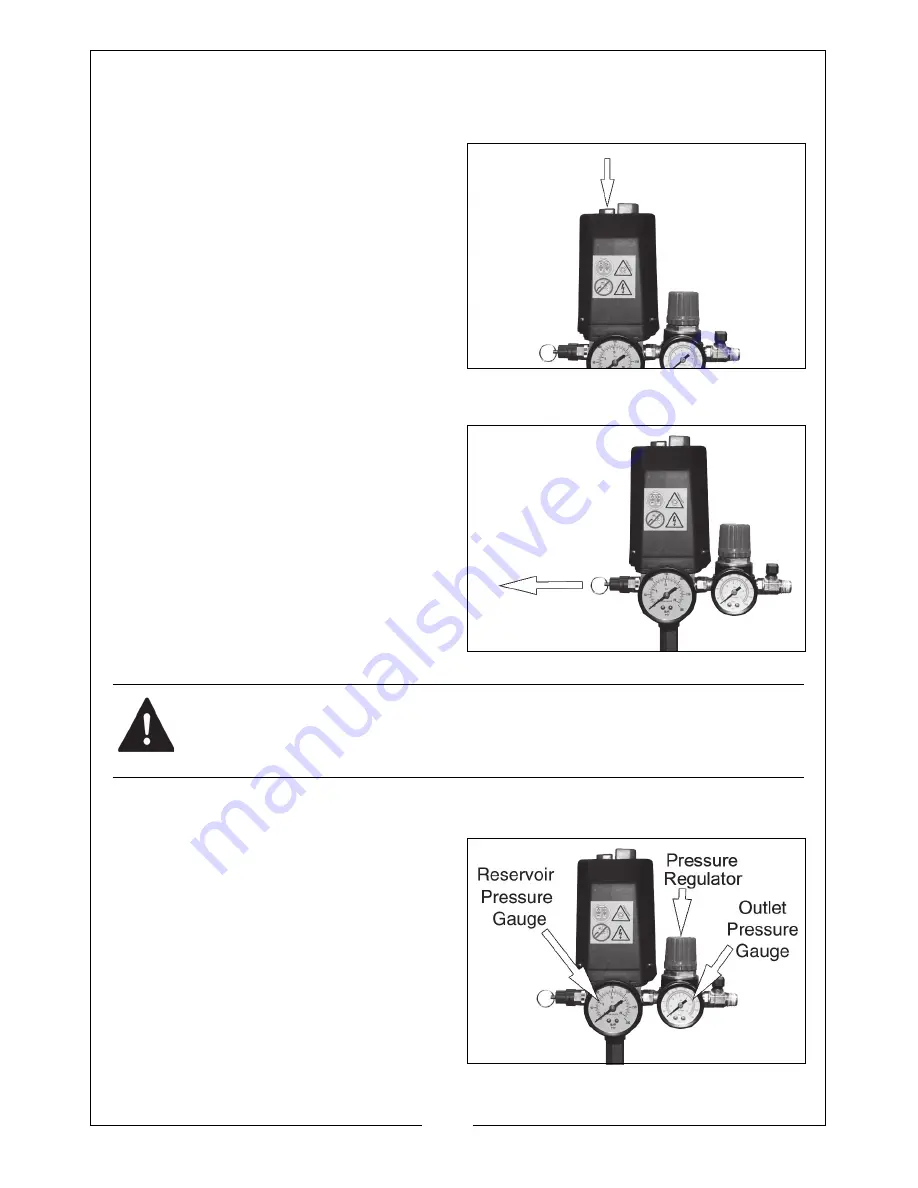
TURNING THE COMPRESSOR ON

1. Plug the compressor into the power supply.

2. Lift the On/Off button.

• The compressor will operate 

until the reservoir is fully 
pressurised. It will then shut 
down.

• The compressor will start up 

again when the pressure in the 
reservoir decreases.

CHECK THE SAFETY VALVE

To make sure that the safety valve works correctly.

1. Pull on the ring attached.

• Air will be released when you 

pull on the ring and stop when 
released. 

2. If the valve does not operate in 

this way, do not use the 
compressor. The compressor must 
be repaired by a qualified service 
agent.

SET THE OUTLET PRESSURE

1. Use the pressure regulator to set 

the outlet pressure.

• Turn clockwise to increase the 

pressure.

• Turn counterclockwise to 

decrease the pressure.

WARNING: DO NOT REMOVE OR TRY TO ADJUST THE SAFETY VALVE.

Summary of Contents for RACER 9/100P

Page 1: ...OPERATION MAINTENANCE INSTRUCTIONS LS1013 100L BELT DRIVEN AIR COMPRESSOR MODEL NO RACER 9 100P 3PH PART NO 2245025 ...

Page 2: ...against faulty manufacture for a period of 12 months from the date of purchase Please keep your receipt which will be required as proof of purchase This guarantee is invalid if the product is found to have been abused or tampered with in any way or not used for the purpose for which it was intended Faulty goods should be returned to their place of purchase no product can be returned to us without ...

Page 3: ...or to the recommended setting for the tool 10 When spraying flammable materials e g cellulose paint ensure that there is sufficient airflow and keep clear of any source of ignition 11 Before spraying any material always consult paint manufacturers instructions for safety and usage 12 Protect yourself Goggles will protect your eyes from flying particles Face masks will protect you against paint spr...

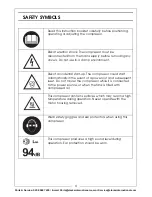
Page 4: ...damp environment Risk of accidental start up The compressor could start automatically in the event of a power cut and subsequent reset Do not mover the compressor while it is connected to the power source or when the tank is filled with compressed air This compressor contains surfaces which may reach a high temperature during operation Never operate with the motor housing removed Wear safety goggl...

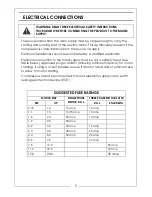
Page 5: ... motor starting If using a circuit breaker ensure it is motor rated and of sufficient size to allow for motor starting Compressors should be connected to mains electricity supply via an earth leakage protection device RCD WARNING READ THESE ELECTRICAL SAFETY INSTRUCTIONS THOROUGHLY BEFORE CONNECTING THE PRODUCT TO THE MAINS SUPPLY SUGGESTED FUSE RATINGS MOTOR SIZE SINGLE PHASE MOTOR D O L THREE PH...

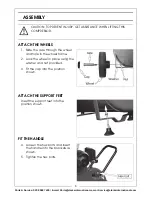
Page 6: ...COMPRESSOR ATTACH THE WHEELS 1 Slide the axle through the wheel and hole in the wheel frame 2 Lock the wheel in place using the washer and nut provided 3 Fit the cap into the position shown ATTACH THE SUPPORT FEET Insert the support feet into the position shown FIT THE HANDLE 4 Loosen the hex bolts and insert the handle into the brackets as shown 5 Tighten the hex bolts ...

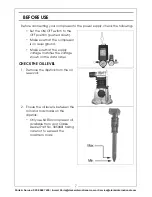
Page 7: ...he OFF position pushed down Make sure that the compressor is on level ground Make sure that the supply voltage matches the voltage shown on the data label CHECK THE OIL LEVEL 1 Remove the dipstick from the oil reservoir 2 Ensure the oil level is between the min and max marks on the dipstick Only use SAE30 compressor oil available from your Clarke Dealer Part No 3050801 taking care not to exceed th...

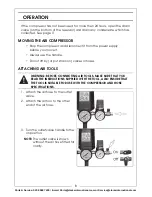
Page 8: ... it from the power supply before you move it Always use the handle Do not lift by or put strain on valves or hoses ATTACHING AIR TOOLS 1 Attach the air hose to the outlet valve 2 Attach the air tool to the other end of the air hose 3 Turn the outlet valve handle to the on position NOTE The outlet valve is shown without the air hose fitted for clarity WARNING BEFORE CONNECTING AIR TOOLS MAKE SURE T...

Page 9: ...he reservoir decreases CHECK THE SAFETY VALVE To make sure that the safety valve works correctly 1 Pull on the ring attached Air will be released when you pull on the ring and stop when released 2 If the valve does not operate in this way do not use the compressor The compressor must be repaired by a qualified service agent SET THE OUTLET PRESSURE 1 Use the pressure regulator to set the outlet pre...

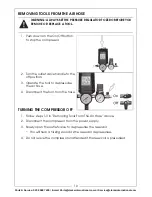
Page 10: ...urise the air hose 4 Disconnect the tool from the hose TURNING THE COMPRESSOR OFF 1 Follow steps 1 3 in Removing Tools From The Air Hose above 2 Disconnect the compressor from the power supply 3 Slowly open the outlet valve to depressurise the reservoir You will hear a hissing sound as the reservoir depressurises 4 Do not leave the compressor unattended if the reservoir is pressurised WARNING ALWA...

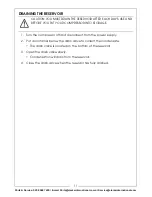
Page 11: ... power supply 2 Put a container below the drain valve to collect the condensate The drain valve is located on the bottom of the reservoir 3 Open the drain valve slowly Condensation will drain from the reservoir 4 Close the drain valve when the reservoir has fully drained CAUTION YOU MUST DRAIN THE RESERVOIR AFTER EACH DAYS USE AND BEFORE YOU PUT YOUR COMPRESSOR INTO STORAGE ...

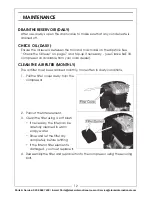
Page 12: ...ecessary use Clarke SAE 30 compressor oil available from your local dealer CLEAN THE AIR FILTER MONTHLY The air filter must be examined monthly more often in dusty conditions 1 Pull the filter cover away from the compressor 2 Pull out the filter element 3 Clean the filter using a soft brush If necessary the filter can be carefully cleaned in warm soapy water Rinse and let the filter dry completely...

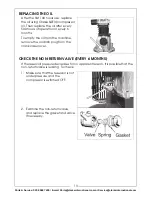
Page 13: ...s of operation or every 6 months To empty the oil from the machine remove the oil drain plug from the crankcase cover CHECK THE NON RETURN VALVE EVERY 6 MONTHS If the reservoir pressure decreases for no apparent reason it is possible that the non return valve is leaking To check 1 Make sure that the reservoir is not under pressure and the compressor is switched OFF 2 Examine the non return valve a...

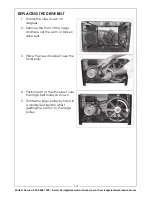
Page 14: ...Rotate the clips shown 90 degrees 2 Remove the front of the cage and take out the worn or broken drive belt 3 Place the new drive belt over the small pully 4 Position part of the drive belt over the large belt pulley as shown 5 Rotate the large pulley by hand in a clockwise direction whilst guiding the belt on to the large pulley ...

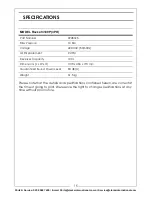
Page 15: ... Pressure 10 Bar Voltage 400 VAC 50 60Hz Air Displacement 9 CFM Receiver Capacity 100 L Dimensions L x W x H 1070 x 450 x 770 mm Guaranteed Sound Power Level 94 dB A Weight 61 5 kg Please note that the details and specifications contained herein are correct at the time of going to print We reserve the right to change specifications at any time without prior notice ...

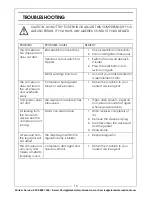
Page 16: ... compressor does not reach the set pressure and overheats easily Compressor head gasket blown or valve broken 1 Return the machine to your nearest service agent Compressor does not start The reservoir has already fully pressurised 1 Open drain valve to expel air Compressor should start again when pressure reduces Air leaking from the non return valve when the compressor is not running Faulty non r...

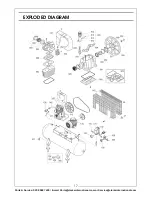
Page 17: ...17 Parts Service 020 8988 7400 E mail Parts clarkeinternational com or Service clarkeinternational com EXPLODED DIAGRAM ...

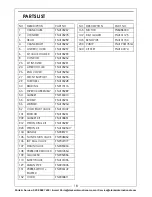
Page 18: ...170116 33 DIPSTICK ASSEMBLY FN4105289 34 GASKET FN9163010 35 SCREW FN4105231 36 WASHER FN4105234 52 COLD START VALVE FN4101047 141 SHROUD FN4105261 909 GASKET KIT FN4105851 912 PISTON RING KIT FN4105287 920 PISTON KIT FN416025017 104 HANDLE FN9083711 105 NON RETURN VALVE FN9048052 106 TAP BALL VALVE FN9047077 107 DRAIN VALVE FN9053063 108 PRESSURE REDUCER FN9414364 109 GAUGE 50 FN9052056 110 SAFET...

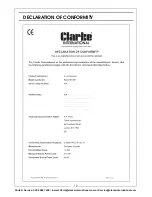
Page 19: ...19 Parts Service 020 8988 7400 E mail Parts clarkeinternational com or Service clarkeinternational com DECLARATION OF CONFORMITY ...

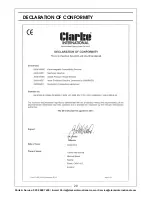
Page 20: ...20 Parts Service 020 8988 7400 E mail Parts clarkeinternational com or Service clarkeinternational com DECLARATION OF CONFORMITY ...

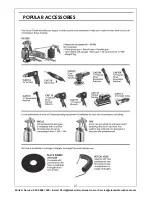
Page 21: ...21 Parts Service 020 8988 7400 E mail Parts clarkeinternational com or Service clarkeinternational com POPULAR ACCESSORIES ...

Page 22: ...22 Parts Service 020 8988 7400 E mail Parts clarkeinternational com or Service clarkeinternational com NOTES ...

Page 23: ...23 Parts Service 020 8988 7400 E mail Parts clarkeinternational com or Service clarkeinternational com NOTES ...

Page 24: ......
Reviews: