4. SPRAY GUN MAINTENANCE
1.
Immerse only the front end of the gun until solvent just covers the fluid
connection.
2.
Use a bristle brush and solvent to wash off accumulated paint.
3.
Do not submerge the entire spray gun in solvent because:
a.
the lubricant in the gland packings will dissolve and the packings will dry
out.
b.
the lubricant will dissolve causing harder operation and faster wear.
c.
residue from dirty solvent may clog the narrow air passages in the gun.
4.
Wipe down the outside of the gun with solvent dampened rag.
5.
Lubricate gun daily. Use a light machine oil on:
a.
fluid needle packing.
b.
air valve packing.
c.
fan control packing.
d.
trigger pivot point.
Coat the fluid control spring with vaseline.
Caution: Never use lubricants containing silicone as this may cause finish defects.
For a professional looking finish paint must be thinned. If the manufacturers
recommendations on thinning are not available, the following can be used as a
general guide: Water based paints (emulsions) - 10-20% water
Oil based paints (gloss) - up to 10% white spirit thinners
Cellulose paints - up to 50% cellulose thinners
3. HANDLING THE GUN
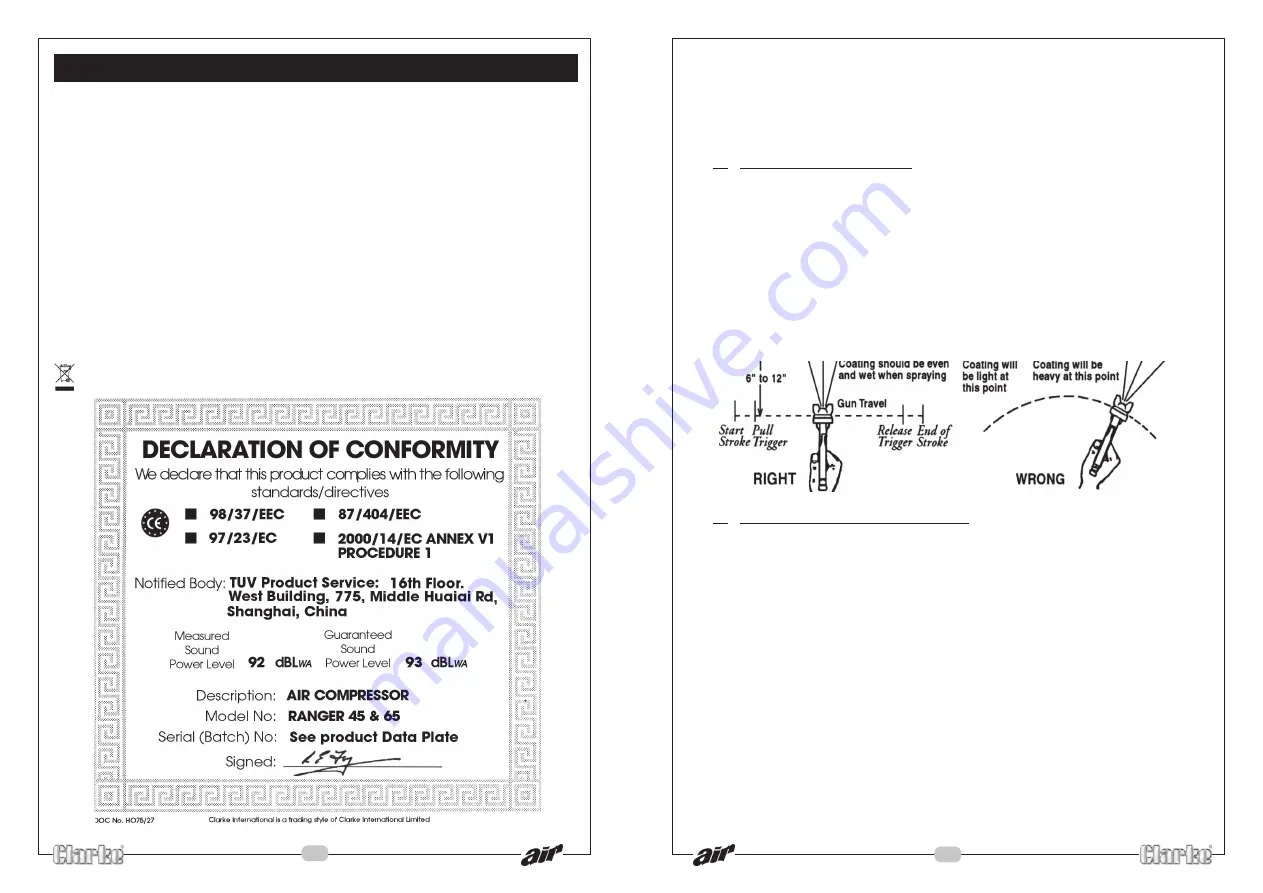
The first requirement for a good resultant finish is the proper handling of the gun.
The gun should be held perpendicular to the surface being covered and moved
parallel to it. The stroke should be started before the trigger is pulled and the
trigger should be released before the stroke is ended. This gives accurate control
of the gun and material.
The distance between gun and surface should be 6 to 12 inches depending on
material and atomizing pressure. The material deposited should always be even
and wet. Lap each stroke over the preceding stroke to obtain a uniform finish.
NOTE: To reduce overspray and obtain maximum efficiency, always spray
with the lowest possible atomizing air pressure.
15
Engineering Manager
Copyright: Clarke International. May, 2000
SPECIFICATIONS
Electrical Supply ......................................................... 230V, 1Phase 50Hz
Motor Rating ................................................................ 1.5 HP
Max. Air Pressure ........................................................ 8 bar (115 lbf/in
2
)
Air Displacement ........................................................ 7cuft/min
Duty Cycle ................................................................... S1 (continuous)
Operating Temperature .............................................. 0
O
C - 35
O
C
Sound Power Level ..................................................... 93.3dBL
WA
Air Receiver ........... Ranger 45 ................................... 24 litre
Ranger 65 ................................... 50 litre
Nett Weight ............ Ranger 45 ................................... 29.5kg
Ranger 65 ................................... 38kg
Dimensions ............ Ranger 45 ................................... 635x356x600mm
Ranger 65 ................................... 710x380x660mm
Compressor Oil ........................................................... CLARKE SAE 40
Part No. .................. Ranger 45 ................................... 2130005
Please note that the details and specifications contained herein, are correct at the time of going to
print. However, CLARKE International reserve the right to change specifications at any time without
prior notice. Always consult the machine’s data plate
When disposing of this product, ensure it is disposed of according to all local ordinances
2


