background image

 4

 GENERAL SAFETY PRECAUTIONS

WARNING:


As with all machinery, there are certain hazards involved with their operation

and use. Exercising respect and caution will considerably lessen the risk of

personal injury. However, if normal safety precautions are overlooked or

ignored, personal injury to the operator or damage to property, may result.

1.

ALWAYS 

Learn the machines’ applications, limitations and the specific potential

hazards peculiar to it. Read and become familiar with the entire
operating manual.

2.

ALWAYS 

use a face or dust mask if  operation is particularly dusty.

3.

ALWAYS  

check for damage. Before using the machine, any damaged

part, should be  checked  to ensure that it will operate properly, and
perform its intended function. Check for alignment of moving parts,
breakage of parts, mountings, and any other condition that may
affect the machines’ operation. Any damage should be properly repaired
or the part replaced. If in doubt, 

DO NOT

 use the machine. Consult your local dealer.

4.

ALWAYS 

disconnect the tool/machine from the power supply before servicing and

when changing accessories.

5.

ALWAYS 

wear safety goggles, manufactured to the latest European Safety Standards.

Everyday eyeglasses do not have impact resistant lenses, they  are not  safety glasses.

6.

ALWAYS  

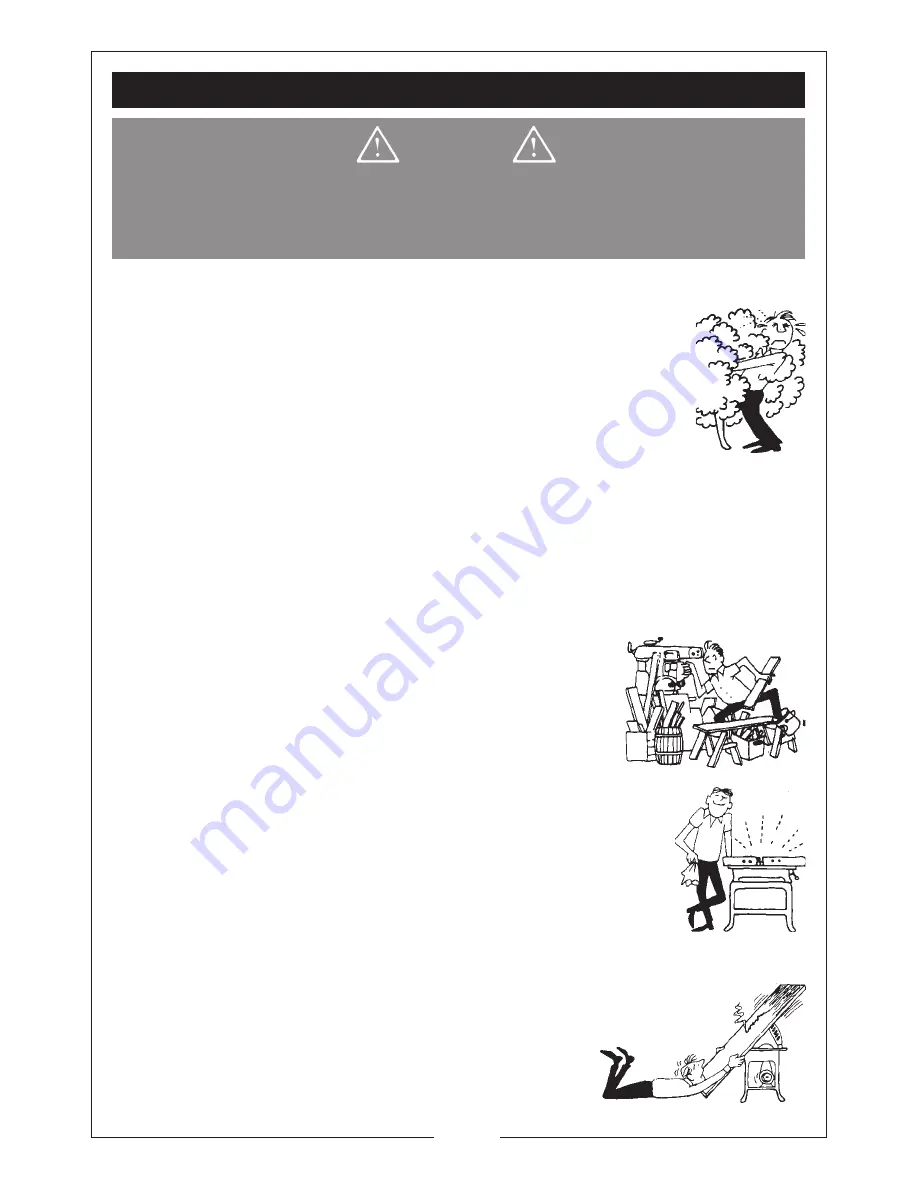
keep work area clean. Cluttered areas and benches

invite accidents.

7.

ALWAYS 

ensure that adequate lighting is available. A

minimum intensity of 300 lux should be provided. Ensure
that lighting is placed so that you will not be working in your
own shadow.

8.

ALWAYS 

keep children away. All visitors should be kept a

safe distance from the work area, especially whilst operating
the machine.

9.

ALWAYS 

maintain machine in top condition. Keep tools/machines

clean for the best and safest performance. Follow maintenance
instructions.

10.

ALWAYS 

handle with extreme care do not carry the tool/machine

by its’ electric cable, or yank the cable to disconnect it from the
power supply .

11.

ALWAYS 

ensure the switch is off before plugging in to mains. Avoid accidental

starting.

12.

ALWAYS 

concentrate on the job in hand, no matter how trivial it may

seem. Be aware that accidents are caused by
carelessness due to familiarity.

13.

ALWAYS 

keep your proper footing and balance at all

times, don’t overreach. For best footing, wear rubber
soled footwear. Keep floor clear of oil, scrap wood, etc.

Summary of Contents for WOODWORKER CON1020

Page 1: ...1 LS0610 Part No 6460200 MODEL Nos CON1020 Part No 6462026 OPERATING MAINTENANCE INSTRUCTIONS PLANER PLANER ...

Page 2: ...t However CLARKE International reserve the right to change specifications at any time without prior notice Always consult the machines data bracket Copyright CLARKE International All rights reserved April 2006 1 Planer 2 Dust bag 3 Rebate Fence 4 2 x Securing knobs one fitted with screw and washer 5 Rebating Depth Gauge 6 Side fence Bracket 7 1 x Drive Belt 8 Set of Carbon Brushes 9 Hex Wrench 3mm...

Page 3: ...Unpacking and Carton Contents 7 Operation 8 Rebating 9 Maintenance 10 Replacing Cutter Blades 10 Replacing Drive Belt 11 Replacing carbon Brushes 11 Parts Diagrams and Lists 12 13 Vibration Emissions 14 Declaration of Conformity 15 Vibration Emission Declaration 15 CLARKE GUARANTEE This CLARKE product is guaranteed against faulty manufacture for a period of 12 months from the date of purchase Plea...

Page 4: ...hen changing accessories 5 ALWAYS wear safety goggles manufactured to the latest European Safety Standards Everyday eyeglasses do not have impact resistant lenses they are not safety glasses 6 ALWAYS keep work area clean Cluttered areas and benches invite accidents 7 ALWAYS ensure that adequate lighting is available A minimum intensity of 300 lux should be provided Ensure that lighting is placed s...

Page 5: ...roperly secured before use 2 ALWAYS ensure the cutters are sharp blunt cutters increase the risk of kick back 3 ALWAYS switch the machine OFF immediately the task is completed 4 ALWAYS use with a dust extraction device fitted 5 ALWAYS allow the machine to reach full speed before commencing work 6 DO NOT use the machine if the electric cable plug or motor is in poor condition 7 DO NOT allow the ven...

Page 6: ...to the electric cable i e non rewireable please note 1 The plug must be thrown away if it is cut from the electric cable There is a danger of electric shock if it is subsequently inserted into a socket outlet 2 Never use the plug without the fuse cover fitted 3 Should you wish to replace a detachable fuse carrier ensure that the correct replacement is used as indicated by marking or colour code FU...

Page 7: ... knobs one fitted with screw and washer 5 Rebating Depth Gauge 6 Side fence Bracket 7 1 x Drive Belt 8 Set of Carbon Brushes 9 Hex Wrench 3mm When unpacking check to ensure that no transit damage has been incurred Please contact your Clarke dealer immediately should any damage be apparent ...

Page 8: ...trol over the machine Ensure the cutters have reached full speed before they touch the workpiece Guide the machine at a constant speed across the material to be worked Do not move too quickly allow the machine enough time to plane the workpiece For large surfaces it is recommended to make several shallow cuts at a smaller planing depth Remove the machine completely from the workpiece after use bef...

Page 9: ...n at H Fig 2 using the securing knob provided Attach the Rebate Fence as follows Attach the bracket 6 Fig 1 to the machine using the securing knob provided Attach the Fence to the bracket in the manner shown in Fig 3 again using the securing knob with screw and washer provided Fig 3 Fig 4 Set the depth of rebate using depth gauge having first of all set the depth of cut using the large adjuster kn...

Page 10: ...become detached from the clamping block A Fig 7 allowing the blade to be removed Note The cutter has two cutting edges When both cutting edges are worn the cutter must be replaced 6 Turn the cutter so that the new cutting edgeisfacingupwardsortakeanewcutter and place it between the block A and theclampingplate B ensuringthelocating lugsoftheclampingplateengagewiththe clamping block correctly 7 Sli...

Page 11: ...g the belt over the ridges in the pulleys Fig 8 Fig 9 Ensure the belt is fully engaged on both pulleys see Fig 9 Finally replace the cover Replacing the Carbon Brushes Unscrew and remove the side cover three securing screws VERY carefully prise out the carbon brush holders as indicated in Fig 10 DO NOT USE FORCE This can be a little tricky but once the holder is part way out use a small screwdrive...

Page 12: ...12 PARTS DIAGRAM ...

Page 13: ...ON102030 31 Large Pinion 1 KPCON102031 32 Nut 1 KPCON102032 33 Belt 1 KPCON102033 34 Belt cover 1 KPCON102034 35 Label 1 N A 36 Screw 5 KPCON102036 37 Screw 13 KPCON102037 38 Small pinion 1 KPCON102038 39 Bearing cover 1 KPCON102039 40 Bearing 1 KPCON102040 41 Base Plate 1 KPCON102041 42 Armature 1 KPCON102042 43 Fan guide 1 KPCON102043 44 Screw 2 KPCON102044 45 Stator 1 KPCON102045 46 Handle cove...

Page 14: ...alues appear in the declaration on page 7 HAND ARM VIBRATION You will note that a third value is given in the specification the highest measured reading in a single plane This is the maximum level of vibration measured during testing in one of the axes and this should also be taken into account when making a risk assessment a values in excess of 2 5 m s2 are considered hazardous when used for prol...

Page 15: ...15 DECLARATION OF CONFORMITY ...

Page 16: ......

Reviews: