2
English
Solar Panel Mount
Art.no 36-4490
Please read the entire instruction manual before using the product and save it for future reference.
We reserve the right for any errors in text or images and any necessary changes made to technical data.
If you have any questions regarding technical problems please contact Customer Services.
Product description
• Anodized aluminium frame (L-shaped) for easy panel mounting.
• Can be mounted vertically or horizontally.
• Adjustable angle: 15–70°.
Installation
• It is important that the solar panel is installed in the right location with minimum shade and the correct
angle towards the sun.
• Even a little shade can reduce the efficiency of the solar panel.
• The most appropriate installation location is on a south-facing roof or wall.
• The optimal installation angle is 30–40° (summer) and 0–20° (winter).
• If the solar panel is installed on a wall, try to mount it in such a way that the eaves of the roof do not
shade the panel when the sun is at its highest.
• If the solar panel is mounted on the roof, it should be placed as close to the ridge as possible
to reduce excess weight in snowy weather.
• The solar panel should be mounted in such a way that it is adjustable. If a fixed angle installation
is decided upon, the best tilt angle for optimum output all year round is 25°.
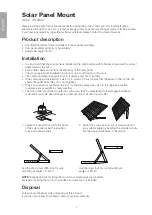
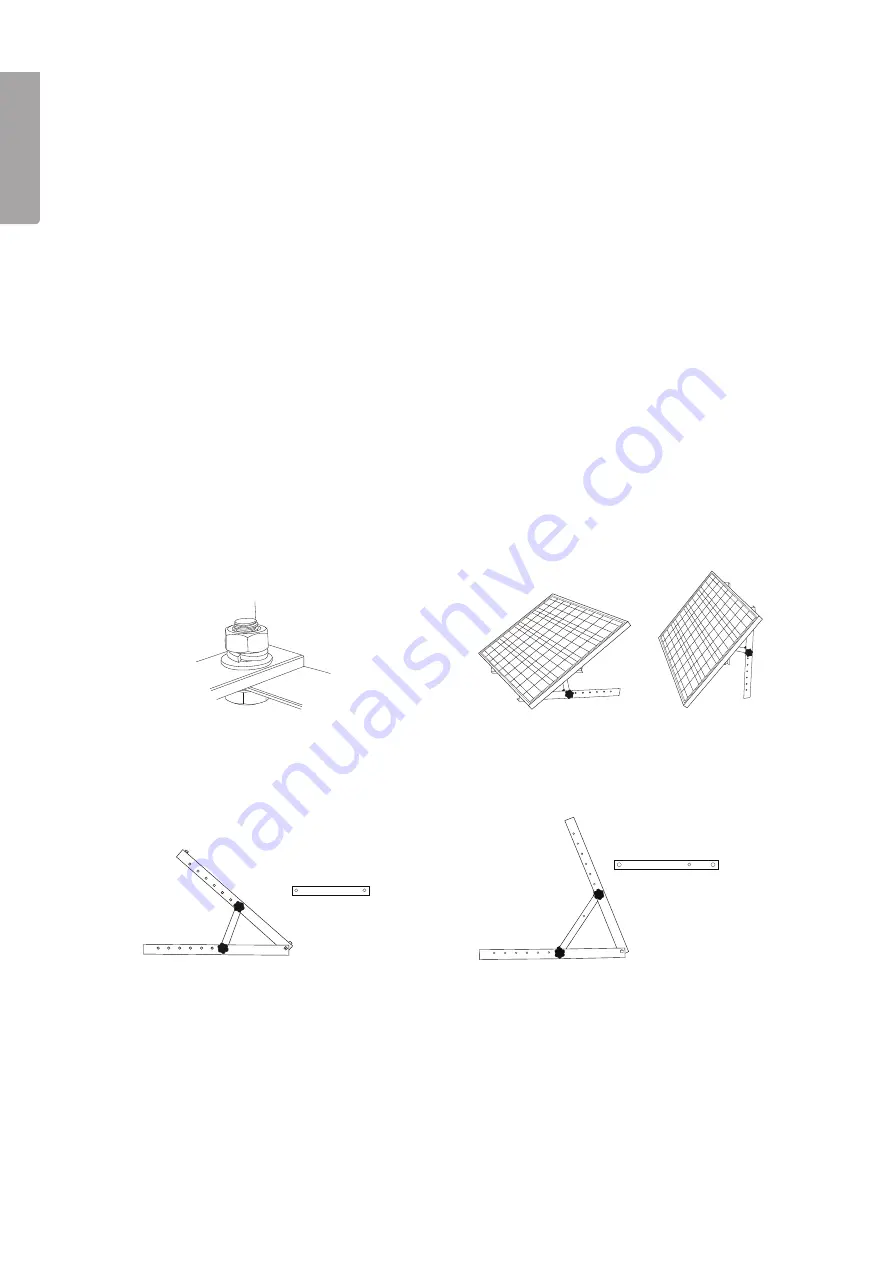
1. Fasten the panel mount onto the frame
of the solar panel using the provided
nuts, bolts and washers.
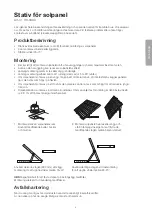
2. Mount the solar panel on a roof or wall and tilt it
to a suitable angle by inserting the provided struts
into the appropriate holes in the mount.
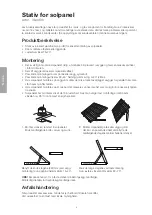
Use the short struts (230 mm) for wall
mounting at angles of 15–40°.
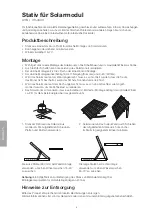
Use the long struts for roof mounting at
angles of 30–70°.
NOTE!
Expansion bolts for fixing the mount to concrete walls are included.
Fasteners for fixing the mount to wooden structures are not included.
Disposal
Follow local ordinances when disposing of this product.
If you are unsure how to proceed, contact your local authority.


