10
English
4.10 Timer Interval (time lapse function)
Interval-controlled exposure (independently of the motion detector). This function allows
you to take photos at given intervals, e.g. to take a series of images every 5 minutes.
1. Select how long there should be between exposures. Setting options:
Off
or
intervals ranging from
5 min
to
8 hours
using [
►
] or [
◄
].
2. Press [ OK ] to confirm (or [ MENU ] to discontinue). (The default value is
Off
.)
Note:
Remember that this setting must be set at
Off
, otherwise the camera’s motion
detector will not be able to activate the camera except at the set time intervals.
4.11 Timer Switch (switch-off at a certain time of day)
Set the time of day the camera is to be active, from 00:00 to 23:59.
1. Activate (
On
) or switch off the function (
Off
) using [
►
] or [
◄
].
2. Press [ OK ] to confirm (or [ MENU ] to discontinue).
3. Set the start time (if you have activated the function using
On
).
-
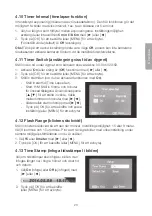
Set the start time (Time Lapse Set)
-
Start: H:M Set the hour and minutes
for the desired switch-on time.
Use the [
▼
][
▲
] buttons to set
the value. Use [
►
][
◄
] to toggle
between hours and minutes.
-
Use [
►
][
◄
] to toggle between start
and stop.
-
Press [ OK ] to confirm and save
the setting (or [ MENU ] to discontinue).
4.12 Flash Range (range of flash function)
Set the flash range so that it reaches the subject. Setting options: 15 or 8 metres.
Select 8 indoors and 15 outdoors. Try to take a few pictures with different settings
under the worst possible conditions if you are unsure.
1. Press [
▲
] or [
▼
] to select
15
or
8 metres
.
2. Press [ OK ] to confirm (or [ MENU ] to discontinue).
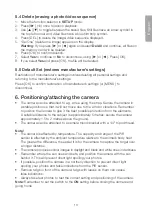
4.13 Time Stamp (insert a time stamp in the still image)
Choose whether a time stamp is to be
inserted in the image. It will be inserted in
the lower right-hand corner and will show
the time and date.
1. Press [
►
] or [
◄
] to select
On
(insert) or
Off
(not inserted).
2. Press [ OK ] to confirm (or [ MENU ]
to discontinue).
Summary of Contents for 36-5761
Page 2: ...2...


