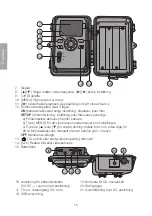
7
English
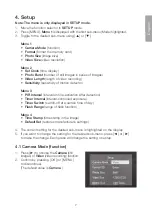
4. Setup
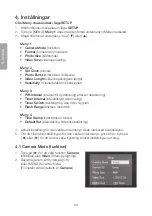
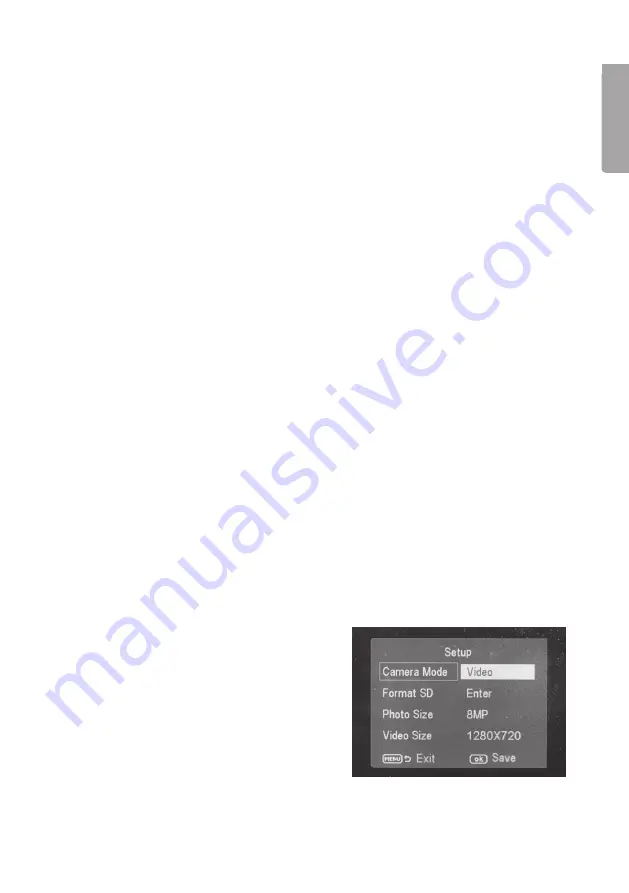
Note: The menu is only displayed in SETUP mode.
1. Move the function selector to
SETUP
mode.
2. Press [ MENU ].
Menu 1
is displayed with the first sub-menu (Mode) highlighted.
3. Toggle to the desired sub-menu using [
▲
] or [
▼
].
Menu 1
• Camera Mode
(function)
• Format
(format the memory card)
• Photo Size
(image size)
• Video Size
(video resolution)
Menu 2
• Set Clock
(time display)
• Photo Burst
(number of still images in series of images)
• Video Length
(length of video recording)
• Sensitivity
(sensitivity of motion detector)
Menu 3
• PIR Interval
(interval until re-activation after detection)
• Timer Interval
(interval-controlled exposure)
• Timer Switch
(switch-off at a certain time of day)
• Flash Range
(range of flash function)
Menu 4
• Time Stamp
(time stamp in the image)
• Default Set
(restores manufacturer’s settings)
4. The current setting for the desired sub-menu is highlighted on the display.
5. If you want to change the setting for the desired sub-menu, press [
◄
] or [
►
]
to make the change. Each press will change the setting one step.
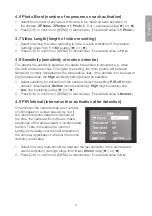
4.1 Camera Mode (function)
1. Press [
►
] to choose the
Camera
(still
images) or
Video
(video recording) function.
2. Confirm by pressing [ OK ] (or [ MENU ]
to discontinue).
(The default value is
Camera
.)
Summary of Contents for 36-5761
Page 2: ...2...


