9
E
n
g
li
s
h
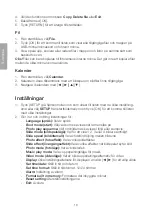
3. Select setup and press [ OK ] to reach the sub-menus.
4. Select the desired function from the sub-menus by navigating using [
◄
][
►
][
▲
][
▼
].
Push [ OK ] to confirm.
5. Press [ RETURN ] twice to return to the start screen.
Note:
The alarm can be set for
Once
,
Each day
and
Self define
. Press [ OK ]
when “Self define” is displayed to select the days for the alarm. Push [ OK ] to tick
off the desired days.
6. Press [ OK ] to turn off the alarm.
Computer connection
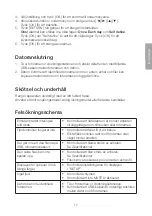
1. Remove the frame from the dock and connect it to the computer using
the included USB cable.
2. Once your computer will automatically identify the frame as an external device you
may begin transferring files between the computer and the internal memory.
Care and maintenance
Clean the exterior using a lightly moistened cloth. Only use mild detergents, never
solvents or corrosive chemicals.
Troubleshooting guide
The device does not start/
no photo is shown.
•
Check that the adaptor is connected properly
to the dock or photo frame.
The remote control
doesn’t work.
•
Check the battery Replace if necessary.
•
Point the remote directly towards the frame
and remove all line-of-sight obstacles.
Video cannot be played from
the USB/memory card.
•
Check that the video file format is supported
by the player. See
Specifications
.
The chosen file cannot
be played.
•
Check that the file format is supported by
the device. See
Specifications
.
•
The file being played might be damaged,
try another file.
The display is too bright or
dark. Colours are off.
•
Check and adjust these settings in
the “SETUP” menu.
No sound.
•
Check the volume.
•
Check that the MUTE function is not activated.
The computer does not
recognise the frame.
•
Remove the frame from the dock.
•
Make sure that the USB cable is properly
connected to the computer and the frame.


