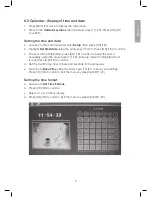
7
E
n
g
li
s
h
5. Use
This photo frame is intended for tabletop use.
1. Screw the stand onto the back (11).
2. Remove the plastic film from the display and from the battery in the remote control.
3. Plug the mains adaptor into a wall socket and then plug the DC connector into
the DC 5 V socket on the photo frame.
4. Connect a SD/SDHC/MMC memory card or USB memory to the photo frame.
5. Press [
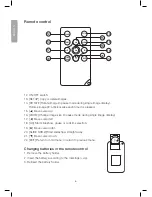
] (1) or (12) to turn the photo frame on.
6. The slideshow will start automatically if a memory card or USB memory stick
(containing images) is inserted.
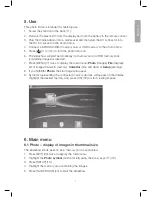
7. Press [MENU] (7) twice to display the main menu:
Photo
(images),
File
(displays
list of images/folders in memory),
Calendar
(time and date) or
Setup
(settings).
8. If you highlight
Photo
, the start page will appear.
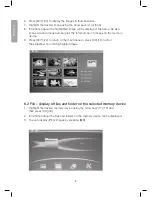
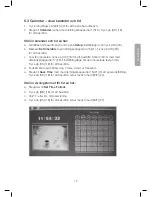
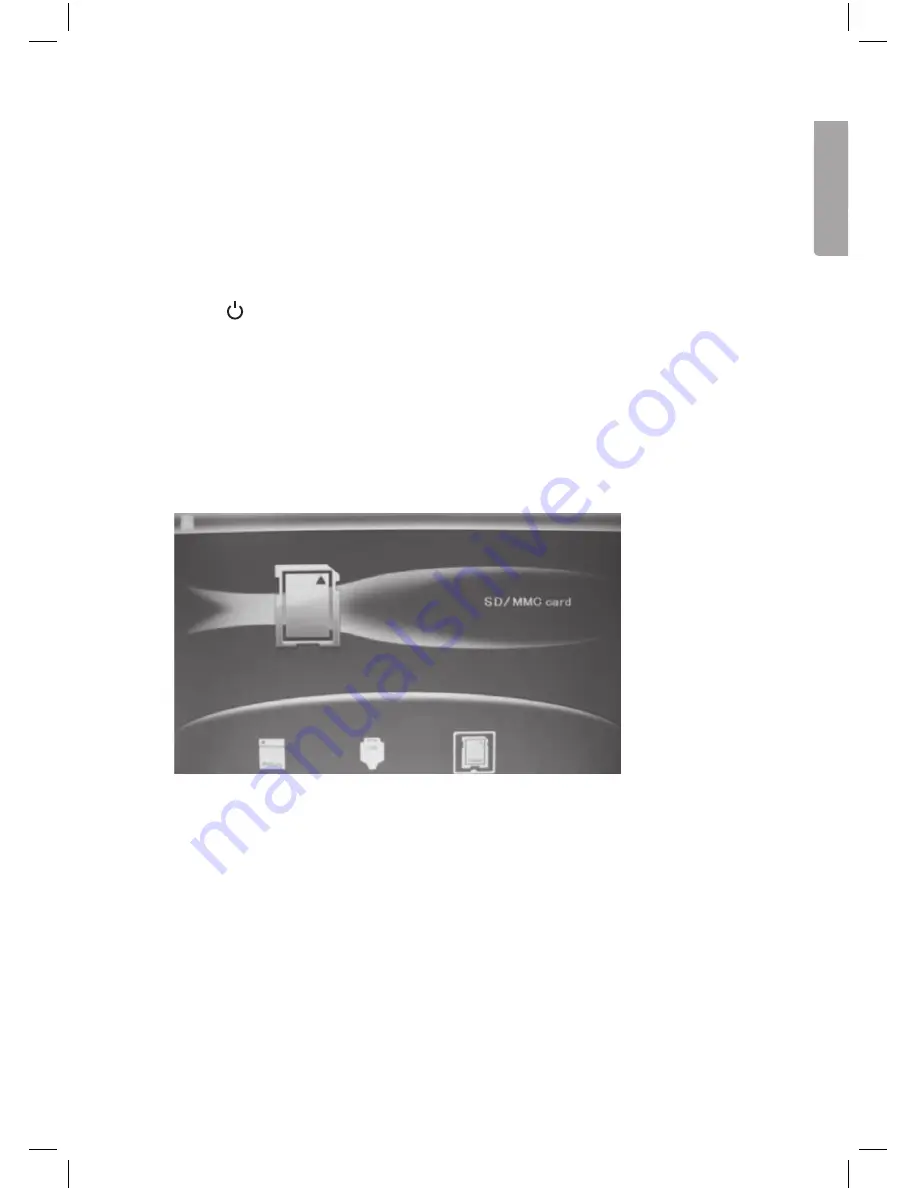
9. Symbols representing the connected memory devices will appear on the display.
Highlight the desired memory and press [OK] (18) to start viewing images.
6. Main menu
6.1 Photo – display of images in thumbnail size
The slideshow starts as soon as a memory card is connected.
1. Press [EXIT] (22) twice to display the main menu.
2. Highlight the
Photo symbol
(on the far left) using the arrow keys (17) (19).
3. Press [SETUP] (13).
4. Highlight the memory card containing the images.
5. Press [SLIDE SHOW] (20) to start the slideshow.
Summary of Contents for 38-5196
Page 2: ...2...
Page 43: ...43 Suom i...

