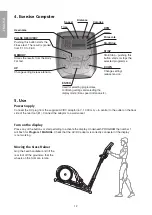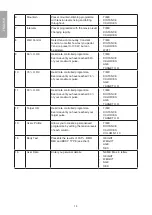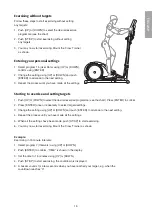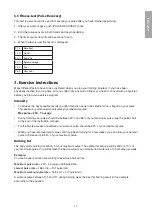
8
EN
G
LI
SH
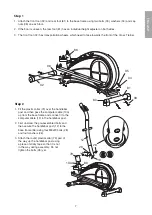
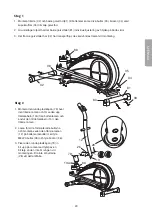
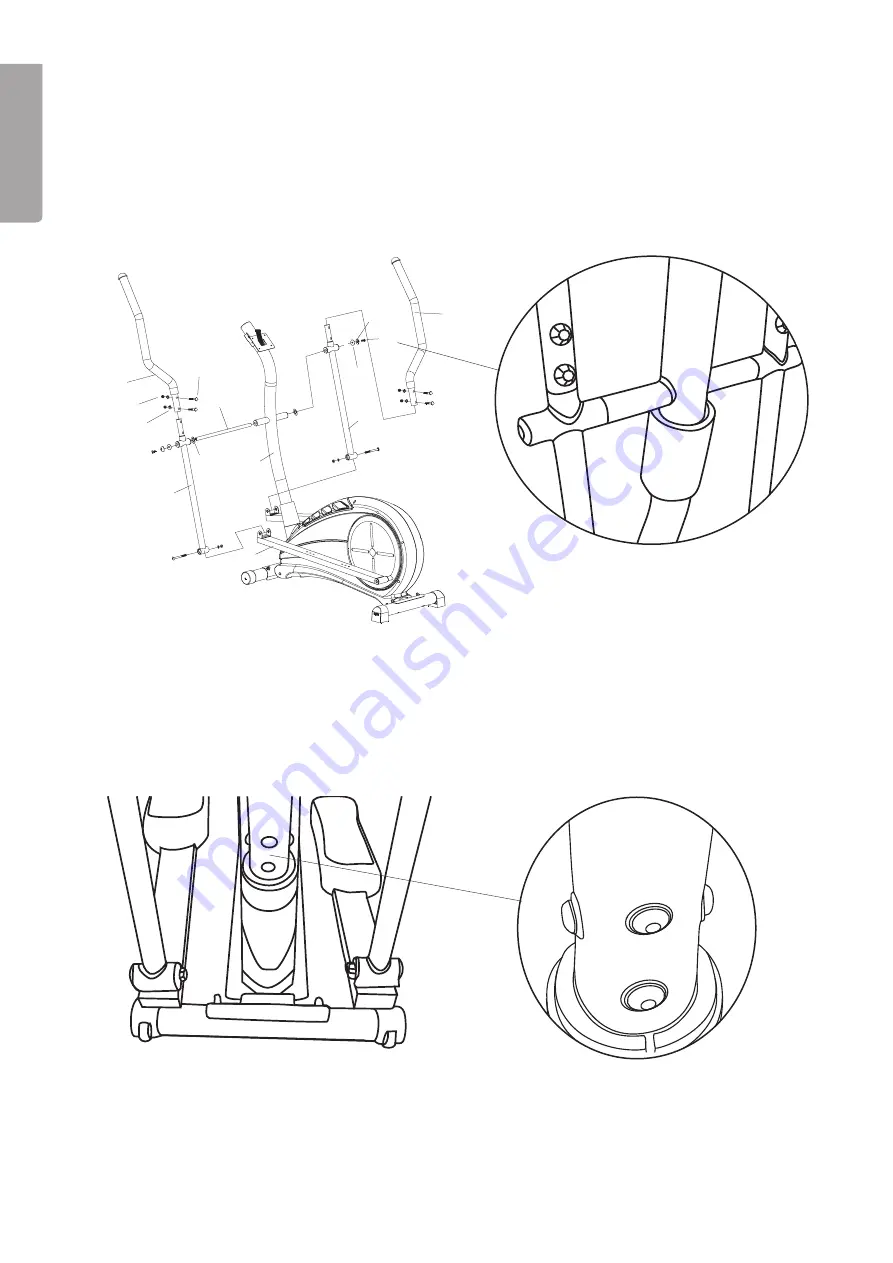
Step 3
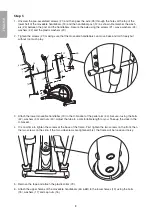
1. Unscrew the pre-assembled screws (21) and then pass the axle (25) through the holes at the top of the
lower half of the moveable handlebars (19) and the handlebar post (12) as shown. Remember the wash-
ers (24) between the post and the handlebars. Secure the axle using the screws (21), wave washers (24),
washers (22) and the plastic washers (2).
2. Tighten the screws (21) making sure that the moveable handlebars can move back and forth freely but
without too much play.
. Attach the lower moveable handlebar (19) to the U-bracket of the pedal arm (4). Secure it using the bolts
(42), washers (0) and nuts (40). Adjust the tube to a comfortable length for you. Take up the slack in the
U-bracket.
4. It is now time to tighten the screws at the base of the frame. First tighten the two screws on the front, then
the two screws on the side. If the two side screws are tightened first, the frame will be loose and noisy.
6A
16
17
19
18
25
24
12
43
6B
22
21
23
19
5. Remove the tape and attach the plastic collar (79).
6. Attach the upper halves of the moveable handlebars (6A & 6B) to the lower halves (19) using the bolts
(18), washers (17) and cap nuts (16).
Summary of Contents for ER-6472C
Page 2: ......

