English
GREAT BRITAIN •
customer service
tel:
08545 300 9799
e-mail:
customerservice@clasohlson.co.uk
internet:
www.clasohlson.com/uk
V
er
. 20
130620
Wireless Doorbell
Art.no 36-5413 Model SCW-1105+SC-321T
Please read the entire instruction manual before using the product and save it
for future reference. We reserve the right for any errors in text or images and any
necessary changes made to technical data. If you have any questions concerning
technical problems please contact our Customer Services.
1. Description
•
Wireless doorbell, consisting of push-button (transmitter) and chime (receiver).
•
Eight different signals.
•
Range: approx. 25 m.
•
Batteries: Push button: 1 × CR2032 (included).
Doorbell: 2 × AA/LR6 (sold separately).
2. Before initial use
Inserting the batteries
The (push-button) transmitter operates on a Lithium battery (CR2032, 3 V).
The battery is included with the product but the plastic insulating strip
covering the battery must be removed before the push-button is ready to use.
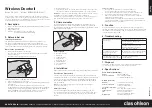
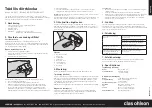
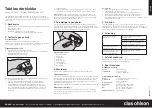
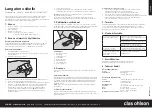
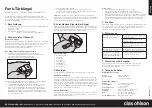
Open the push-button and remove the plastic film in the direction of the arrow.
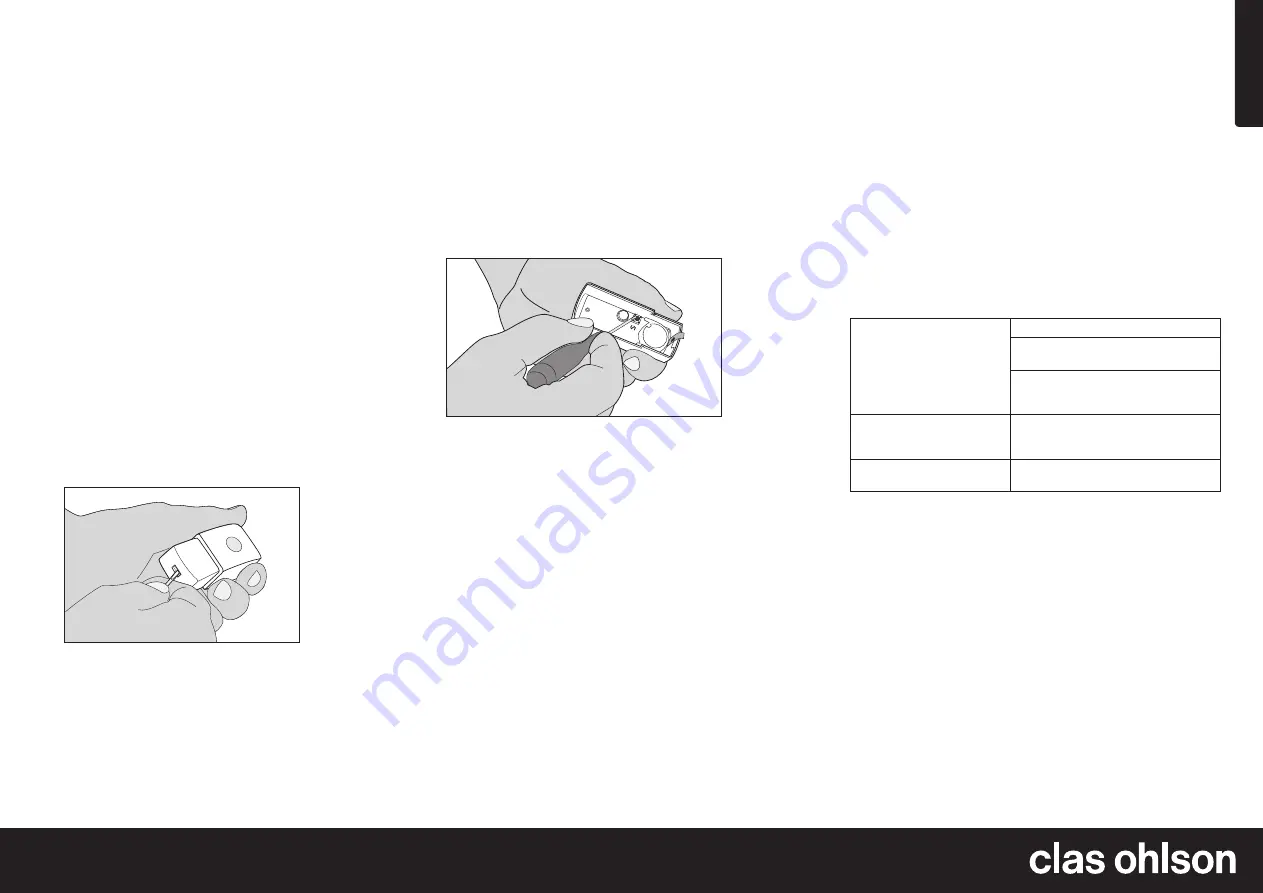
Opening the push-button
1. Pull the transparent plastic cover upwards.
2. Push the catch (on the side) and pry the push-button’s back off carefully
using a screwdriver.
3. Pull out the plastic strip in the direction of the arrow.
4. Refit the battery cover.
5. Push the push-button once. A new unique code will be created and sent to
the chime. The chime will sound indicating that the code has been saved.
Warning:
Use only the recommended type of batteries and insert them correctly
according to the (+) and (-) markings in the battery compartment.
If interference is experienced from other wireless devices, remove the batteries
from the push-button and chime and repeat steps 2–5 to switch codes.
3. Chime melodies
There are 8 different melodies/sounds available. The “Westminster” melody
is the preset melody. The melody settings button, marked [ S ] is found inside
the push-button’s housing. Push the button sequentially for toggling and selecting
between different chime signals.
Things to consider:
•
Do not mount the push-button on metal door frames etc.
Test the functionality at the location before final mounting.
•
Do not expose the push-button or receiver to water or extreme heat.
•
Do not mix new and old batteries or different types of batteries.
Remove the batteries if the product is not to be used for a long time
(the batteries can begin to leak).
•
Alkaline batteries are recommended for the chime as these tend to have
a longer service life. Remove all consumed batteries to prevent them from
leaking into the battery compartment.
5. Function
Press the push-button once to send a signal to the chime. The signal is not
repeated if you hold in the push-button, release the push-button and press again
if you wish to repeat the signal. The LED is a low battery indicator which comes
on when the battery power is low.
6. Troubleshooting
No sound when the push-button
is pushed in.
The range between the units is too far.
The push-button’s battery is flat.
Change the battery.
The battery is incorrectly inserted.
Reinsert the battery correctly with
the + pole facing outwards.
The chime sounds without
the push-button having
been pressed.
Wireless devices in the vicinity are affecting
the signal. Change codes (see above).
The LED shines or the chime
sounds strangely for no reason.
The chime’s batteries are flat.
Change batteries.
7. Disposal
This product should be disposed of in accordance with local regulations.
If you are unsure how to proceed, contact your local authority.
8. Specifications
Push-button (transmitter)
Battery
CR2032 lithium (3 V)
Power consumption
9 mA (while transmitting)
0.005 mA (in standby mode)
Chime (receiver)
Batteries
2 × AA/LR6 (sold separately)
Power consumption
80 mA (while receiving)
0.3 mA (in standby mode)
Operating temperature
−10 to +40 °C
Range
Up to 25 m (line-of-sight, outdoors)
Chime signals
8 different melodies/sounds
Size
95 × 60 × 40 mm (chime)
85 × 33 × 25 mm (push-button)
Digital codes
256 different digital codes
Chime (receiver) batteries: 2 × AA/LR6 (sold separately).
1. Remove the battery cover on the back.
2. Insert 2 × AA/LR6 batteries according to the polarity markings in the battery
compartment.
3. The chime sounds twice indicating that it is ready to use and receive
the push-button code signal (the wireless doorbell has an advanced random
learning function used for setting the digital code between the transmitter
and receiver).
Note:
The automatic learning function is only active for
15 minutes from the time that the batteries have been inserted.
Chime signals
1. Westminster chime
2. Ding-dong
3. Telephone signal
4. Circus theme
5. Banjo on my knee
6. Twinkle-twinkle
7. It’s a small world
8. Dog bark
4. Installation
Find a suitable location and test the signal range before drilling any mounting holes.
Push-button (transmitter)
Push the catch (on the side) and pry the push-button’s back off carefully using
a screwdriver. Use the two holes on the backside as a template and mark desired
location close by the door. Drill two holes at the marking and mount the push-
button with the supplied screws (use plugs if needed) or double-sided adhesive
tape (not included).
Note:
Do not mount the push-button on a metal surface as it will reduce
the range considerably.
Chime (receiver)
Use the slotted hanging clip for mounting. Begin by screwing a screw into
the location where you wish to mount the chime. Do not screw the screw flush
onto the surface. Leave at least a 3 mm space between the screw head and
the wall.

