6
English
Memory card
Only use memory card type MicroSDHC, max. 32 GB.
Format the card in the camera before use.
NB:
If the card has previously been used in another device, remember that all
recorded material on the card will be deleted when it is formatted. Make sure that you
transfer any material you want to keep to another location.
Formatting
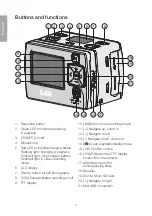
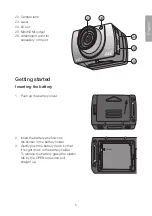
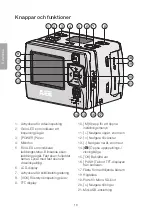
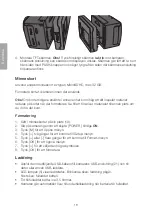
1. Insert the memory card into its slot (19).
2. Switch on the camera by sliding [ POWER ] to the
ON
position.
3. Press [ M ] to open the menu.
4. Press [ > ] twice to get to the
Setup
menu.
5. Press [ + ] or [ - ] several times to get to the
Format
menu.
6. Press [ OK ] to open the menu.
7. Press [ > ] to select the right symbol.
8. Press [ OK ] to format.
Charging
• Connect the accompanying USB cable to the camera’s USB connection (21) and
to a computer or other USB charger.
• The LED light (5) will indicate charging status. Flashing light: charging in progress.
Constant light: fully-charged battery.
• Time required to fully charge battery: approx. 3.5 hours.
• The camera will automatically switch to maintenance charging once the battery is
fully charged.
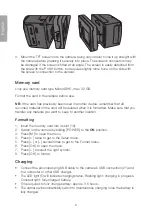
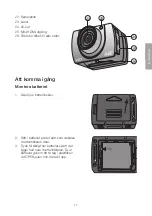
4. Mount the TFT screen onto the camera, being very careful to line it up straight with
the camera before pressing it securely into place. The screen’s connectors may
be damaged if the screen is fitted at an angle. The screen is easily detached from
the side with the PUSH button, but requires slightly more force on the side with
the screen’s connection to the camera.


