background image

PRO-SVR_LEGACY    


Page 1 of 13 

Date:

August 17, 2007 

Model Number: 

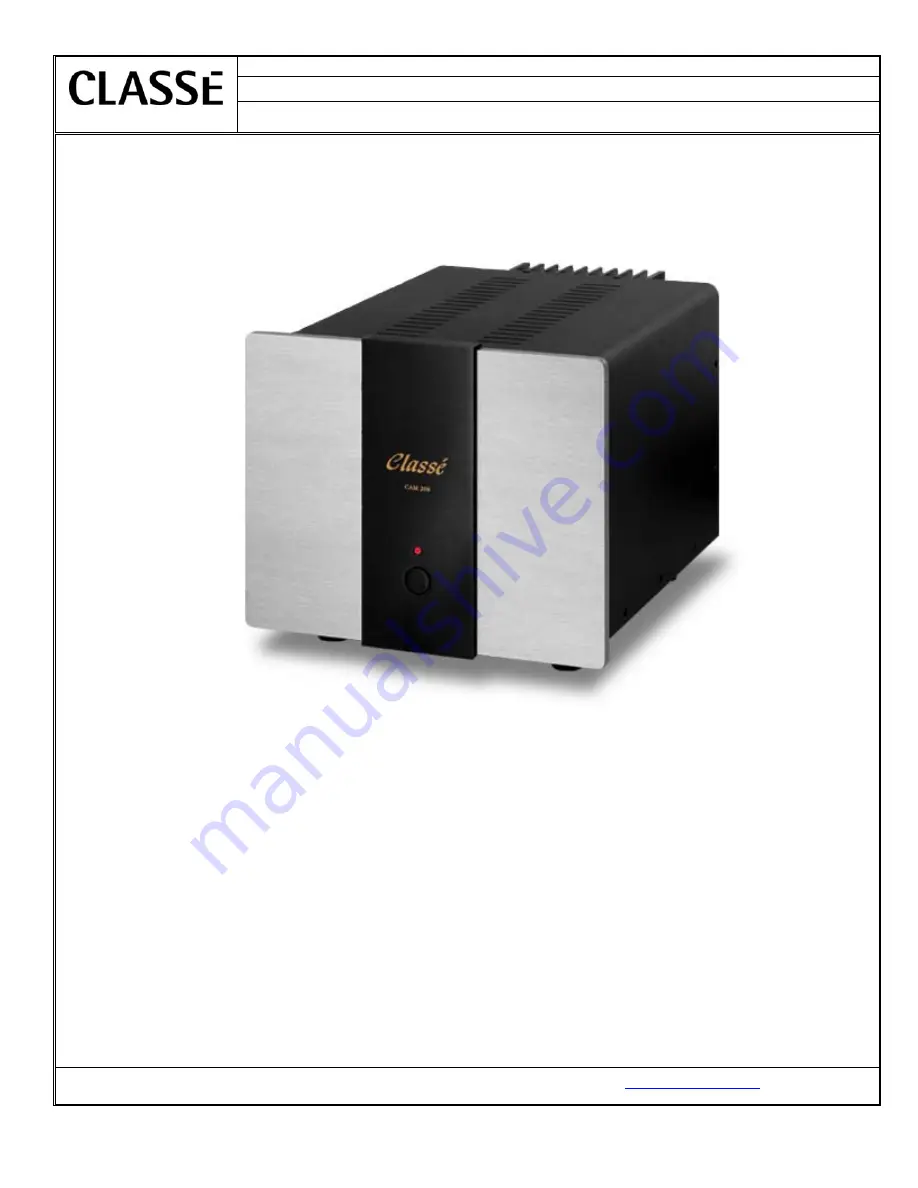
CAM-200

Classé Audio Inc.

Subject:

Service manual 

Classé Audio, Inc. 5070 François Cusson Lachine, Québec Canada H8T1B3, 

www.classeaudio.com

Summary of Contents for CAM-200

Page 1: ...PRO SVR_LEGACY Page 1 of 13 Date August 17 2007 Model Number CAM 200 Classé Audio Inc Subject Service manual Classé Audio Inc 5070 François Cusson Lachine Québec Canada H8T1B3 www classeaudio com ...

Page 2: ...ustments 9 Parts List 10 Updates 11 Fuses 12 Voltage Change 12 IR Interface Information 13 Schematics 14 The contents of this document as well as the files associated with it contain confidential information that is proprietary to Classé Audio Incorporated and are intended solely for the purpose of servicing product No part of its contents may be used copied disclosed or conveyed to any party in a...

Page 3: ...t parts please contact your nearest service center always quoting the unit serial number North America Phone 978 664 2870 E mail classe bwgroupusa com Europe Phone 44 0 1903 221 700 E mail classe bwgroup com Asia Phone 852 2790 8903 E mail classe bwgroup hk Rest of the World Phone 514 636 6384 E mail cservice classeaudio com Important Notes on Servicing 1 ALWAYS observe ESD precautions when handli...

Page 4: ...PRO SVR_LEGACY Page 4 of 13 Block diagrams ...

Page 5: ...pply are not within specifications return to the troubleshooting guide 7 Slowly raise voltage until you hear relays click this point is around 55Vac Recheck every supply 8 If one or more supply are not within specifications return to the troubleshooting guide 9 Raise voltage to 120Vac Recheck every supply 10 If every supply is within specifications unplug the unit and bypass from the variable tran...

Page 6: ...l first need to identify and cure the cause of failure please report to troubleshooting guide When the cause has been identified disconnect the unit from the system including the AC power Remove the top cover and look for damaged or burned components If no other components than the fuses appear to be damaged the technician can then replace the broken fuses with the same value and rating please rep...

Page 7: ...ircuits positive rail negative rail Mosfet supply No output Check connexions Check output relays Check power supply circuits positive rail negative rail Mosfet supply Check output transistors Unit turn into protection Check for smoked and or burned components Check power supply circuits positive rail negative rail Mosfet supply Check source and load Check protection circuit Check sensor wires betw...

Page 8: ...ase Blown output transistors should be replaced by kits not individually These kits contains matched transistors for both rails of one channel When replacing blown output transistors you must also replace positive and negative Mosfet drivers and bias transistor Carefully inspect 4 7ƻ resistor and 10ƻ soft start resistor and replace if necessary Replace any burnt component or board Pins 1 Base 2 Co...

Page 9: ...Adjust trimpot R104 to get a 10mV reading 5 Repeat procedure with R212 and R204 6 Let the amplifier warm up for a 24 hours period with signal and load 7 Remove signal and load and reconnect the multimeter setted to mV scale to R112 leads 8 Readjust R104 to get a 12mV reading 9 Repeat procedure with R212 and R204 DC offset Note DC offset adjustment should be made without any load connected to the a...

Page 10: ...e unit If you need a complete PCB please replace the x in the Classe part number with the revision number printed on the board Parts Description Classe part number B1DAX Complete PCB power switch B1DAXR x B251X Complete PCB output B251XR x B252X Complete PCB amplifier B252XR x B253X Complete PCB control B253XR x B254X Complete PCB capacitors B254XR x B256X Complete PCB AC B256XR x B258X Complete P...

Page 11: ...and 2SK216 They should be mounted on a small aluminium block which is mounted to the chassis see following pics If they are printed as ECX10N20 and ECX10P20 replace them using the following guide Parts needed G213 1029 Mosfet x2 G213 1031 Mosfet x2 G307 1078 Silpad x4 385 288 Screw x4 A306 1048 Lock washer x4 MS 15795 803 Washer x8 A306 1020 Shoulder washer x4 L252XR00 aluminium spacer x4 ...

Page 12: ...N THE POWER SUPPLY AREA UNIT MUST BE DISCONNECT FROM MAIN SOURCE AND CAPACITORS MUST BE DISCHARGED USING A 100W INCANDESCENT BULB 1 Set the primary wires of the main transformer as described below 2 Replace the varistor according to new line voltage following Classe s recommendations If varistor is not available remove old varistor and leave it empty 3 Set the jumpers accordingly on the auxiliary ...

Page 13: ... 3 Turns on Amplifier 6 J3 J2 J1 J0 ADDRESS RC Button Auto ON Note X X X X 0 Amp1 No QC setting X X X Out 1 Amp2 No X X Out X 2 Amp3 No X X Out Out 3 Amp4 No X Out X X 4 Amp5 No X Out X Out 5 Amp6 No X Out Out X 0 Amp1 No X Out Ot Out 0 Amp1 Yes On with AC Out X X X 0 DC No Out X X Out 1 DC No Out X Out X 2 DC No Out X Out Out 3 DC No Out Out X X 4 DC No Out Out X Out 5 DC No Out Out Out X 0 DC No...

Page 14: ...B1DAXR01 sch 1 Thu Jul 26 16 03 19 2007 ...

Page 15: ...B251XR02 sch 1 Thu Jul 26 16 03 47 2007 ...

Page 16: ......

Page 17: ......

Page 18: ......

Page 19: ......

Page 20: ......

Page 21: ...B254XR02 sch 1 Thu Jul 26 16 04 10 2007 ...

Page 22: ...B256XR02 sch 1 Thu Jul 26 16 04 37 2007 ...

Page 23: ...B258XR00 sch 1 Thu Jul 26 16 01 31 2007 ...

Page 24: ...B259XR00 sch 1 Thu Jul 26 16 05 11 2007 ...

Reviews: