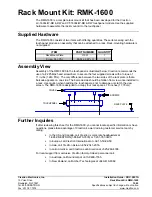
w w w . c l a s s i c
e x h i b i t s . c o m
866.652.2100
© 2011
WHEN DISASSEMBLING ALUMINUM EXTRUSION, TIGHTEN ALL
SETSCREWS AND LOCKS TO PREVENT LOSS DURING SHIPPING
Order #XXXXX - MOD-1244 - Monitor Stand Assembly
1
2
3
4
5
6
7
7
Part Number
1
2
3
4
5
6
7
Steps
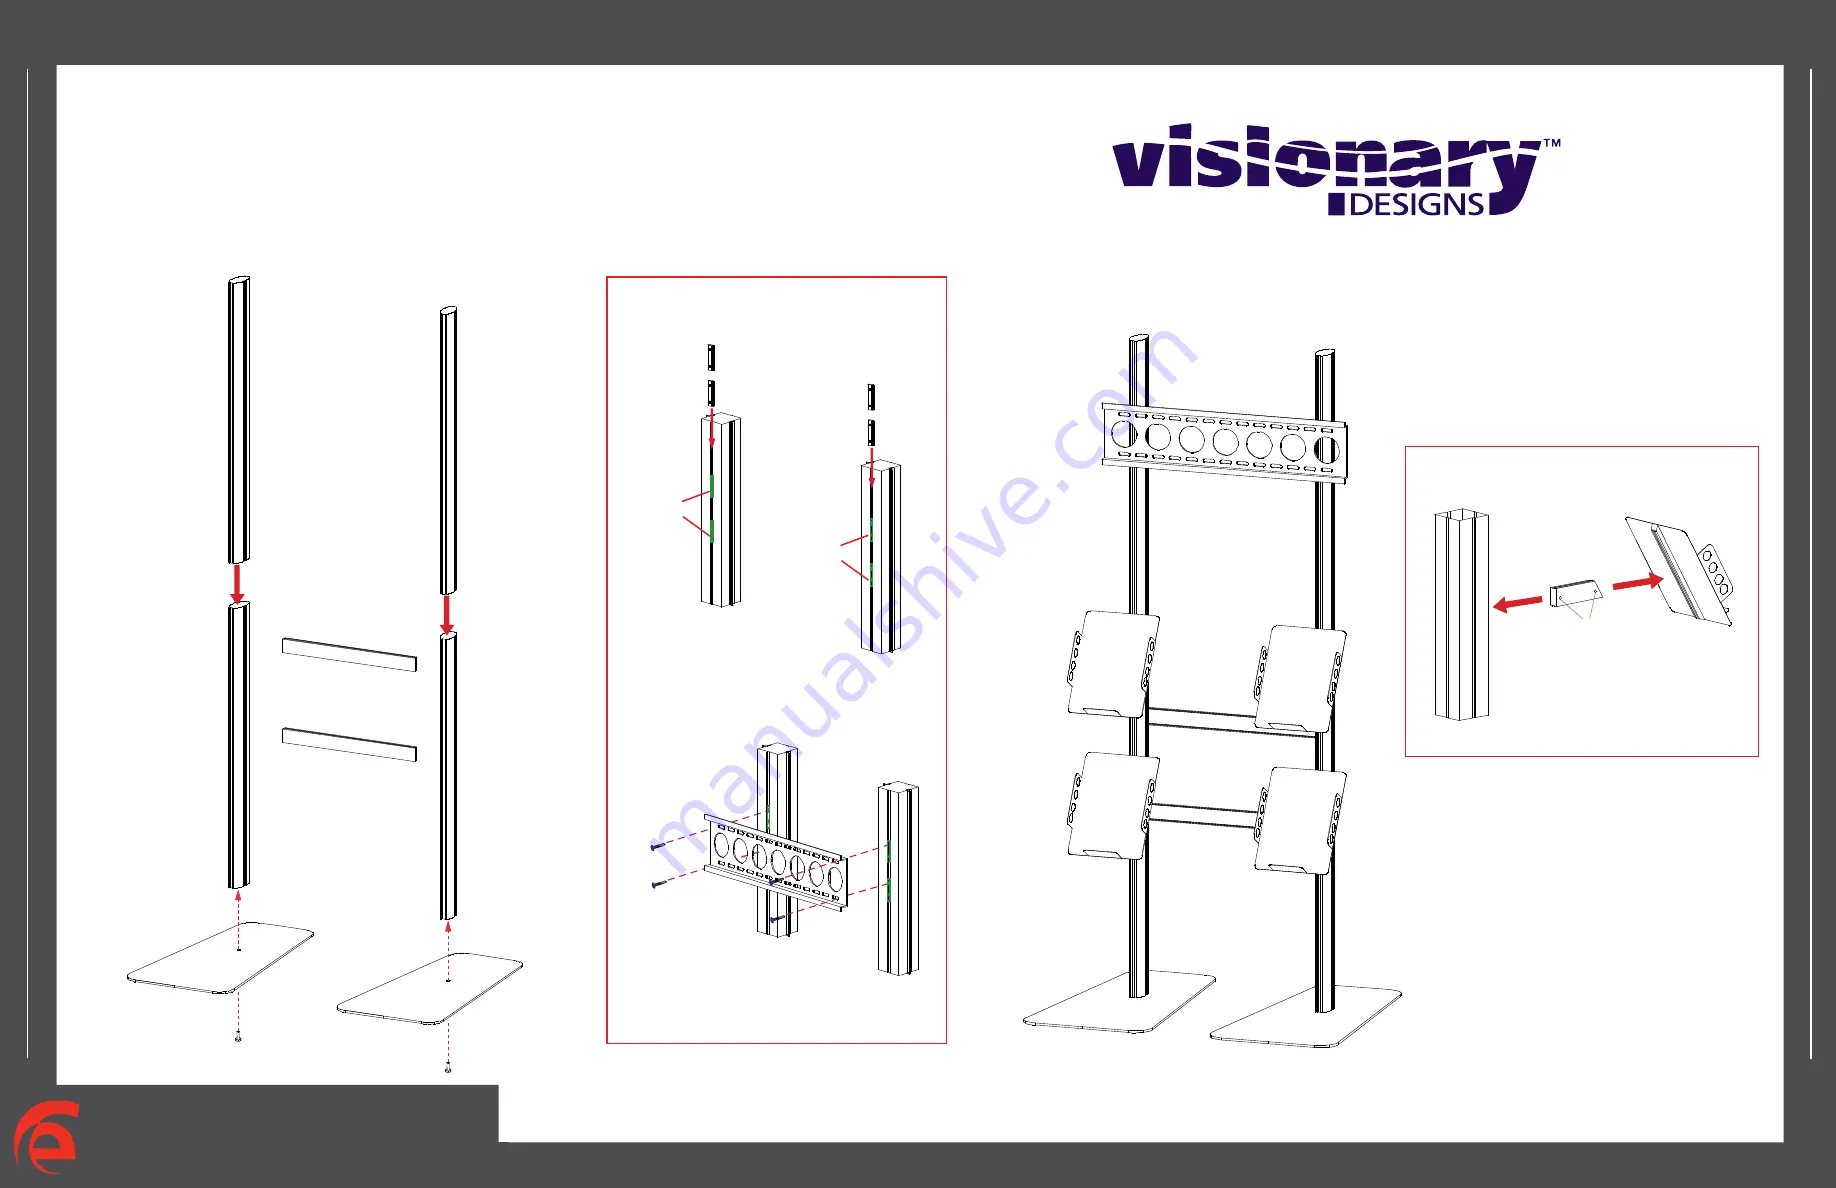
1) Attach vertical extrusions [2 and 5] to the base plates
[1 and 4] - refer to Detail D on General Info page.
2) Attach upper vertical extrusions [3 and 6] atop of
lower vertical extrusions [2 and 5].
3) Attach monitor mount as shown at right.
Description
Base Plate
37.375”h Lower Vertical extrusion
37.375”h Upper Vertical extrusion
Base Plate
37.375”h Lower Vertical extrusion
37.375”h Upper Vertical extrusion
20.25”w Horizontal extrusion
*
Monitor Mount Attachment
Slide mounting connector
pieces into groove of
extrusion. Tighten setscrew
to secure in place.
Then attach
wall plate to connectors
usingsupplied bolts.
Setscrew
Setscrew
*
Attach connector piece to rack
as shown. Then connect
assembled literature
rack to vertical extrusion.
Literature Rack Attachment
Tighten Lock
to Secure


