8.
Tips and Tricks
•
The receiver sends an “All Notes Off” MIDI message if contact is lost with the transmitter. Hence it is possible to
turn off hanging (or “stuck on”) notes by turning off the transmitter.
9.
Extended Setup
Extended Setup is not required for MIDIjet adapters, as they are designed to work as-is out of the box. However, in extreme
situations where there is radio interference from other devices, or where there are many MIDIjet units operating in the same
environment, the following instructions describe how to assign channels and bind adapter pairs together. Extended setup is
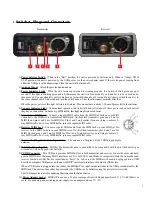
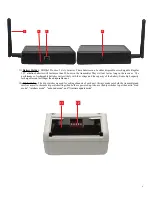
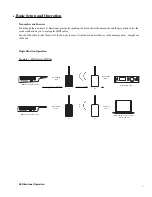
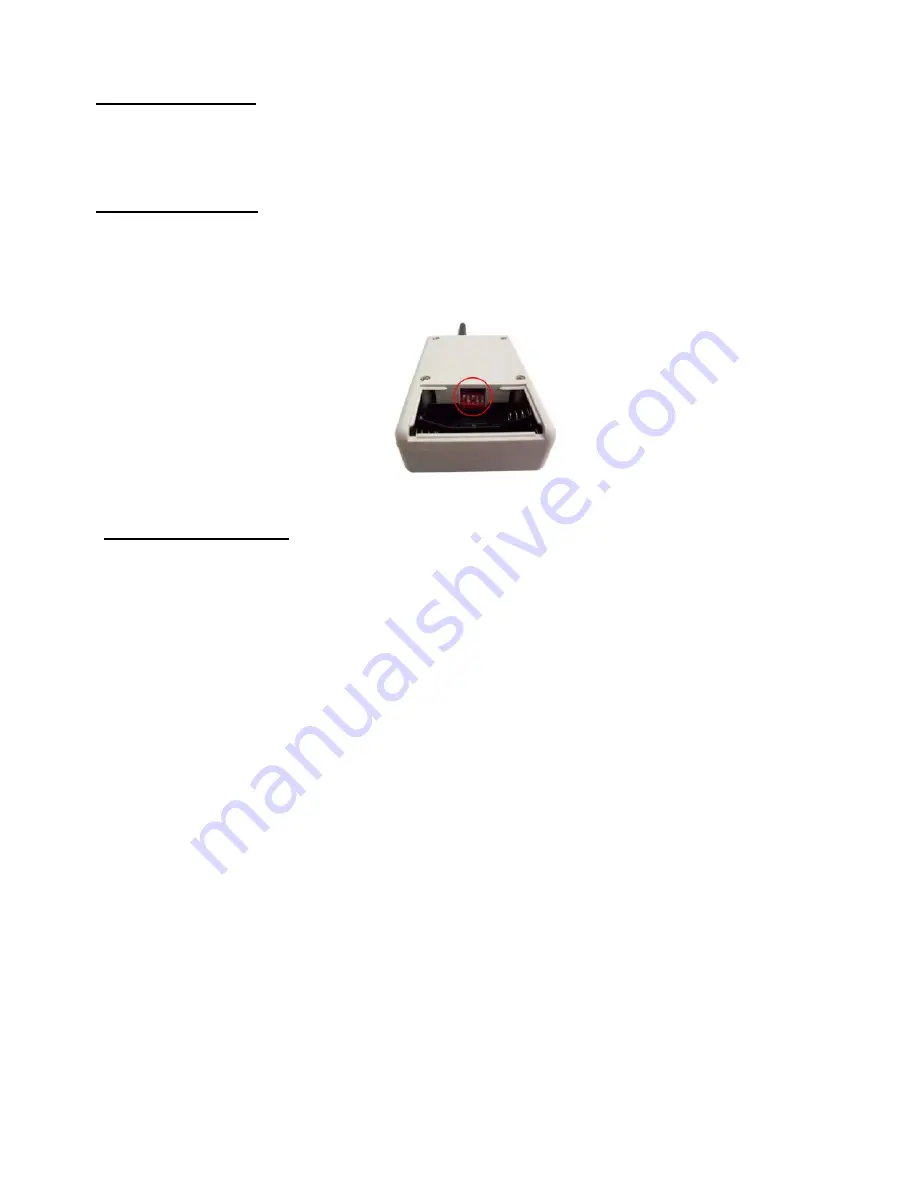
performed using DIP switches located beneath the battery door.
Configuration DIP Switches
9.1
Channel Selection
Each pair of wireless MIDIjet Pro system operates on 1 of 29 wireless channels. The channel is set at the factory, but it can
be changed by the user. Two rules must be followed:
•
A Transmit/Receive pair must be:
o
Bound together
o
Set to the same channel
•
When using multiple Transmit/Receive pairs, each pair must operate on its own channel
To set the channel:
1. Turn transmitter and receiver OFF.
2. Open the battery door on transmitter and receiver and locate DIP switch.
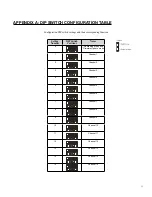
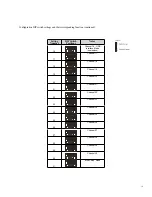
3. Select a unique channel not currently in use by other MIDIjet Transmit/Receive pairs in your environment. Refer
to APPENDIX A: DIP SWITCH CONFIGURATION TABLE for a complete list of switch positions and their
corresponding channels. Note that a “1” indicates UP position, and “0” indicates DOWN position.
4. Set the DIP switches on the transmitter and receiver to the selected channel. The switch positions must match.
5. The wireless MIDI system is ready for use.
11

