c. If that does not solve the problem, ensure the devices are set to the same channel. See extended setup for
further details.
•
If the units are set to the same channel and are not connecting, it is possible that the units are not
bound together. See the “Binding MIDI Adapters” section.
d. If you have multiple pairs (more than two) wireless MIDI adapters, ensure that each pair is operating on its own
channel. See extended setup for more details.
e. Try operating the units in “No Binding” mode. See the “Binding MIDI Adapters” section.
4. ‘CONNECT’ light is blinking, but MIDI data is not being received.
a. Try replacing wireless MIDI adapters with standard cable. If this does not work, the problem lies with the setup
of your MIDI system.
b. Do you have multiple pairs of Wireless MIDI Adapters? Ensure that you have a matching sender and
transmitter, and that each pair is operating on its own channel. See extended setup for further details.
5. Try replacing wireless MIDI adapters with standard cable. If this does not work, the problem lies with the setup of your
MIDI system.
10.
Firmware Updating
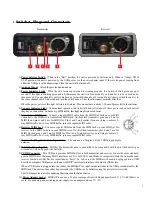
To update the firmware, turn all units off (i.e no power) and put them in “No Binding” mode. This means all dip switches are
in the downward position.
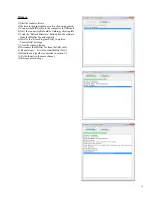
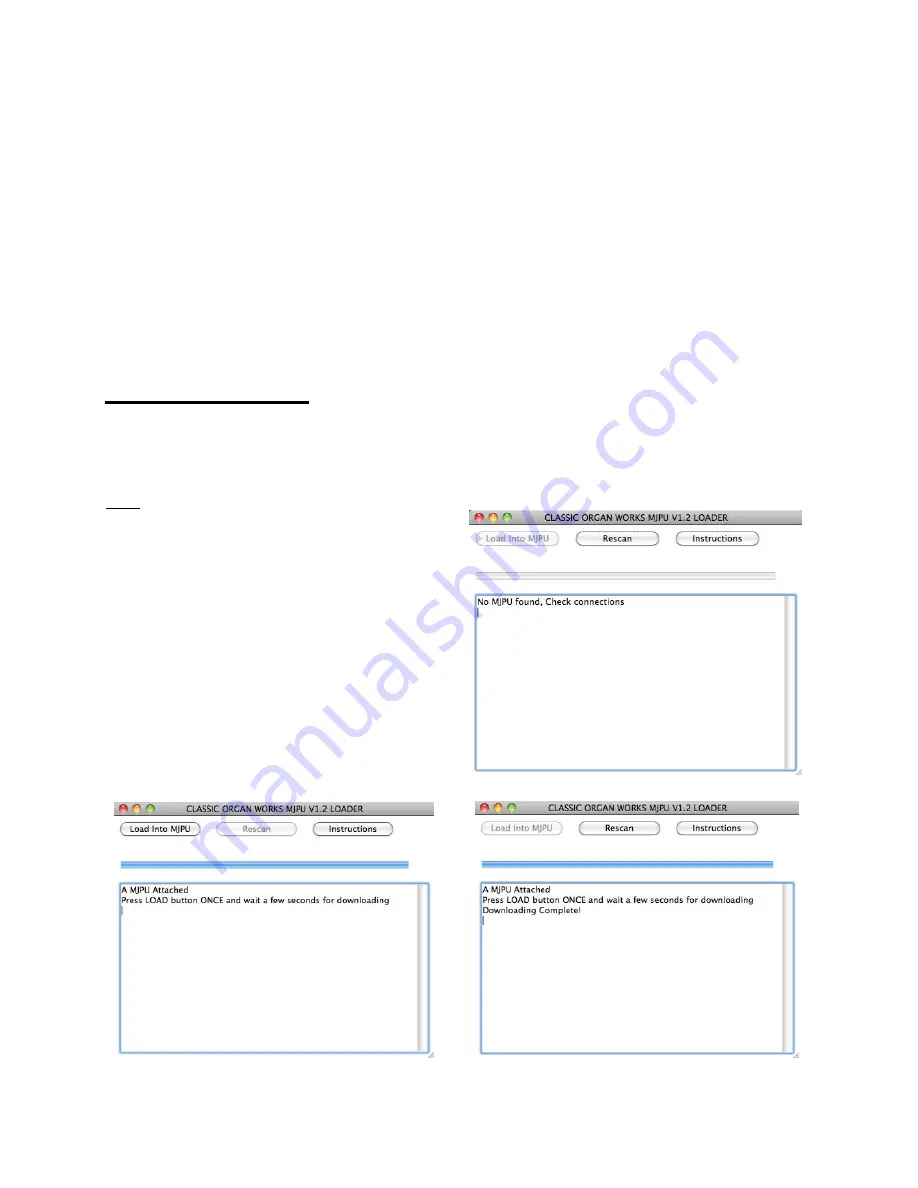
OS X
1) Start the loader software
2) Make sure the dip switches are all in the down position
3) Connect the MIDIjet Pro to the computer via USB
cable.
4) Only the connect light should be flashing yellow rapidly
5) Click “Rescan” in the loader software
6) Click the “Load Into MJPU” button when the software
finds the MIDIjet Pro
7) Wait for the “Downloading Complete!” message
8) Close the loader software
9) Disconnect the MIDIjet Pro from the USB cable
10) Repeat steps 1 - 9 with the other MIDIjet Pro(s)
11) Bind the pair together as describe in section 9.2
12) Set both units to the same channel
13) Resume normal usage
13

