15
o
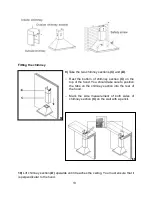
Slide chimney section
(D)
inside of chimney section
(C)
. Then secure the L
shaped bracket to the wall, using the same method as you have just used to
secure the lower bracket.
13)
Lift chimney section
(D)
up to the ceiling and secure it to the L shaped bracket using
the screws provided.
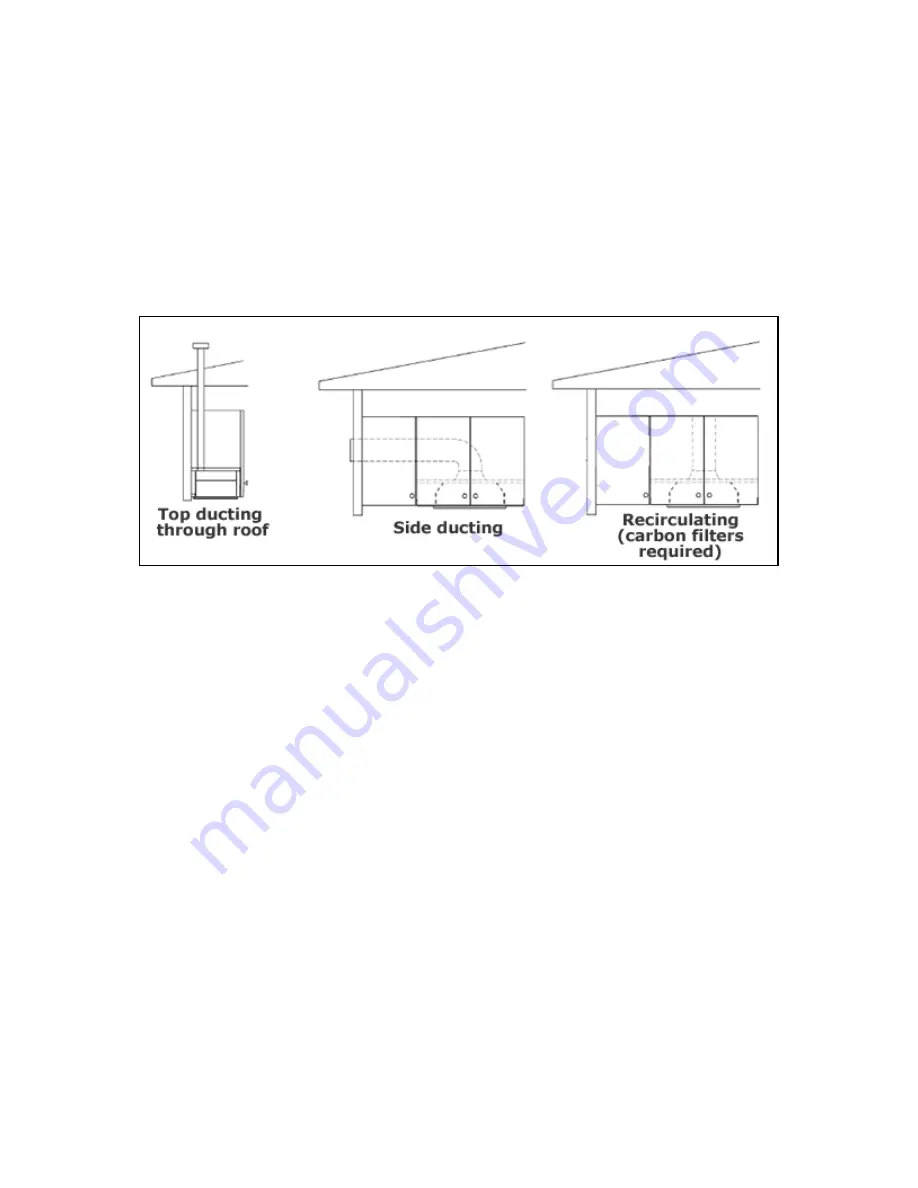
Connecting to external ducting (top)
o
Connect the coupling to the top of the rangehood, using two of the smaller
screws provided (if side ducting, this is either through the wall or the Soffit).
o
Connect a 150 mm ducting hose to a discharge outlet that is suitable for cooking
vapours. Please note that the ducting hose is not supplied with the appliance but
one can be obtained from the Retail outlet where you purchased your appliance.
o
The maximum distance between the coupling and your discharge outlet should
be 3 metres, with one 90 degree bend. For each additional 90 degree bend, the
maximum distance is reduced by a further metre.
o
Before fixing the rangehood into the kitchen unit, you should connect the other
end of the ducting hose to the coupling in the top of the cooker hood.
Completing the installation
If you are setting the appliance to recirculation mode, then you should now fit the two
carbon filters. See the section
“Fitting the carbon filter” on page 9.
The electrical connection must correspond to the electrical requirement noted on the
rating plate, which is placed inside the rangehood. The appliance should now be
connected to the electrical supply. See page 10 for detailed information on the electrical
connection.
Summary of Contents for CLRH90LSS
Page 22: ......


