WARNING
Repair or Warranty Contact
Clayton Associates, Inc.
•
1650 Oak Street
•
Lakewood, New Jersey 08701
•
P.+1-732-363-2100 F.+1-732-364-6084
www.DustlessMadeSimple.com
•
Sales@JClayton.com
Page 5
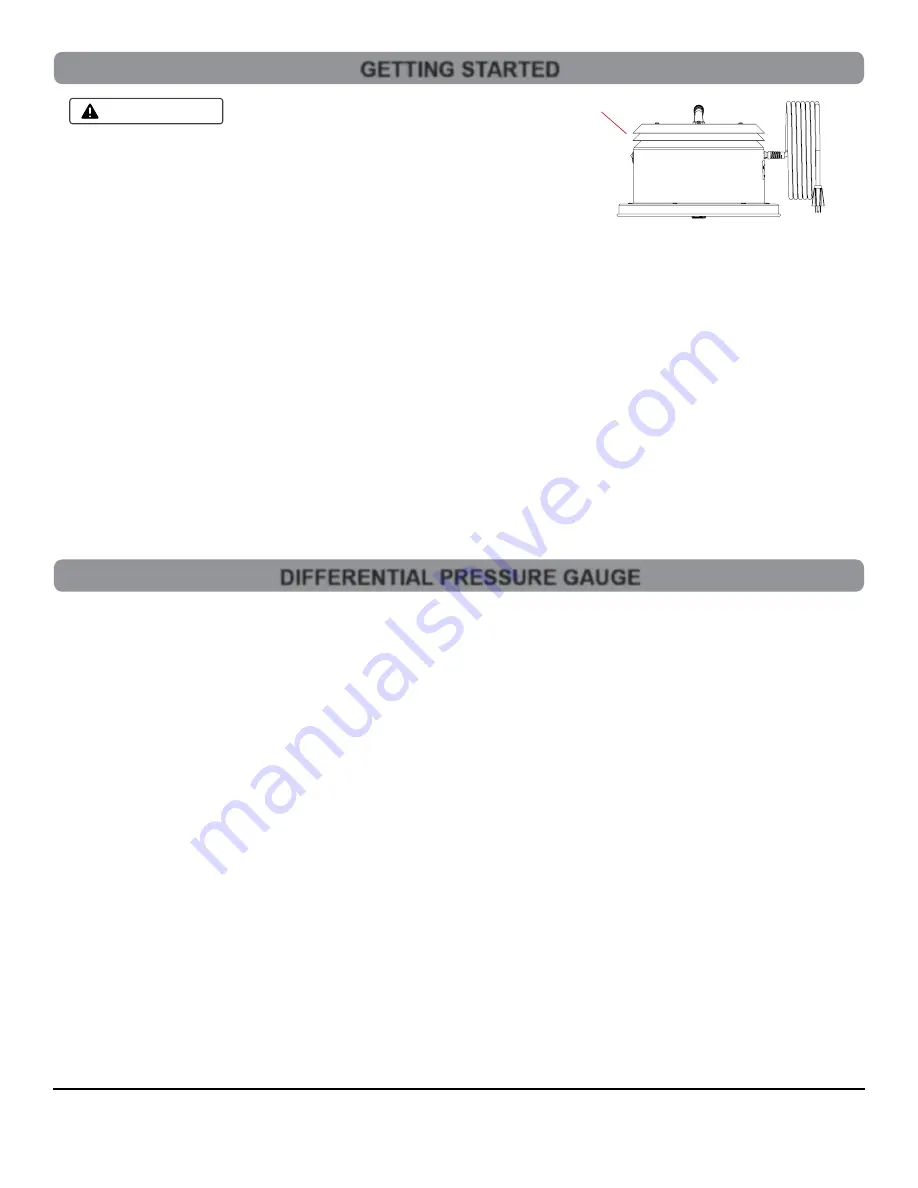
5. Power Head Vents
• NEVER BLOCK THE POWER HEAD VENTS
• NEVER WRAP THE POWER CORD AROUND THE POWER HEAD VENTS
DIFFERENTIAL PRESSURE GAUGE
Principle of Operation
As the Bag Filter, Prefilter, and HEPA filter are loaded with debris, the debris restricts airflow thru the filters. This restriction increases the
differential pressure which is displayed on the Gauge located on the side of the power head. This can help determine when to change the
bag filter, HEPA Filter, and/or Prefilter.
Clayton recommends that the bag filter be changed when it is approximately 75% full by volume. Keep in mind that If the debris is something
like fine powder it will create more restriction and therefore a greater differential pressure than something like rivet stems.
The differential pressure gauge has a range of 0 to -100.
We recommend that each customer test the vacuum in situ to determine their gauge readings for both clean filters
and a bag filter 75% full using the procedure below.
1. Testing the Differential Pressure
Each customer should tailor their differential pressure testing schedule based on how quickly the bag filter will typically reach capacity in their
specific environment.
2. Activating the Vacuum
• Toggle the Power Switch to the ON Position
3. Reading the Gauge
• Hold the inlet port open with your hand (do not insert a hose)
• Read the gauge
• Close the inlet port
• Deactivate the vacuum
4. Changing the Filters
• If, based on the differential pressure gauge reading, you determine that the bag filter needs to be replaced, See the bag filter change
section of this document
• If, after replacing the bag filter, the differential pressure gauge does not return to the clean filter reading, the prefilter and/or HEPA filter may
need to be changed
• See the prefilter change and/or HEPA Filter change section of this document
GETTING STARTED
Vents
Preparing the Vacuum for Use
1. Install a Filter Bag
• Unfold and fluff a new Filter Bag
• Push the inlet tube into the hole on the cardboard collar of the Filter Bag
• Grasp the sides of the cardboard collar and push it all the way on to the inlet tube
• Ensure the bottom of the collar is past the opening on the underside of the inlet tube
2. Unbox a new HEPA Filter
• Remove the Clayton HEPA Timer Card from the box and set aside
• Remove the HEPA Cable Lock from the box and set aside
• Remove the HEPA Filter from the box and remove from plastic bag
3. Install a new HEPA Filter
• Holding the power head on its side, screw the new HEPA Filter onto the threaded nipple
• Ensure the white inner ring of the HEPA Filter is in contact with the underside of the power head
• If it is not, turn it clockwise until it comes in contact with the underside of the power head
• See the instructions included with the HEPA Cable Lock
4. Attach the Power Head
• Sit the Power Head on the tank
• Rotate the Power Head so that the switch on the Power Head is in line with the inlet port on the vacuum tank
• Latch the Power Head to the tank


