28
OPERATIONS MANUAL
29
RHINO-MAT
Brush Roller
Effective life expectancy: 3 to 4 years depending on usage
Date of last replacement: ___________
Maintenance consists of an inspection and thorough cleaning to ensure the
Brush Roller is free from tangled hairs and fibers. Also, check to make sure
that there are no large patches of missing or broken bristles. Large patches
of missing or broken bristles indicate that the effective life expectancy has
been exceeded and the Brush Roller needs to be replaced soon.
Access Point:
Top Hood; always utilize the included hood stands any time
you are doing maintenance on interior components.
Feeder Roller
Effective life expectancy: 4 to 5 years depending on usage
Date of last replacement: ___________
Maintenance consists of an inspection to ensure that the rubber brackets are
intact and not worn down too far. If the brackets are worn and look to be in
bad condition, the feeder roller will need to be replaced.
Access Point:
Top Hood; always utilize the included hood stands any time
you are doing maintenance on interior components.
This maintenance and part replacement schedule is a rough
estimation. Life expectancy for replaceable parts will vary depending
on the volume of usage and operating environment.
Sponge Roller
Effective life expectancy: 1 to 2 years depending on usage
Date of last replacement: ___________
Maintenance consists of an inspection to ensure the surface of the Sponge
Roller is intact. A worn out Sponge Roller will result in mats not being
pressed down tightly enough against the extraction tray to ensure proper
drying of mats. It is highly recommended that the Sponge Roller be replaced
at the first signs of wear and a low quality of drying.
(NOTE: Residual moisture is acceptable as it is only on the top layer and will
dry in the open air.)
Access Point:
Top Hood; always utilize the included hood stands any time
you are doing maintenance on interior components.
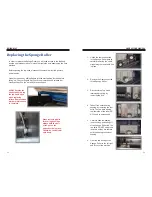
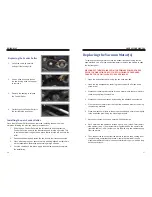
Replacing the Brush Roller
In order to replace the Brush Roller you will need access to the left side door
panel, the top hood, and the right side door panel. Unlock the left and right
side door panels using the keys provided.
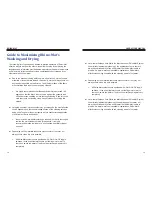
Before opening the top hood, disconnect the machine from the primary
power source.
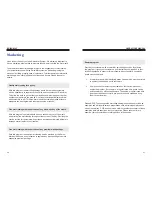
Open the top hood by sliding fingers into the mat-feeding slot with palms
facing up. Curl your fingers up to hook them onto the hood release bar.
Gently pull back on the bar and lift the hood open.
ALWAYS utilize the
hood stands to prop
the top hood open
when replacing
rollers. Remove when
work or maintenance
is complete.
When removing bolts for
bearing housings, always
hold the bolt or the nut on
the opposite side in place.
Otherwise, the bolt will
spin freely.


