Installer's Manual: Clean Burn Air Compressors
3-13
Preparing the Saturn Burner for use with the Air Compressor
WARNING:
To avoid electrical shock hazards, turn off all power to the furnace, and unplug the
burner before proceeding.
1.
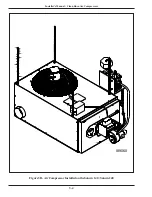
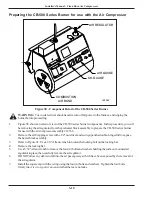
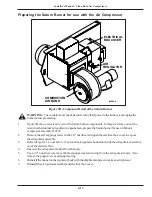
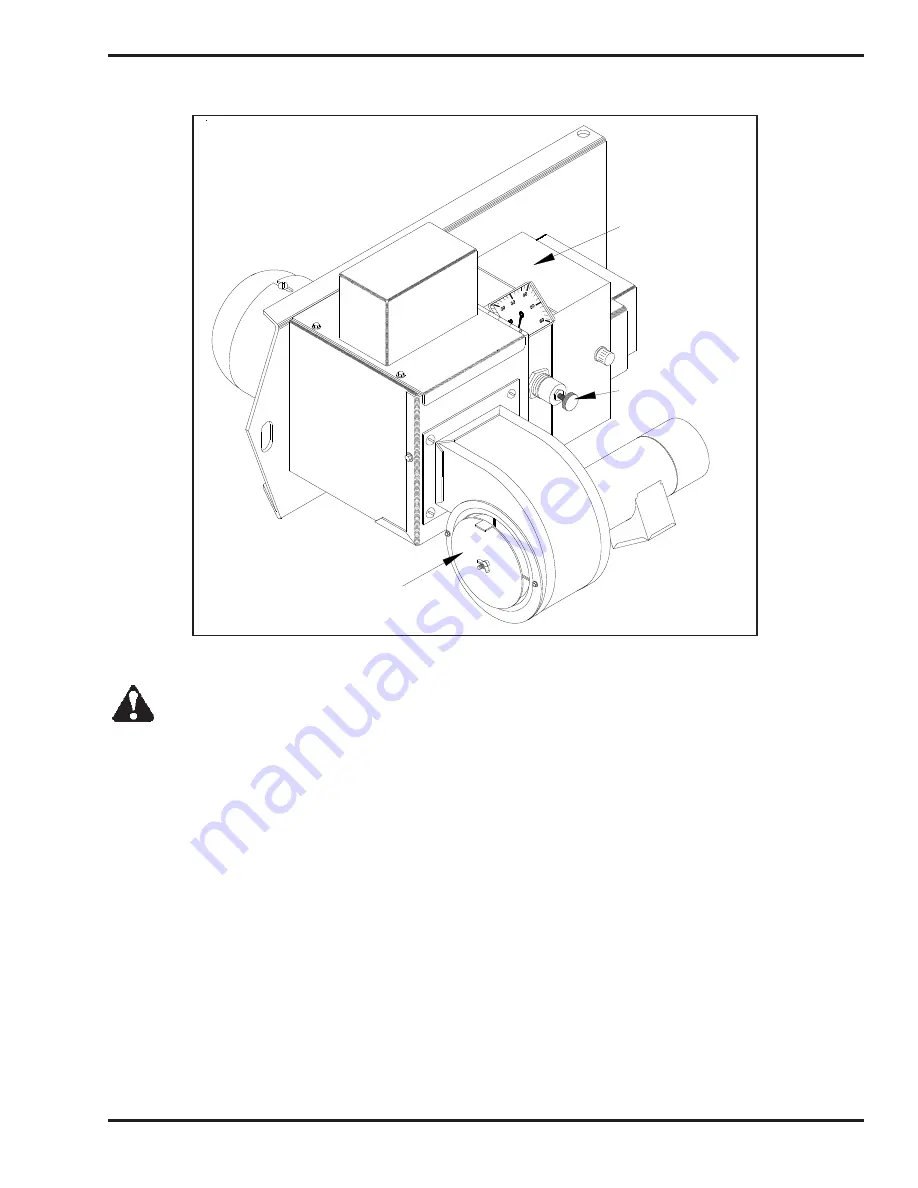
Figure 3H shows an exterior view of the Saturn burner components. In this procedure, you will be
removing the internal air regulator components to prepare the Saturn burner for use with the air
compressor assembly #14336.
2.
Remove the self-tapping screws with a 1/4" nut driver and open the electrical box cover to expose
the air regulator assembly.
3.
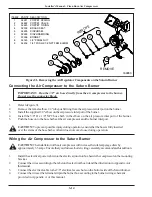
Refer to Figure 3I. Loosen the 3/4" nut on the air regulator bonnet and slide the air regulator assembly
out of the electrical box.
4.
Unscrew the air regulator bonnet from the body.
5.
Use a 1/2" nut driver to remove the brass poppet seat and o-ring from the air regulator body. Also
remove the poppet valve and poppet spring.
6.
Reinstall the bonnet on the regulator body with the diaphram in place to make an air tight seal.
7.
Reinstall the air regulator assembly and electrical box cover.
Figure 3H - Component Detail of the Saturn Burner
I88584−A
COMBUSTION
AIR BAND
ELECTRICAL
AIR
REGULATOR
BOX COVER
Summary of Contents for 14336
Page 2: ......
Page 6: ......
Page 8: ......
Page 12: ...Installer s Manual Clean Burn Air Compressors 2 2...
Page 32: ...Installer s Manual Clean Burn Air Compressors A 4...


