Operation, Care and maintenance, Troubleshooting
2.5 After discharging the tank
☞
Make sure the cover of the discharge hose (
10
) is properly tightend.
☞
When dirty, rinse sieve in the tank cover with clean water (otherwise suction power is reduced).
☞
Check the rubber blades on the suction nozzle for dirt deposits (paper, cigarette ends, sand etc.) before refilling
machine and putting into operation again.
2.6 After operation
☞
Set machine parking lever (
6
).
☞
Fill the clen water tank with some clean water. Switch on the switches for vacuuming, spraying and scrubbing and
leave the unit running until the clean water tank is empty. (This proceedure will rinse the vacuuming tubes, the
spraying hose, the spraying jets and the brush).
☞
Drain the sirty water tank with the discharge hose.
☞
Flush dirty water tank with clean water and train.
3 Care and maintenance
3.1 Important safety notes
Always disconnect mains plug/battery connection before working on machine!
Only carry out maintenance and repair work described in the operating instructions.
Always leave servicing and repair work, especially the elimination of electrical faults to the
ciustomer service staff or to an authorised specialist.
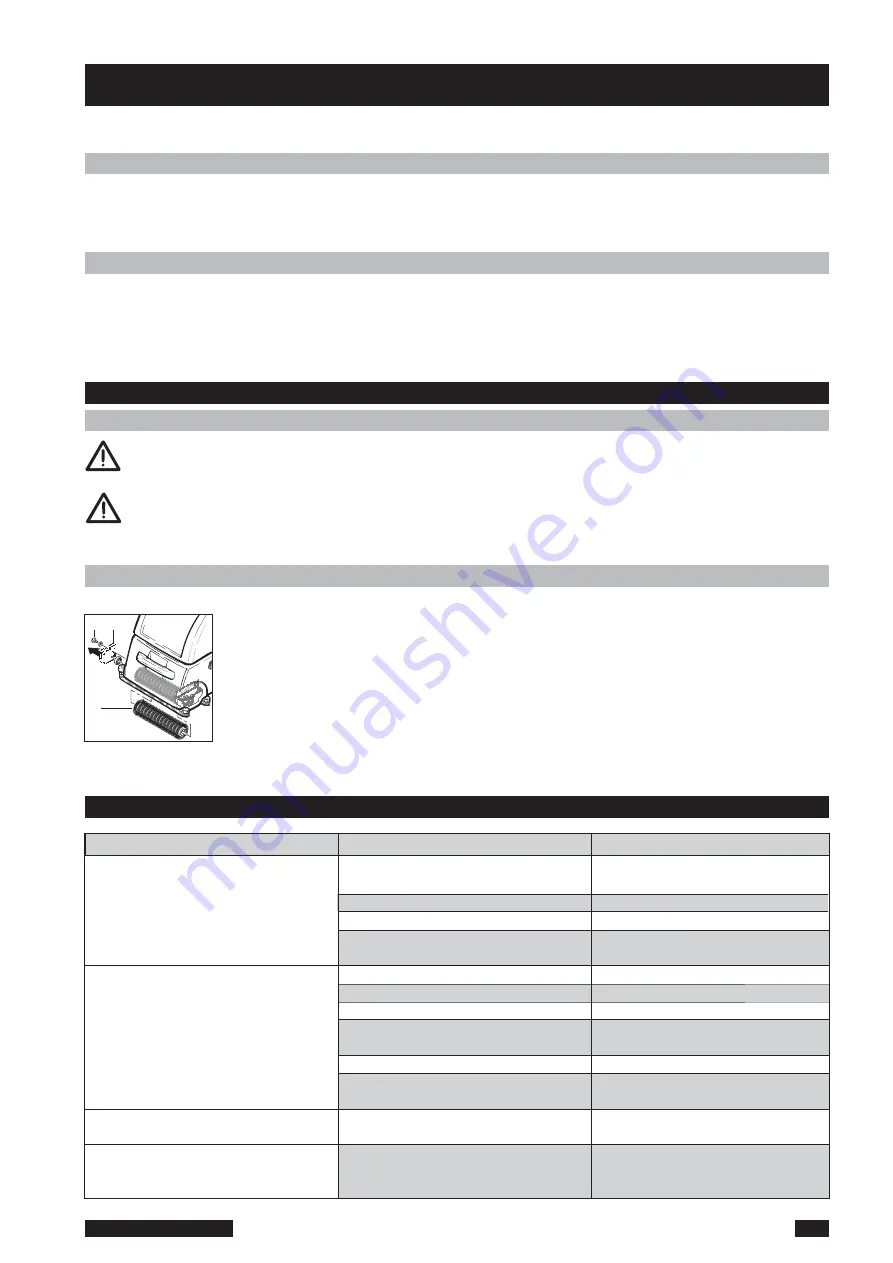
3.2 Changing brush
☞
Tilt machine back onto the handle (only when the tanks are empty!).
☞
Unsrew mounting screw (
a
) next to relieve lever.
☞
Pull off bearing cover (
b
) in the direction of the arrow and remove together with the brush (
8
)
towards rear.
☞
Position new brush on bearing cover and push both parts together as far as possible.
☞
Insert brush into suspension, making sure that both pins of the driver are guided into the holes
of the brush on the drive side.
☞
Secure brush with securing screw (
a
).
Fault
Cause
Behebung
Machine does not run
Insufficient suction
Stripes form
Insufficient supply of cleaning agent
☞
Mains / battery plug not connected
☞
Fuse blown
☞
Overheat protection has trippe
☞
Power supply interrupted
☞
Suction nozzle plugged
☞
Clogged nozzle
☞
Tank cover connection open
☞
Tank cover not properly fitted or
seal defective
☞
Suction sieve in tank cover plugged
☞
Sealing cap on discharge hose not
properly screwed on
☞
Suction lips dirty or worn
☞
Lines or spraying jets plugged with
cleaning agent
●
Plug in mains.
●
Check fuse or earth.
●
Allow motor to cool.
●
Have supply line checked by
electrician.
●
Eliminate plugging.
●
Eliminate plugging.
●
Connect suction hose properly.
●
Fit tank cover properly or replace
seal.
●
Rinse sieve with clean water.
●
Check seal, screw on cap tightly,
replace if necassary.
●
Clean or replace suction lips.
●
Flush fresh water tank and line
system.
●
Rinse sieve in tank cover with water.
a b
8
9
RA 410 E - Englisch
4. Troubleshooting
Summary of Contents for RA 410 E
Page 1: ...RA 410 E Swiss Made Quality 04 2012 BA 410E 000 Englisch...
Page 7: ...RA 410 E Brush motor As at 07 07 15 Time 09 59...
Page 9: ...RA 410 E Chassis As at 07 07 15 Time 09 59...
Page 11: ...RA 410 E Front suction nozzle As at 07 07 15 Time 09 59...
Page 13: ...RA 410 E Lower pushbar 1 As at 07 07 15 Time 09 59...
Page 15: ...RA 410 E Lower pushbar 2 As at 07 07 15 Time 10 00...
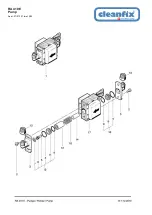
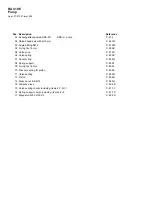
Page 17: ...RA 410 E Pump As at 07 07 15 Time 10 00...
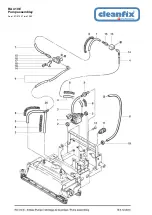
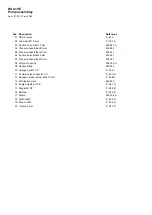
Page 19: ...RA 410 E Pump assembley As at 07 07 15 Time 10 00...
Page 21: ...RA 410 E Suction motor As at 07 07 15 Time 10 00...
Page 23: ...RA 410 E Suction nozzle As at 07 07 15 Time 10 00...
Page 25: ...RA 410 E Tank As at 07 07 15 Time 10 01...
Page 27: ...RA 410 E Wiring plan As at 07 07 15 Time 09 58...


