I C S - 2 1 / 2 1 D T S P E A K E R S T A T I O N
3 - 1
INSTALLATION
1. Connect the 14- to 18-VAC power to the two-position terminal strip. Plug the
terminal strip onto the P2 as show in Figure 2 on page 1-6.
2. Connect the eight-wire, modular RJ-45 connector to J1 as shown in Figure 2
on page 1-6.
3. If the RJ-45 Matrix connector should need to be unplugged, use the following
procedure.
1. Remove power from the station.
2. If the station is installed in a DT-Box, remove the front panel. It is
retained with four screws.
3. Using long-nosed pliers, grasp the top and bottom of the plug so that the
retaining clip will be depressed. Pull the plug out with the pliers.
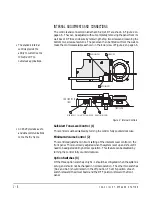
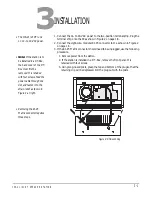
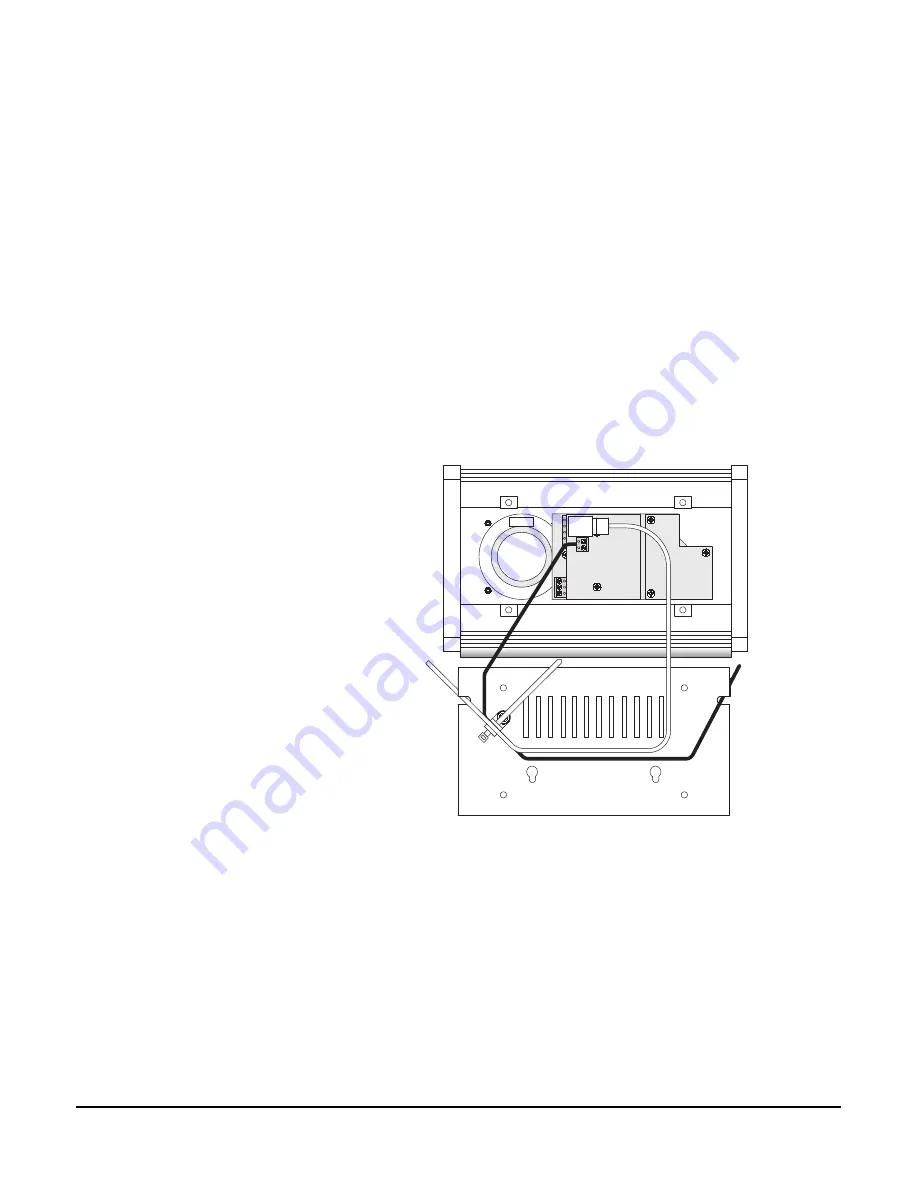
Figure 4: DT-Box Wiring
• The ICS-21/21DT runs
on 14- to 18-VAC power.
• Note: If the station is to
be installed in a DT-Box,
the back cover of the DT-
Box must first be
removed. It is retained
with four screws. Feed the
power cable through one
slot and fasten it to the
strain relief as shown in
Figure 4 at right.
• Removing the RJ-45
Matrix connector requires
three steps.
3
Summary of Contents for ICS-21
Page 1: ...SPEAKER STATION I N S T R U C T I O N M A N U A L ICS 21 21DT...
Page 4: ...I C S 2 1 2 1 D T S P E A K E R S T A T I O N...
Page 13: ...I C S 2 1 2 1 D T S P E A K E R S T A T I O N 1 9...
Page 15: ...I C S 2 1 2 1 D T S P E A K E R S T A T I O N...
Page 16: ...I C S 2 1 2 1 D T S P E A K E R S T A T I O N...
Page 18: ...I C S 2 1 2 1 D T S P E A K E R S T A T I O N...
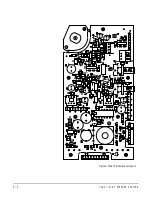
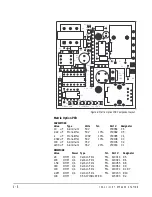
Page 22: ...I C S 2 1 2 1 D T S P E A K E R S T A T I O N 4 4 Figure 6 Main PCB Component Layout...

