9 CV1450/1700/1950 Installation Guide
© Clear Vue Cyclones 2022
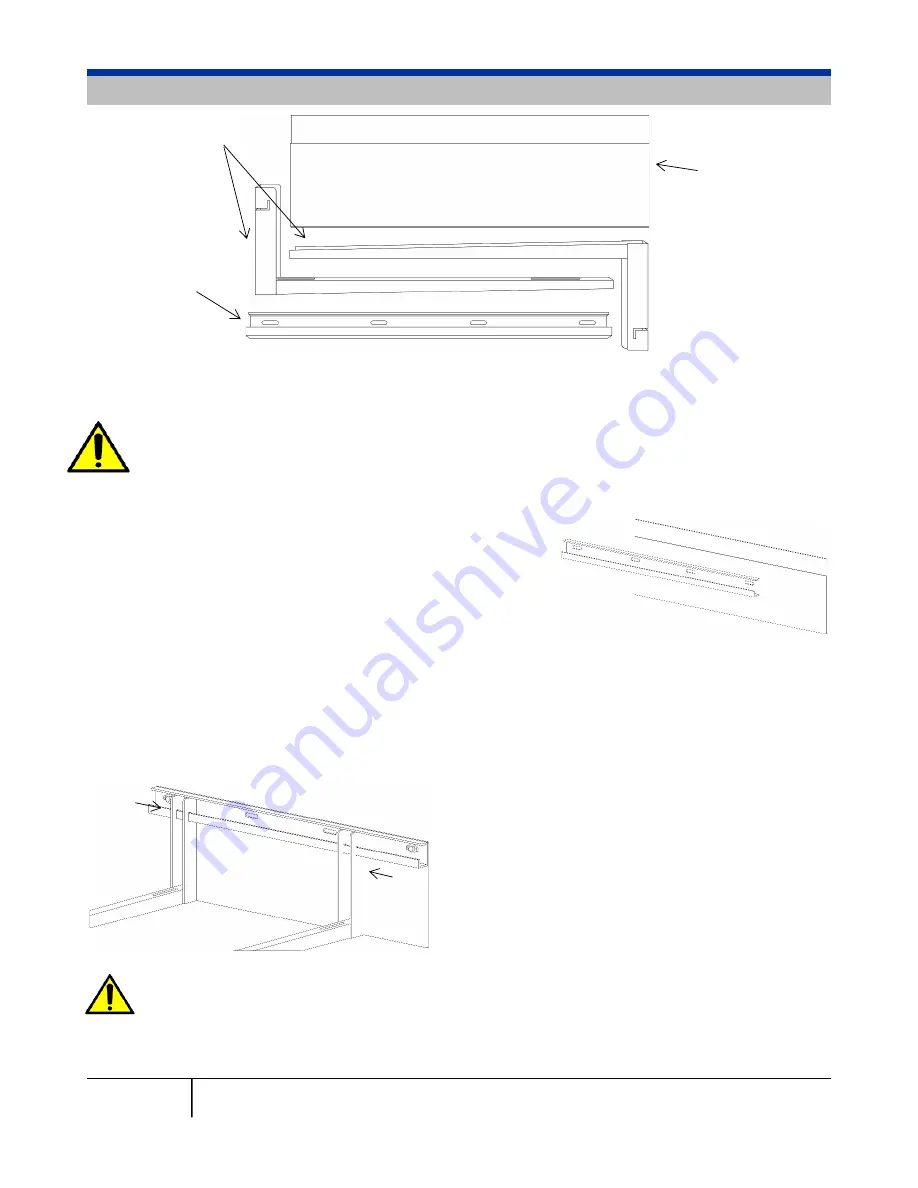
Installing Clear Vue Wall Mounting Brackets*
1. Measure where top of the crossbar will be mounted on the wall and mark accordingly.
Our 8’ installation requires the top edge of crossbar to be mounted at 95.5”.
If your ceilings are higher than 8’ and you are using a collection drum that is taller than
27”, you will need to increase the mounting height of your brackets accordingly. The
measurement does not need to be exact – a longer length of flex hose can be used
between the base of the cyclone and collection drum to take up any excess height.
2. Attach the mounting board with the top flush to the
95.5”. Use the appropriate wood screws (not
included) to attach it to your wall studs.
a. Attach the crossbar to the recessed portion of
the mounting board using
5
⁄
16
” x
2” lag bolts (if
you mount on the outer holes you may need to
take out one of the bolts in order
to attach the arms
3. Slide support arms onto crossbar.
a. Position arms accordingly – the arms can be spaced so that the hanger plate is
situated either lengthwise or widthwise
4. Mount crossbar to the studs of the wall,
using a minimum of
5
⁄
16
” x
2” lag bolts (not
included).
If you choose to mount the crossbar to the wall first before attaching the arms, use
the inner holes for mounting as the arms will not slide past the lag bolts. Once arms
are attached, you can the fasten lag bolts in the outer set of holes.
B
3
D
C
Mounting Board
Support Arms
Crossbar


