9
10
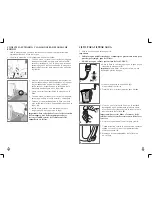
READY FOR FILTERED WATER
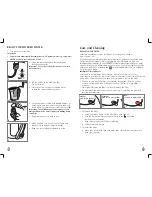
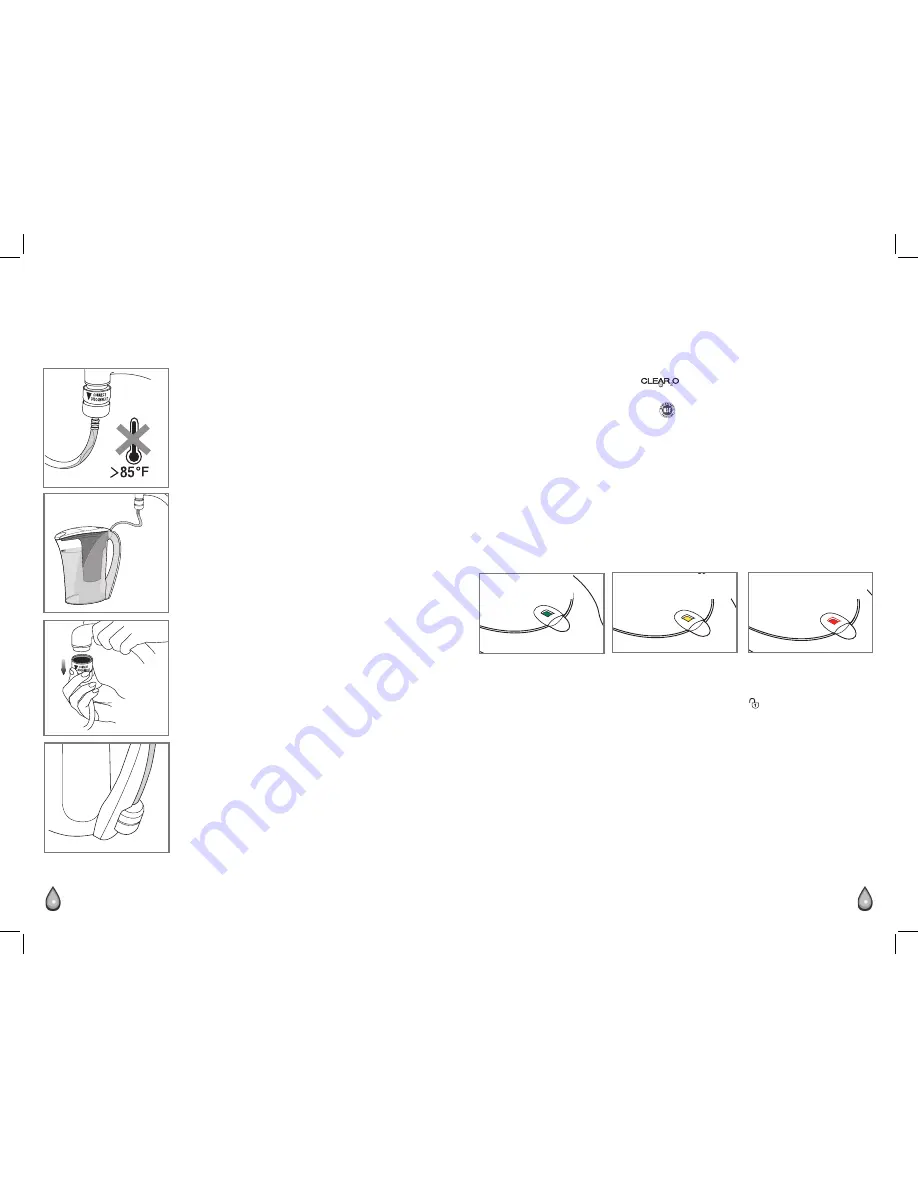
1 . Turn faucet to cold water .
Important:
• You must use municipally treated/private well, potable water (e.g. tap water).
•
NEVER use hot water (above 85°F/29°C).
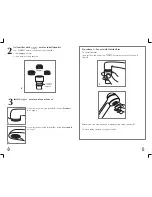
2 . Open the faucet enough so that water flows
through the hose
(P)
.
Important: To avoid overflow, do not use too much
water pressure.
3 . Fill the pitcher to the MAX line
(Q)
.
Do not overfill .
4 . Discard the first 3 pitchers of filtered water
to flush the system and purge the air .
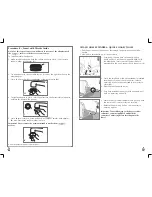
5 . Once the pitcher is filled with desired amount of
water, again push down outer ring and then pull
down connector to disconnect from the faucet
(R)
.
Important: To avoid damage to the connector, you
must push down the outer ring before pulling down
connector.
6 . Wipe the connector surface to dry .
7 . When finished, insert quick-connect hose and
connector into storage compartment
(S)
.
8 . Keep new faucet adapter attached in place .
R
S
Care and Cleaning
REPLACING THE FILTER
Filters are available at various retailers or by visiting our website at
www .clear2o .com .
For best results, the filter should be replaced after 50 gallons of consumed water .
Unlike some other product filters that estimate filter life based on time, the
intelligent filter indicator in your
®
system measures the amount of water
you use, resulting in a better value for your money . You will not replace the filter
unless you really have exceeded the
recommended filter capacity; therefore,
it will last much longer .
Intelligent Filter Indicator
Your unit has an Intelligent Filter Indicator built into the filter cover that
automatically activates the flow meter indicator and resets it every time you install
a new filter . This makes it easy to know exactly when to replace the filter .
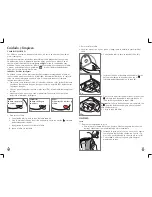
• As soon as you install the filter, the indicator turns green
(T)
for 40 gallons
of water consumption then it changes to yellow
(T1)
for 10 more gallons
of water .
• Once indicator turns red
(T2)
, it is time to replace the filter .
• Do not unlock the filter unless you are replacing it . Unlocking the filter will
reset the filter indicator .
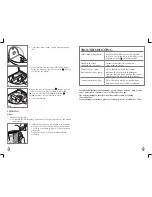
1 . To remove the filter:
a . Using your index finger, lift the filter lid to open
(see U)
.
b . Turn the bar on the filter counterclockwise to the
(unlocked
symbol) position
(see V)
.
c . Keep turning the bar until filter is released .
d . Pull out filter and discard .
2 . To install the filter:
a . Wash your hands with soap and water, then remove the clear protective
wrap from the filter .
T
GREEN
good for 40 gallons
T1
YELLOW
good for 10 more gallons
T2
RED
It’s time to replace filter
P
Q
Summary of Contents for CWS100A
Page 32: ...61 62 NOTES NOTAS NOTES NOTAS...

