


33
FieldSmart
®
Fiber Scalability Center (FSC)
__________________________________________________________
Installation Manual
Direct: 763.476.6866 • National: 800.422.2537 • www.SeeClearfield.com • techsupport@clfd.net
Manual 009246 REV J - Feb 2020
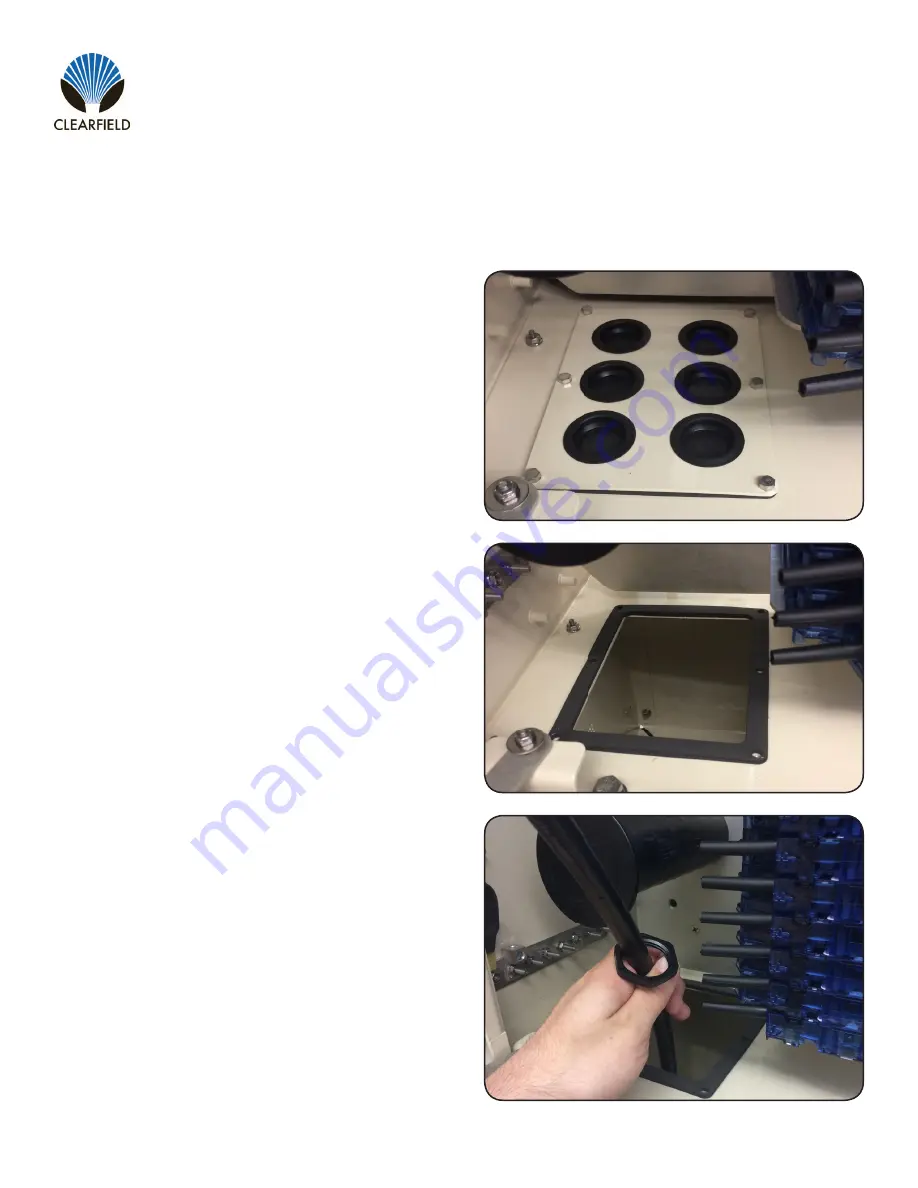
Cable Installation and Splicing
The steps below are written with the 4” riser, which doesn’t feature an access door, in mind. If you have a 12” riser with an
access door, any step which involves removing the entrance plate can be done instead by removing the riser access door
and accessing the underside of the entrance plate from inside the riser.
Determine which port(s) in the feed-through entrance
plate will be used to install the cable(s).
Note
:
If you intend to bring more cables into the
cabinet at a later date, it is recommended that you
work from back to front, installing initial cables as far
in and as close to the cabinet bulkhead as possible.
1.
2.
3.
If the entrance plate already has a cable installed, you
will need to loosen the sealcon’s dome nut. This will
allow the plate to slide along the pre-installed cable.
Remove the 6 mounting screws holding the entrance
plate into the cabinet and remove the plate. Save the
mounting screws and keep the gasket around the
entrance plate hole.
4.
Bring your cables up through the entrance plate hole,
into the cabinet, and place the lock nuts over the ends
of your cables.


