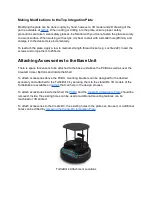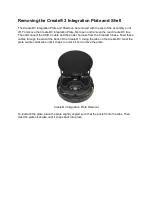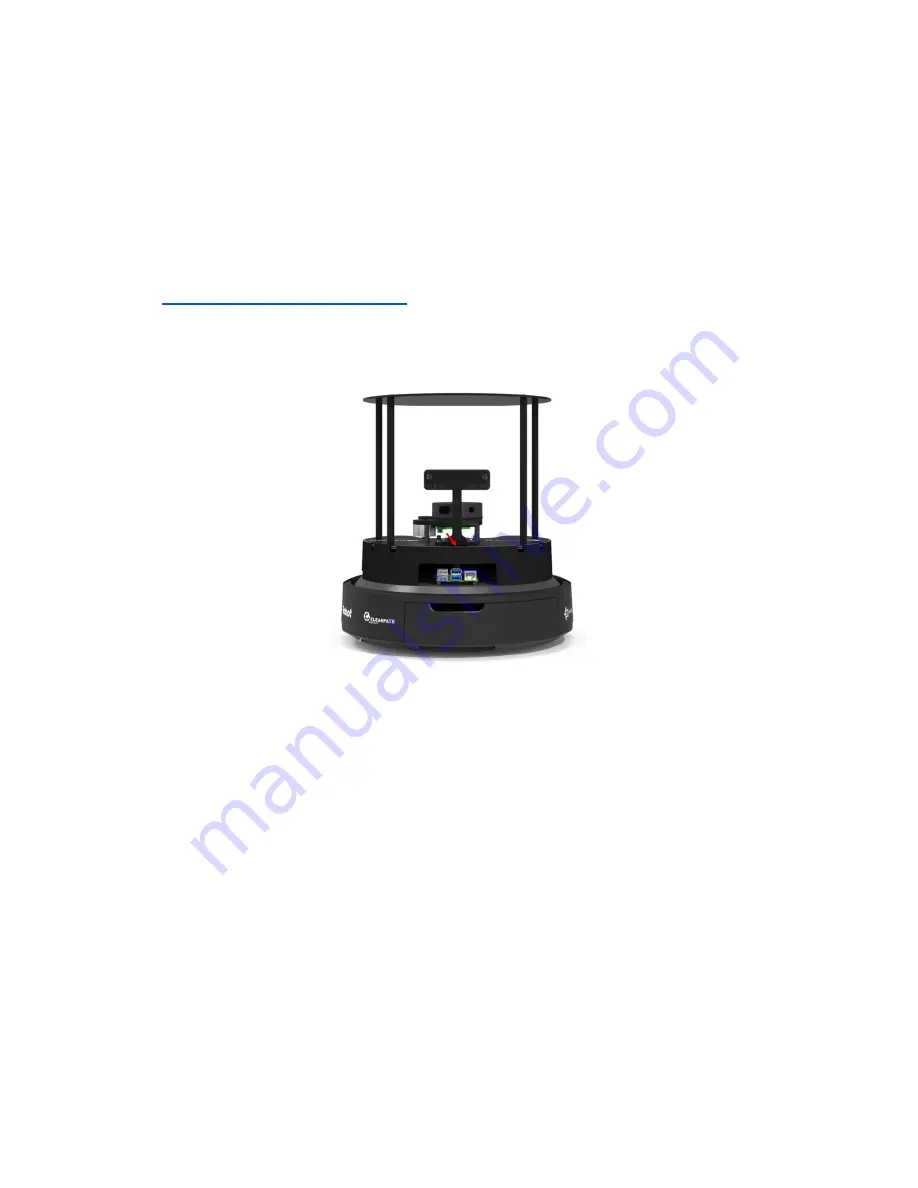
Removing the PCBA
To access the inside of the "Shell" of the TurtleBot4, the PCBA can be removed. Ensure that
you have a safe spot to place the PCBA when it is removed to prevent damage to the
components. It is recommended that this procedure is done on an Electrostatic Discharge Mat
to protect the PCBA from damage caused by static electricity. Follow the steps below to remove
the PCBA.
1.
Remove the Top Integration Plate
and the four standoffs.
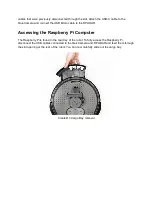
2. Disconnect the USB cables connected to the Oak-D Camera and the RPLIDAR. Feed
these cables through the opening at the back of the Robot.
TurtleBot 4 Cable passthrough
3. Carefully lift the PCBA by holding the camera bracket or the RPLIDAR base.
4. Disconnect the USB-B cable, the power harness, the 40 pin ribbon cable, and the fan
cable, as well as any other cables that may have been attached.
The PCBA should now be free to be removed and placed safely.
Summary of Contents for TurtleBot 4 Lite
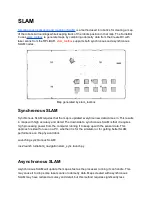
Page 50: ...Running the Light Ring test...
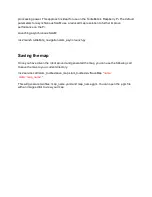
Page 61: ...Adding Displays in Rviz2...
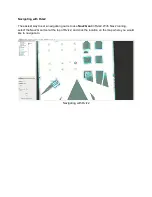
Page 63: ...Camera image displayed in Rviz2...
Page 82: ...TurtleBot 4 Lite with a NED2 arm...
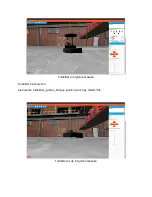
Page 147: ...Color camera diagnostics...


