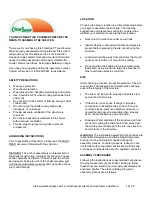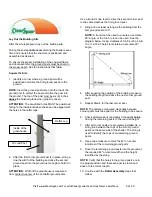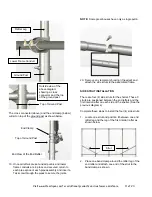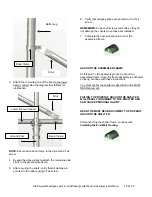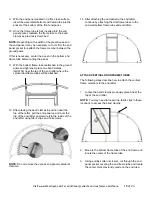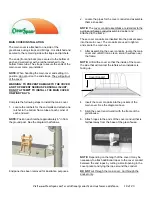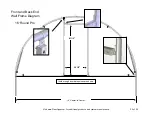
The middle connector is inserted
inside
the larger
bottom frame tubes and secured using Tek screws.
ATTENTION:
Install the screws on the back side of the
frame tube near the bottom so they do not interfere with
the door installation.
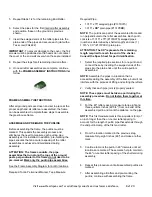
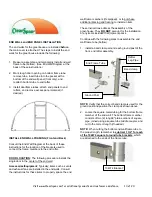
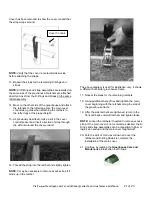
Consult the End Wall Diagram for dimensions.
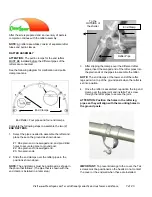
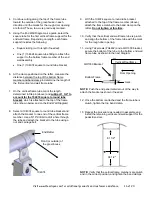
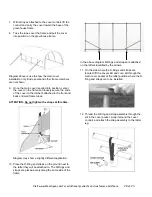
3. Position this assembled bottom frame member on
the ground between the legs of the end rafter at the
front of the greenhouse and temporarily secure the
tube to the band clamps on the ground posts. This
bottom end wall frame section will be directly below
the end rafter.
NOTE:
Do not tighten the bolts at this time. The frame
tube will be removed after the rough door opening is
marked on the tube.
Consult the diagram that follows for additional
information.
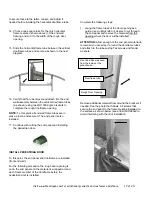
4. After the bottom frame member is in position, locate
the center of the bottom end wall frame and mark
the location.
5. Using the End Wall Diagram as a guide, mark the
rough door opening for the pedestrian door.
6. Repeat the steps for the back end wall.
ATTENTION:
The back end wall, like the front, is framed
for the installation of the pedestrian door. If you are not
planning to install an optional pedestrian door in the
back wall, the vertical frame tubes for the doorframe can
be cut and moved outward to align with the zippered end
wall cover.
This will allow for the unobstructed use of the open back
panel of the greenhouse.
All vertical end wall frame tubes for the end walls are
installed after the end wall panels are secured to the end
rafters.
7. Locate the end panel for the front of the greenhouse
and spread it out on a clean, flat surface.
NOTE:
This is the panel that does not include the double
zippers.
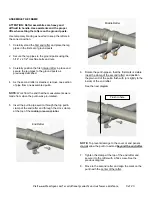
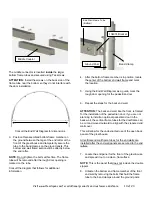
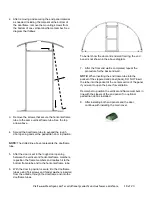
8. Unfasten the bottom end frame member of the front
end wall by removing the bolts that hold the frame
tube to the band clamps around the ground posts.
Ground Post
Band Clamp
End Wall Frame Tube
(Bottom)
104074 Bracket
Middle Coupler
Visit www.ClearSpan.com for additional products and customer assistance.
14 of 24


