After the site is prepared and an inventory of parts is
complete, continue with the rafter assembly.
NOTE:
All rafter assemblies consist of separate rafter
tubes and purlin clamps.
RAFTER ASSEMBLY
ATTENTION:
The purlin clamps for the end rafters
MUST BE installed
before
the different pipes of the
rafters are connected.
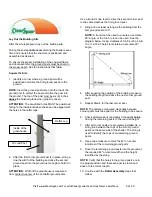
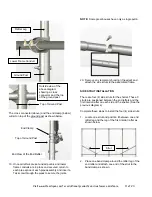
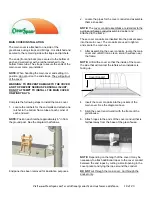
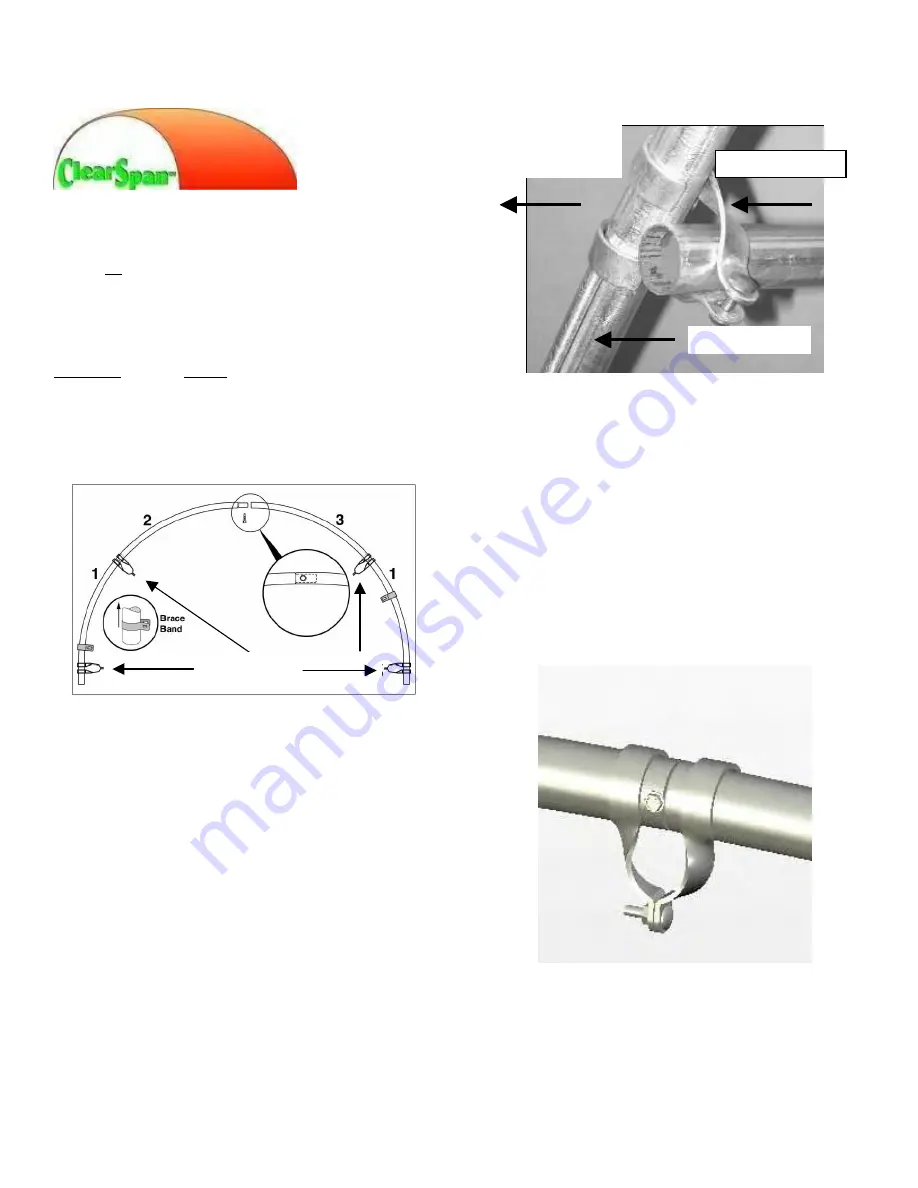
See the following diagram for clarification and purlin
clamp locations.
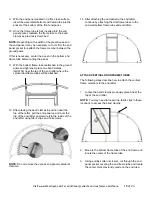
End Rafter: Four pipes and four end clamps.
Complete the following steps to assemble the two (2)
END RAFTERS
.
1. Select the pipes needed to assemble the rafter and
place these on the ground as shown above.
#1: One plain end, one swaged end, and pre-drilled
holes to secure leg pipe to ground post.
#2: One plain end; one swaged end.
#3: Two plain ends.
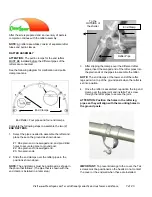
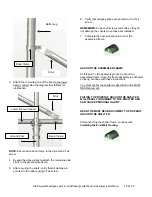
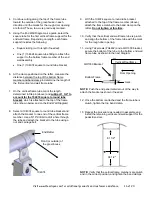
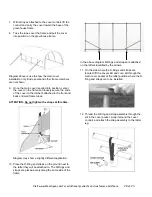
2. Slide the end clamps over the rafter pipes in the
positions shown above.
NOTE:
The end clamps must be positioned as shown in
the photo that follows. (The pipe that is shown with the
end clamp is installed in a later step.)
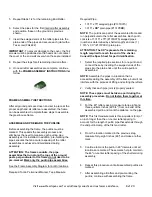
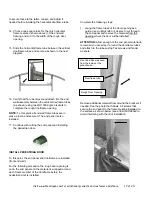
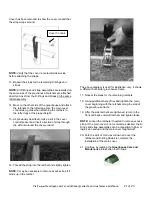
3. After slipping the clamps over the different rafter
pipes, insert the swaged end of the rafter pipes into
the plain ends of the pipes to assemble the rafter.
NOTE:
The end clamps at the lower end of the rafter
legs will sit on top of the ground posts when the rafter is
set into position.
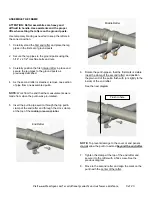
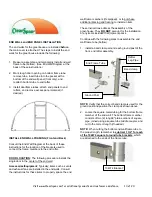
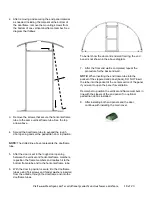
4. Once the rafter is assembled, reposition the top end
clamp over the pipe joint and install a Tek screw
through the rafter pipes to secure the joint.
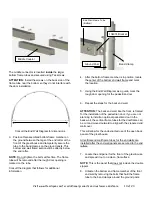
ATTENTION: Position the holes in the rafter leg
pipes so they will align with the mounting holes in
the ground posts.
IMPORTANT:
To prevent damage to the cover, the Tek
screws must be positioned so the heads do not contact
the cover or the end wall when these are installed.
Rafter Pipe
End Clamp
To the
OUTSIDE of
the shelter
End Clamps
Visit www.ClearSpan.com for additional products and customer assistance.
7 of 24


