CLEARSPAN
™
GREENHOUSES
22
Revision date: 10.03.14
END PANEL INSTALLATION (continued)
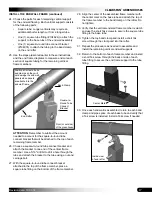
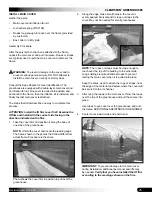
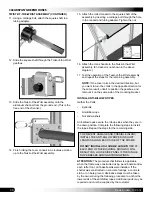
11. Install the End Cap profile on the bottom of the small
panel.
When the end cap is installed at the bottom of
the panel, it will overlap the top of the door frame of the
door.
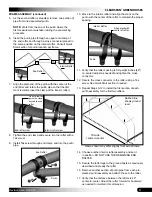
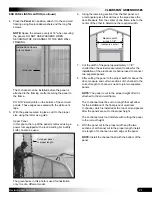
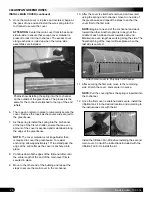
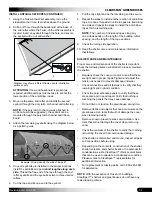
12. Using Tek screws (no washers), secure the panel in
place above the door by installing a screw through
the center of the H-channel and into the vertical frame
member.
NOTE:
The H-channel must be below the top of the
rafter and short enough to allow for the installation
of the final piece of aluminum profile. If necessary,
remove the panel, cut the H-channel, and reinstall the
panel.
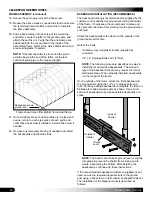
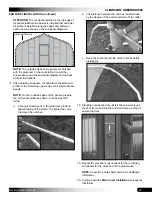
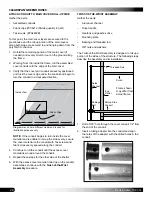
13. Select the trimmed
Panel B
for the remaining side of
the door, remove the protective film, attach U-channel
to the edge of the panel adjacent to the door and apply
white vent tape to the bottom edge if not already done.
14. Place the panel in position with its UV-protected
surface to the outside and attach the panel to the end
wall framing as previously described.
End Cap
H-channel
Trimmed polycarbonate panel
above the door.
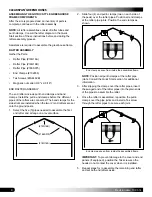
10. With the H-channel in place on the small panel and
flush with the bottom of the panel, measure the
distance between the
edges of the H-channel
at the
bottom of the panel and cut a section of End Cap
profile to fit between the H-channel.
Trimmed
6' x 10' Panel
Not to scale.
B
B
A
The edge of the panel is inserted behind the frame of
the door and into the H-channel attached to the small
panel above the door.
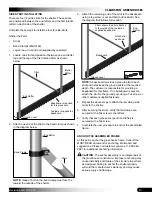
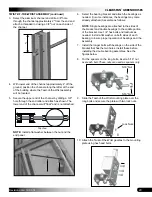
15. Cut the panel to the proper dimensions using the end
rafter as the guide and place the next panel in position
as shown below.
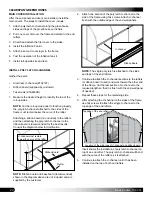
16. Continue installing the polycarbonate panels and
aluminum profile in the locations shown on the end
panel diagrams (Quick Start section) for the front and
back end walls.
6' x 10' Panels
Not to scale.
Diagram shows the end panel locations. Consult the
End Panel Diagram when installing panels.

