CLEARSPAN
™
GREENHOUSES
30
Revision date: 10.03.14
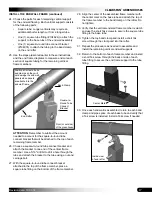
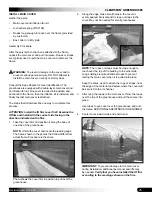
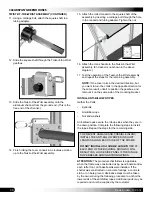
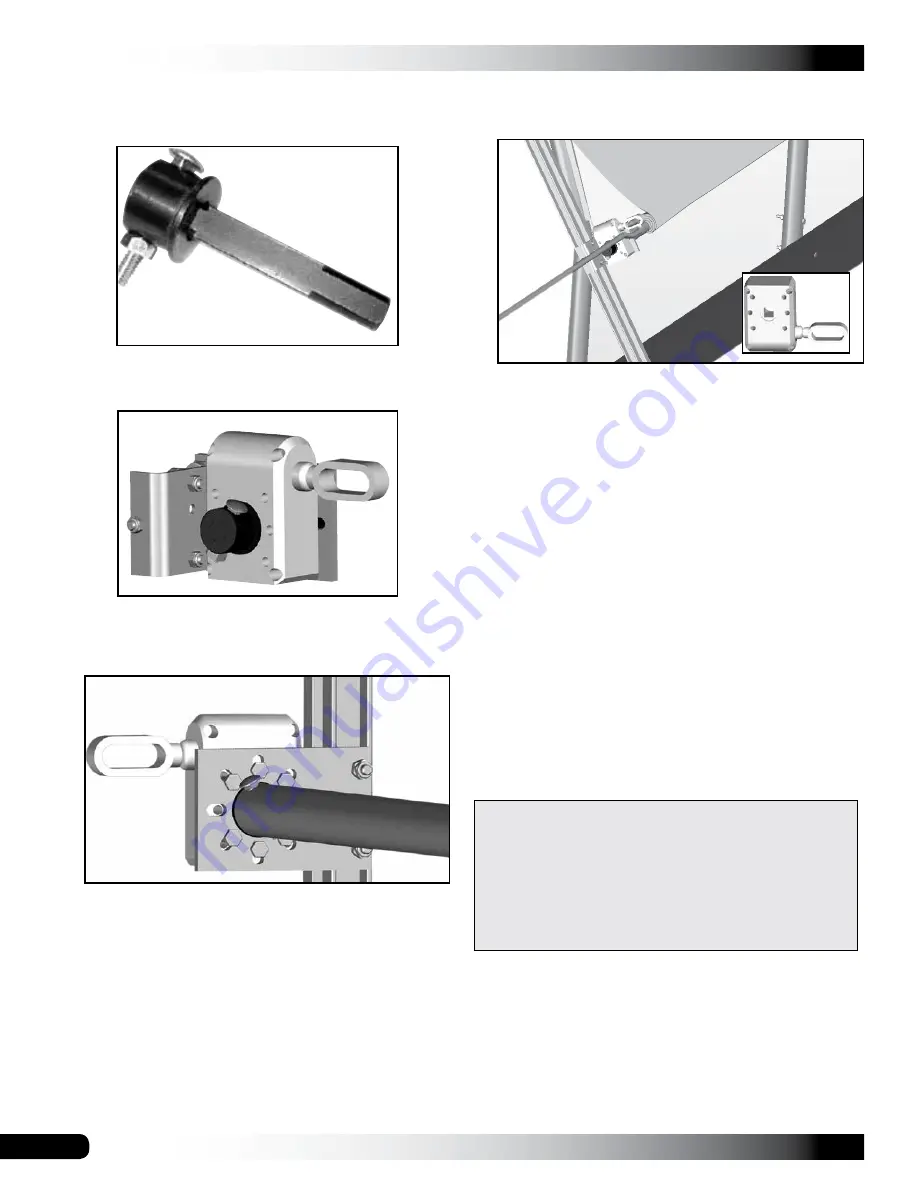
11. Using a carriage bolt, attach the square shaft to a
tubing adapter.
12. Slide the square shaft through the Twist-of-the-Wrist
gearbox.
TWIST-OF-THE-WRIST ASSEMBLY (CONTINUED)
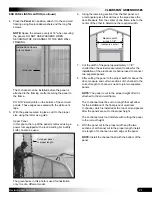
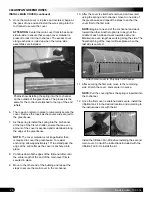
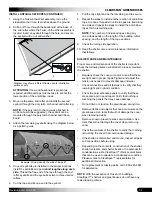
13. Slide the Twist-of-the-Wrist assembly onto the
aluminum channel from the ground end. (This is the
free end of the channel.)
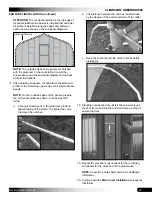
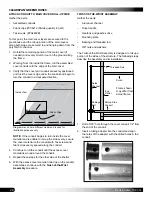
15. Attach the rolled conduit to the square shaft of the
assembly by inserting a carriage bolt through the hole
in the conduit and tubing adapter. Tighten the nut.
16. Attach the crank handle to the Twist-of-the-Wrist
assembly. (End panel is not shown in the above
diagram.)
17. Test the operation of the Twist-of-the-Wrist assembly
and repeat the steps for the remaining assembly.
NOTE:
If the cover rolls in the desired direction, but
you want to turn the crank in the opposite direction for
the same result, unbolt, reposition the gearbox, and
remount it on the same side of the mounting bracket.
14. Finish rolling the cover conduit in a clockwise motion
up to the Twist-of-the-Wrist assembly.
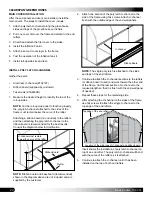
INSTALL ANTI-BILLOW ROPES
Gather the Parts:
• Eyebolts
• Anti-Billow rope
• Nut and washers
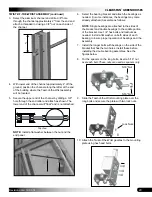
Anti-billow ropes secure the roll-up sides when they are in
the down position. Complete the following steps to install
the ropes. Repeat the steps for the remaining side.
TO PREVENT DAMAGE AND POSSIBLE INJURY,
INSTALL THE ANTI-BILLOW ROPES IN SHORT
LENGTHS ALONG EACH SIDE OF THE FRAME.
DO NOT INSTALL AS A SINGLE LENGTH
TIED AT
EACH END OF THE BUILDING. DOING SO WILL
RESULT IN A LOOSE SIDE PANEL IF THE SINGLE
ROPE BREAKS DURING STRONG WINDS.
ATTENTION:
The procedure that follows is applicable
when the frame was constructed using wood boards under
each rafter foot, or if baseboards were installed. If the
shelter was constructed on concrete footings, a concrete
slab, or on bare ground, alternative steps must be taken
by the owner during the following procedure to anchor the
lower ends of the anti-billow ropes.
Additional parts may be
required and must be supplied by the customer.


