Step 4:
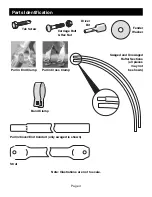
Make up a pair of cover conduits each the length of your shelter. Start each with an
unswaged section and add swaged sections to arrive at the correct length.
Warning: DO NOT INSTALL COVER ON A WINDY DAY AS DAMAGE TO IT MAY RESULT!
Step 5:
Unpack the main cover and unfold it completely with the inside surface facing up.
Step 6:
Locate the ends with strapping and line them up with the front and back of the shelter.
Step 7:
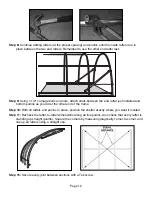
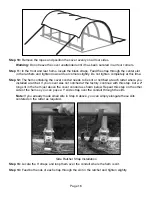
Slide cover conduits into hem openings as shown in the next illustration.
Step 8:
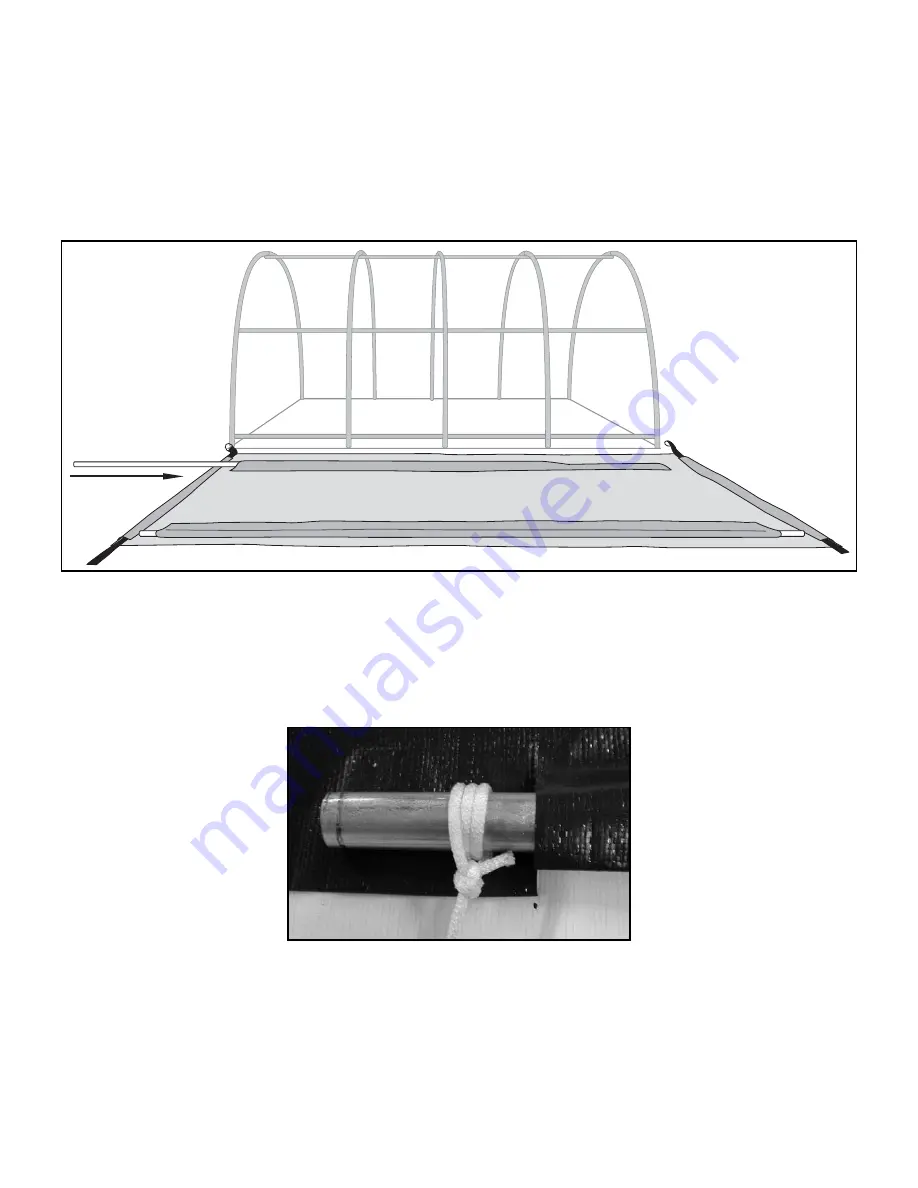
To pull the cover over the frame, attach ropes to both ends of the cover conduit. Wrap the
rope around the conduit a few times as shown below to prevent it from slipping off accidentally.
Long shelters require additional ropes at every rafter where you installed a ratchet. If your cov-
er
ʼ
s hem was notched at the factory, you can attach additional ropes at these locations. If your
cover was not notched at the factory, you can cut a small slit in the hem just inside of the cover
conduit (see photos on next page), pass the rope through and tie a bowline knot.
Step 9:
Throw the ropes up and over the frame and then pull the cover over the frame. You need
one person at each rope for this step.
Page 15


