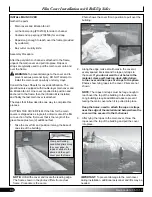
27
Revision date: 05.13.10
End Cap
Ground Level
If optional
fabric end panels
have been ordered,
install the panels before
attaching the end cap
. Consult the end panel instructions for details.
End Cap Installation
INSTALL ALUMINUM END CAP
End Cap
Optional
: Trim the end caps as needed for
a finished appearance and to close the gap.
Consult a professional contractor if needed
when cutting the aluminum.
Wear safety
glasses when handling and cutting end caps.
Wafer
Screws
End Cap
End Cap
Gather the parts:
Aluminum end caps (#108534 - 30' wide shelters or #108535 - 35'
•
wide shelters)
Wafer screws (#108553)
•
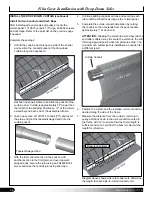
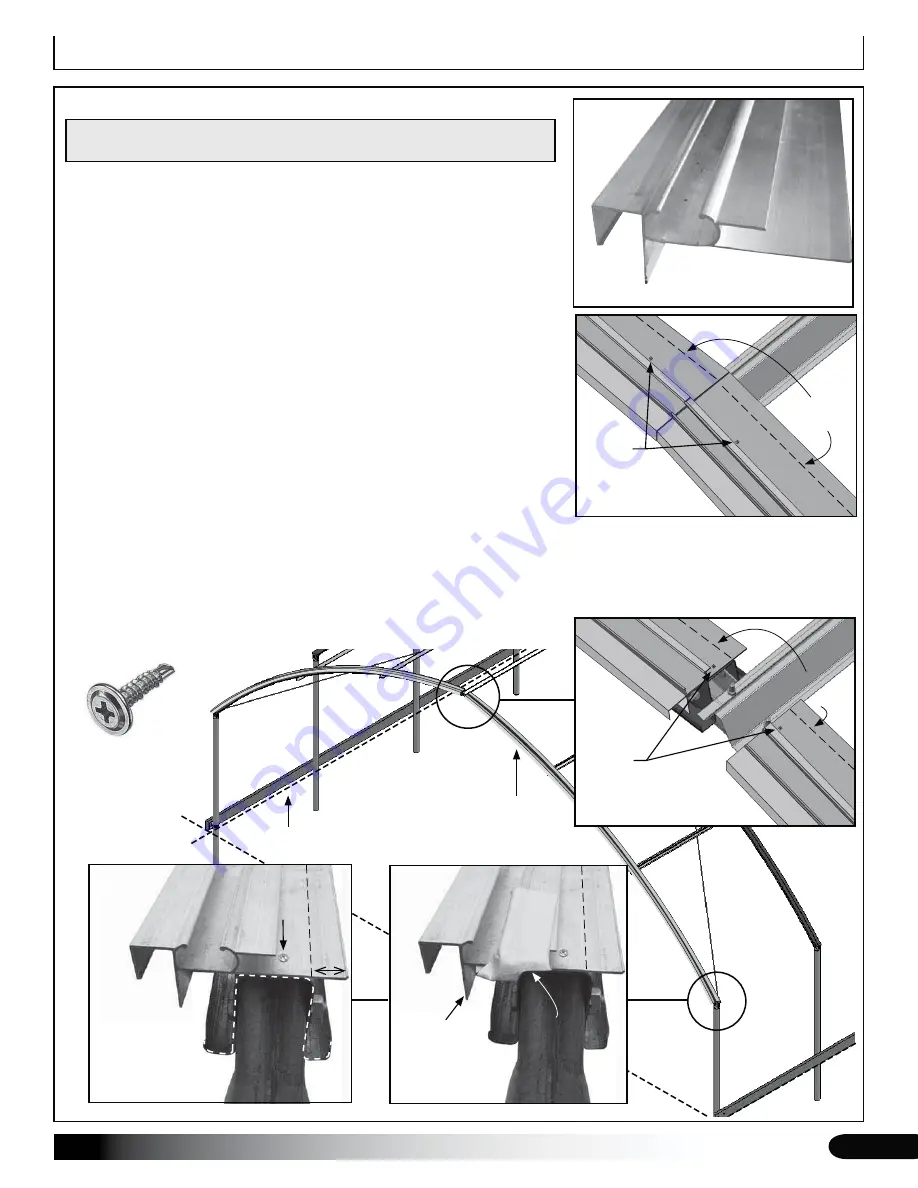
Using Fig. 1 and Fig. 2, determine how you want to finish the peak of
1.
the end rafter and continue.
To finish as shown in Fig. 1, mark and cut the upper end of each
2.
section so they meet to form a finished joint. Continue with Step 2. To
finish as shown in Fig. 2, align the end of the end cap with the upper
end of the end rafter. Continue with Step 2.
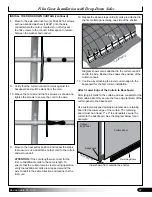
Move to the lower end and mark the rafter position on the end cap
3.
and cut the end cap to length.
End cap must align with the end of the
rafter.
Align end cap on the end rafter as shown and secure in place using
4.
two or three wafer-head screws (108553).
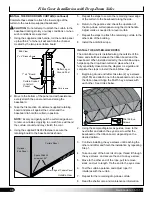
Install the remaining end cap for the first end rafter. Return to both
5.
end caps and secure using 108553 screws spaced at 12" intervals.
Tape the lower end of each end cap with a 6" piece of 109023 tape.
6.
Add two layers for best results.
See FIG. 4.
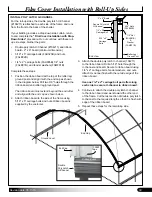
Repeat these steps to install the remaining end caps.
7.
FIG. 1
108553
Wafer-Head
Screw
Lip
FIG. 4
109023
Tape
End Cap
End Cap
Wafer
Screws
FIG. 2
Inside edge
of end rafter.
Inside edge
of end rafter.
Wafer
Screw
FIG. 3
White dashed line
shows end of rafter.
Black dashed line
shows inside edge
of end rafter.
1-1/4"


