35
Revision date: 05.13.10
Film Cover Installation with Drop-Down Sides
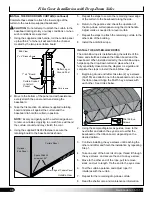
Locate these parts to prepare the drop-down curtain for
installation and to attach it to the axle conduit:
131S075 (75" pipe conduit)
•
CC5505 (1/8" curtain cord)
•
FA1960 (3/16" x 3" eye screw)
•
AS5020 pulleys
•
Duct tape and FA4482B Tek screws
•
102921 Neo-bonded washers
•
Drop-down curtain (specific to the length of the frame)
•
INSTALL THE DROP-DOWN CURTAIN (continued)
NOTE:
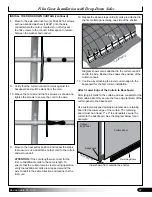
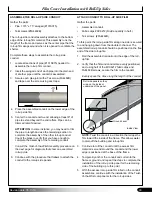
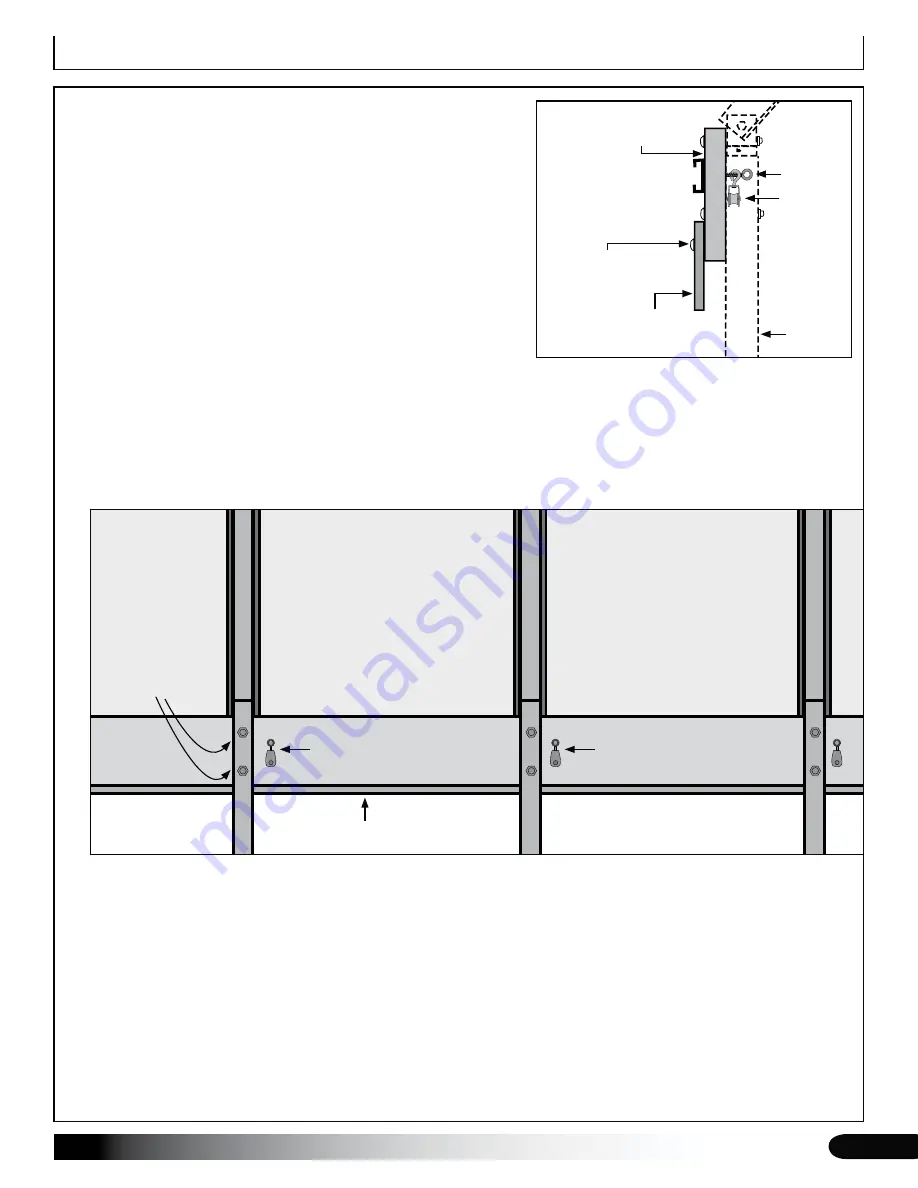
Position the eye screw and pulley a few inches away from the rafter on either side of the rafter. Pulley
should hang freely from the eye screw.
Install all pulleys at the same height.
Do not overtighten the screw.
Move to the next rafter and repeat the steps to install another pulley.
3.
Install one pulley for each rafter along each
side of the frame.
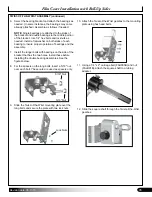
Continue installing eye screws and pulleys into the ribbon board
4.
next to each rafter
until all pulleys are installed
along both sides of the shelter
.
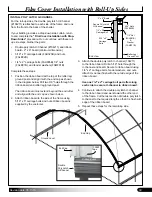
Install the curtain conduit and attach cords as described in the next procedure.
5.
Attach Drop-Down Curtain Pulleys
Continue with the steps that follow:
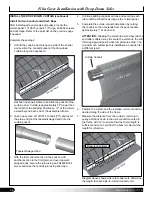
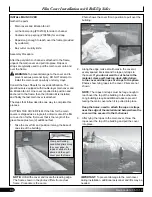
Gather the pulleys and the same quantity of eye screws (FA1960) and move to the inside of the shelter.
1.
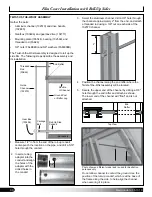
Slide one pulley onto the threaded shaft of the eye screw and twist the eye screw into the ribbon board next to the
2.
first rafter to secure the pulley.
FA1960
FA1960
Rafter
Rafter
Rafter
Cover
View from
inside the shelter.
Pulley Assembly
Pulley Assembly
Bottom Edge of the Ribbon Board
Carriage bolts
securing ribbon
board to the
rafter legs/
ground posts.
Rafter Leg/
Ground
Post
2" x 6" Ribbon
Board
1" x 4" Board
1" x 4"
Wood Screw
AS5020
Pulley
FA1960
End View


