38
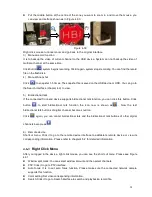
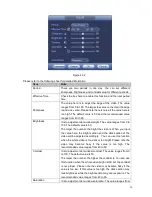
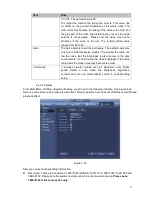
The interface is shown as in Figure 4-43.
Click Set button and then input preset number.
Click Set button to save current preset.
Figure 4-43
Tour Setup
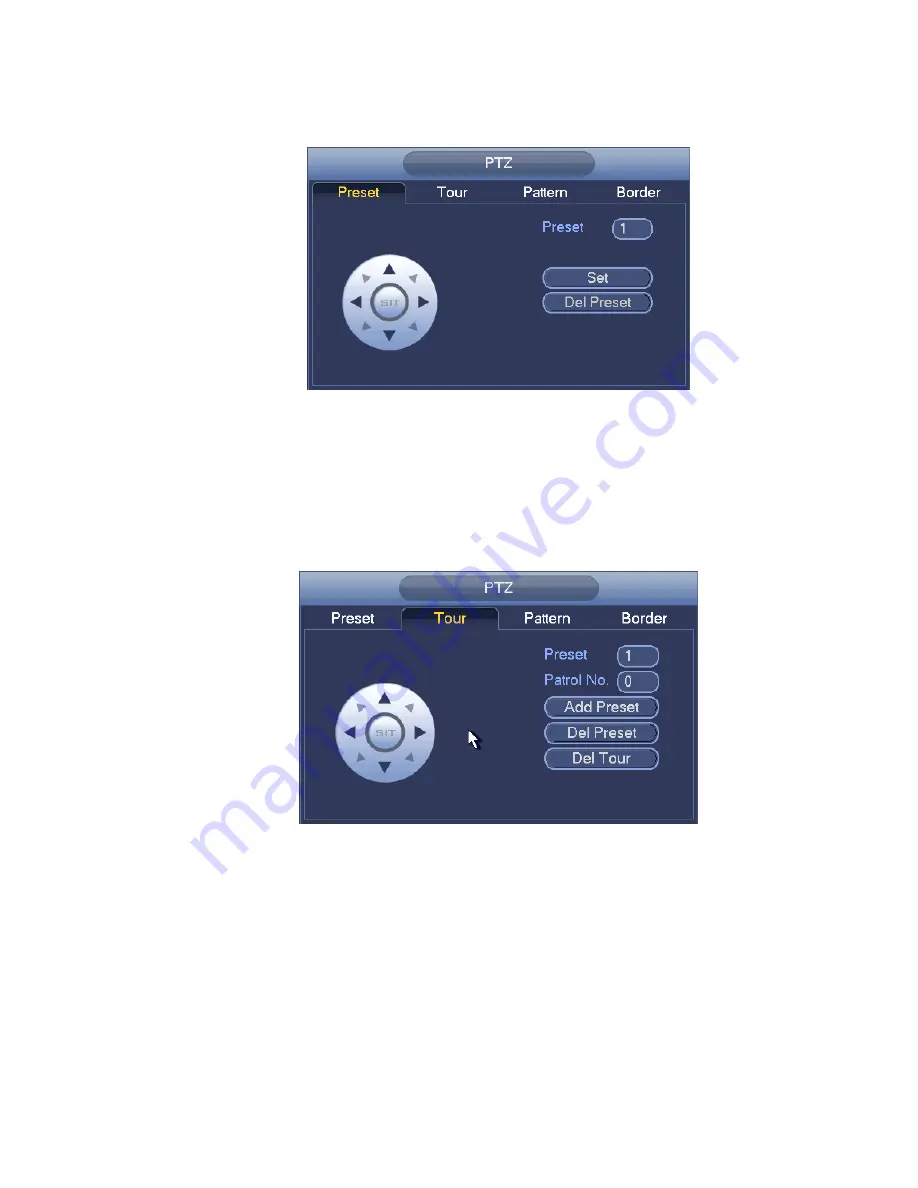
In Figure 4-42, click tour button.
Input tour value and preset No. Click Add preset button to add current preset to the tour. See Figure 4-44.
Tips
Repeat the above steps to add more presets to the tour. Click Del preset button to remove it from the tour.
Please note some protocols do not support delete preset function.
Figure 4-44
Pattern Setup
In
Figure 4-42, click Pattern button and input pattern number.
Click Begin button to start direction operation. Or you can go back to Figure 4-39 to operate
zoom/focus/iris/direction operation.
In
Figure 4-42, click End button.
Summary of Contents for PhoenixView 04B-04IP94
Page 1: ...Network Video Recorder User s Manual V 2 0 0 ...
Page 18: ...8 Select privacy mask zone ...
Page 79: ...69 Figure 4 81 Figure 4 82 ...
Page 80: ...70 Figure 4 83 Figure 4 84 ...
Page 86: ...76 Figure 4 89 Figure 4 90 ...
Page 87: ...77 Figure 4 91 Figure 4 92 ...
Page 88: ...78 Figure 4 93 Figure 4 94 ...
Page 90: ...80 Figure 4 96 Figure 4 97 ...
Page 177: ...167 The motion detect interface is shown as in Figure 5 54 Figure 5 54 Figure 5 55 ...
Page 178: ...168 Figure 5 56 Figure 5 57 Figure 5 58 ...
Page 182: ...172 Figure 5 62 Figure 5 63 ...

