background image

For additional product information visit our website at http://www.apexpowertools.eu

20PTHH

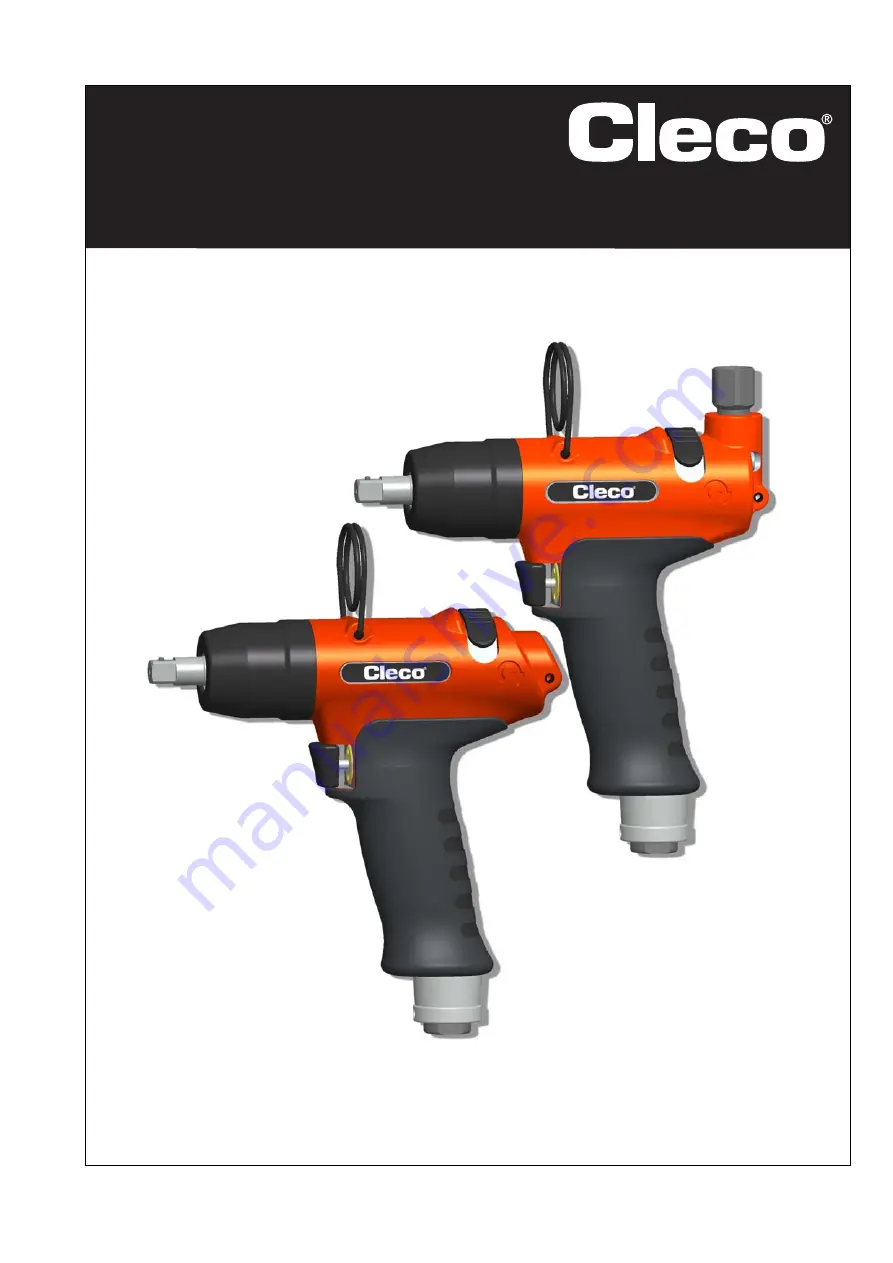
Pulse shut-off nutsetter

Instruction Manual
P2121BA/EN

2014-06

Summary of Contents for 20PTHH

Page 1: ...For additional product information visit our website at http www apexpowertools eu 20PTHH Pulse shut off nutsetter Instruction Manual P2121BA EN 2014 06 ...

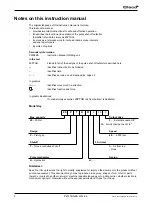
Page 2: ...l or parts thereof or copied to another natural or machine readable language or to a data carrier whether electronic mechanical optical or otherwise without the express permission of Apex Tool Group Secondary information P2204BA Instruction Manual Oil filling unit In the text 20PTHH stands for all of the designs of the pulse shut off nutsetter described here identifies instructions to be followed ...

Page 3: ...ir supply 9 4 2 Change air inlet top bottom only on 20PTHHA 10 4 3 Connect the tool 10 4 4 Setting up the tool 11 5 Troubleshooting 13 6 Maintenance 15 6 1 Service schedule 15 6 2 Fill reserve oil 16 6 3 Complete oil filling 18 7 Disassembly instructions 21 7 1 Remove motor unit 21 7 2 Remove throttle valve 23 7 3 Remove pulse unit 24 8 Assembly instructions 24 8 1 Install motor unit 24 8 2 Instal...

Page 4: ...4 P2121BA EN 2014 06 P2121BA EN_2014 06_20PTHHIVZ fm 03 07 2014 10 2 Dimensions 20PTHHA in mm 40 10 3 Performance Data 40 10 4 Ambient conditions 41 11 Service 41 12 Disposal 41 ...

Page 5: ...scribes the type of danger WARNING Potentially hazardous situation for health and safety If this warning is not observed death or serious injury may occur CAUTION Potentially hazardous situation to health and safety or risk of material and environmental damage If this warning is not observed injuries or damage to materials or the environmental could occur NOTE General notes include application tip...

Page 6: ...ed in the lower air inlet If you hear unusual noises or vibrations switch off the tool immediately Cut off the air supply immediately Before carrying out repairs adjusting the torque or replacing screw bits disconnect the tool from the compressed air line The compressed air line must be depressurized before disconnecting it Never use the air hose to hold raise or lower the tool Air hoses the suspe...

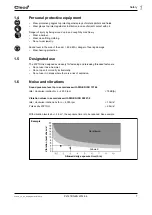
Page 7: ...ng protection 1 5 Designated use The 20PTHH is designed exclusively for fastening and releasing threaded fasteners Do not use it as a hammer Do not open it or modify it structurally Do not use it in areas where there is a risk of explosion 1 6 Noise and vibrations With vibration levels ahv 2 5 m the exposure time is to be reduced See example Sound pressure level Lp in accordance with DIN EN ISO 15...

Page 8: ...een supplied 1 20PTHH 1 This instruction manual 1 Declaration of Conformity 1 Hex wrench WAF 2 3 Product description 3 1 Operation and functional elements Abb 3 1 Item Designation 1 Reverse switch 2 Torque adjustment see Abb 4 1 page 11 3 Pulse count settings see 4 4 2 Change pulse count page 12 2 5 4 4 1 5 3 6 8 7 9 8 Alternative position 2 20PTHH 20PTHHA ...

Page 9: ...ir preparation units filters regulators lubricators should be installed 4 Air inlet 5 Connection for evaluation electronics TVP100 6 Start button 7 Reserve oil see 6 2 Fill reserve oil page 16 8 Suspension bail 9 Hex wrench WAF 2 order no 935490 Order no 934918 Signal connection kit for evaluation elec tronics TVP100 Protective sleeve Order No 937447PT 20PTHH Order No 937442PT 20PTHHA Parameter Da...

Page 10: ...rench WAF 17 Activate compressed air 620 kPa in anticlockwise rotation Regulator To attain constant work results the working pressure must be kept constant for every individual tool Lubricator Compressed air requires a small amount of oil and is orientated to the air consumption of the tool Calculate the time T between two drops of oil and make the following settings at the lubricator F Factor for...

Page 11: ...rive Clockwise rotation 4 000 500 rpm Anticlockwise rotation 7 500 500 rpm CAUTION Danger of injury from unintended startup Shut off the compressed air before adjusting the torque CAUTION Danger of injury from rotating hex wrench Adjust the torque using the provided hex wrench only Never use an angular wrench Settings example Tightening 14 Nm Screw M6 10 9 Approximately 2 5 turns of the torque adj...

Page 12: ... Measuring the torque page 13 7 In case of deviations correct the torque setting and 8 Repeat the rundown Requirement Measure High shut off accuracy especially with hard screwed joints Increase number of pulses per tighten ing Recommended number of pulses 6 Reduce the speed 1 Unscrew the threaded pin using the hex wrench WAF 2 2 Turn exhaust air throttle clock wise Shortening the rundown time part...

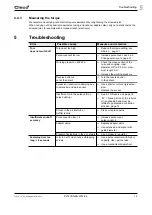
Page 13: ...h 5 m Increase the working pressure Reverse button is not at the detent Turn the reverse button to the detent Excessive transmission damping due to extension and worn socket Use a shorter or more rigid exten sion Replace the socket Insufficient oil in the pulse unit no pulse build up See 6 2 Fill reserve oil page 16 If X 0 see picture 2 the reserve oil is exhausted and must be refilled to guarante...

Page 14: ...14 P2121BA EN 2014 06 2123b_1_5_en_ bedingt fm 03 07 2014 Troubleshooting 5 Empty side ...

Page 15: ...activation before service disconnect the tool from the compressed air supply Maintenance interval Rundowns Measures W1 100 000 Check the suspension bail for functional safety Check the air hose for wear Check the square on the output drive for wear Check the air inlet for tight fit Check the housing of the pulse unit for tight fit Check the maximum idling speed Check the reserve oil W2 500 000 Oil...

Page 16: ...out the maintenance measures marked W2 after an operating time of 200 days 6 2 Fill reserve oil If X 0 see picture 2 the reserve oil is exhausted and must be refilled to guarantee a controlled process Factor Value assumed in 6 1 Maintenance plan Description V V1 100 000 V2 500 000 V3 1 000 000 Number of rundowns after which a maintenance measure is pre scribed by Apex Tool Group T1 1 8 seconds Spe...

Page 17: ...internal equalization hole is opened 4 To avoid air pockets fill the filling hole full of oil 5 Position the injector so that it has a sealing effect and add reserve oil until distance X for spacer B2 is present Maintain distance X and secure with B2 Refit set bolt and ball Remove B2 B1 B2 Approx 5 ml X approx 2 5 mm ...

Page 18: ...icture internal equalization hole is opened 3 Use adapter to connect pulse unit to the quick disconnect coupling Close shutoff valve 4 Set the working pressure to approx 500 kPa Slowly open the shut off valve all the way until the gauge shows a negative pressure of 10 mbar 1 bar Wait approx 2 minutes until the number of vac uum bubbles has reduced significantly Slowly close the shut off valve The ...

Page 19: ...serve oil until distance X for spacer B2 is achieved Maintain distance X and secure with B2 Refit set bolt and ball Remove B2 Small air bubbles that become visible due to the high pressure during filling do not mean that the pulse unit is leaking The filling process is not impaired If a flow of large rapid bubbles appear and continue to be produced and the pressure drops there is a leak inside of ...

Page 20: ...20 P2121BA EN 2014 06 2123c_Wartung_en_bedingt fm 03 07 2014 Maintenance 6 Empty side ...

Page 21: ... fm 03 07 2014 P2121BA EN 2014 06 21 Disassembly instructions 7 7 Disassembly instructions Please refer to 9 Spare parts page 29 und 9 5 Equipment order list page 38 7 1 Remove motor unit 7 1 1 Remove actuating ring 1 2 1 2 3 4 ...

Page 22: ...22 P2121BA EN 2014 06 2123d_Reparatur_en_bedingt fm 03 07 2014 Disassembly instructions 7 7 1 2 Remove shut off 1 2 3 4 5 6 ...

Page 23: ...aratur_en_bedingt fm 03 07 2014 P2121BA EN 2014 06 23 Disassembly instructions 7 7 2 Remove throttle valve Changing blades Changing bearings rotor 1 2 Spring force 3 C3 C2 C1 61 59 56 55 60 C3 C1 59 54 55 SW 3 8 ...

Page 24: ...otective goggles NOTE Permitted only if filling is guaranteed with oil filling device see 6 2 Fill reserve oil page 16 Pulse unit must have cooled down to room temperature CAUTION Only perform installation in accordance with exploded drawing see 9 Spare parts page 29 Incorrect installation can lead to uncontrolled reactions e g unexpected start up or parts being hurled out Tighten all screwed join...

Page 25: ...ions 8 8 1 1 Install rotor cover 1 Press 59 in with C4 see X 2 Examine Y with thickness gage If dimension Y step 1 with support C5 C6 C7 repeat Press 61 in with C8 C8 59 C4 C5 C6 C7 X 54 55 X Base 0 02 C4 0 03 C5 0 04 C6 0 05 C7 Thickness gauge 0 03 mm max 2 mm Y C8 C9 61 56 60 C8 ...

Page 26: ...26 P2121BA EN 2014 06 2123d_Reparatur_en_bedingt fm 03 07 2014 Assembly instructions 8 8 1 2 Install shut off 1 2 3 4 5 6 7 8 ...

Page 27: ...2123d_Reparatur_en_bedingt fm 03 07 2014 P2121BA EN 2014 06 27 Assembly instructions 8 8 1 3 Install actuating ring 1 2 3 4 5 6 ...

Page 28: ...ions 8 8 2 Install pulse unit 8 2 1 Assembling the hydraulic blades NOTE To prevent damage lubricate the gaskets and O rings using grease order no 914392 before assembly 1 2 3 4 5 6 7 8 F1 93 F1 98 93 97 95 94 2 97 96 2 F1 93 91 F1 F2 Tightening torque 50 10 Nm WAF 1 2 D3 D2 D1 84 ...

Page 29: ...ance and increased maintenance requirements If non original spare parts are installed the tool manufacturer is entitled to declare all warranty obligations for null and void We would be glad to prepare a special quote for you for spare and wear parts Please give the following data Tool model Number of tools Number of rundowns per day or per shift Shut off torque Fastening time per rundown ...

Page 30: ...30 P2121BA EN 2014 06 2121e_Ersatzteile_en fm 03 07 2014 Spare parts 9 9 1 Pistol grip 20PTHH Adhesive order no 914860 Grease order no 914392 ...

Page 31: ...2121e_Ersatzteile_en fm 03 07 2014 P2121BA EN 2014 06 31 Spare parts 9 1 Order no 2 Quantity 3 Part of motor service kit K1 order no 936284PT 4 Dimensions ...

Page 32: ...32 P2121BA EN 2014 06 2121e_Ersatzteile_en fm 03 07 2014 Spare parts 9 9 2 Pistol grip 20PTHHA Adhesive order no 914860 Grease order no 914392 ...

Page 33: ...2121e_Ersatzteile_en fm 03 07 2014 P2121BA EN 2014 06 33 Spare parts 9 1 Order no 2 Quantity 3 Part of motor service kit K1 order no 936284PT 4 Dimensions ...

Page 34: ...34 P2121BA EN 2014 06 2121e_Ersatzteile_en fm 03 07 2014 Spare parts 9 9 3 Motor unit See 8 1 1 Install rotor cover page 25 See 8 1 2 Install shut off page 26 ...

Page 35: ...2121e_Ersatzteile_en fm 03 07 2014 P2121BA EN 2014 06 35 Spare parts 9 1 Order no 2 Quantity 3 Part of motor service kit K1 order no 936284PT 4 Dimensions ...

Page 36: ... 2121e_Ersatzteile_en fm 03 07 2014 Spare parts 9 9 4 Pulse unit Tightening torque see 8 2 Install pulse unit page 28 For disassembly note the position of the balls in the control disc Reassemble balls in the same position ...

Page 37: ...s 9 1 Order no 2 Quantity 3 Part of hydraulic service kit K2 order no 936210 4 Dimensions see table on page 37 Order no 84 93 115 116 117 118 119 120 20PTHH403 20PTHHA403 3 8 936041 935658 20PTHH40Q 20PTHHA40Q 1 4 936042 935685 931789 917794 935477 935406 931793 931789 ...

Page 38: ...38 P2121BA EN 2014 06 2121e_Ersatzteile_en fm 03 07 2014 Spare parts 9 9 5 Equipment order list 1 Order no ...

Page 39: ...2121f_TechnDaten_en fm 03 07 2014 P2121BA EN 2014 06 39 Technical data 10 10 Technical data 10 1 Dimensions 20PTHH in mm Abb 10 1 ...

Page 40: ... Performance Data Order no Recommended torque range Idling speed Air consumption Ft Lbs Nm 8 8 lbs kg ft3 min m3 min min max rpm mm Idling Pulses 20PTHH403 20PTHHA403 3 8 7 4 10 14 8 20 4 000 Clockwise 7 500 Anticlockwise M7 1 90 0 86 2 03 0 92 3 53 0 10 8 83 0 25 20PTHH40Q 20PTHHA40Q 1 4 1 92 0 87 2 05 0 93 ...

Page 41: ...y 25 90 non condensing CAUTION Injuries and environmental damage from improper disposal The components and auxiliary materials of a machine incorporate risks to health and the environment Catch auxiliary materials oils greases when drained and dispose of them properly Separate the machine parts by material and dispose of them properly Separate the components of the packing and dispose of them by s...

Page 42: ...70 Brazil Phone 55 15 3238 3820 Fax 55 15 3238 3938 Louisville Kentucky Apex Tool Group 1000 Glengarry Drive Suite 150 Fairdale KY 40118 Phone 1 502 708 3400 apexpowertools com service ASIA PACIFIC India Apex Power Tools India Private Limited Gala No 1 Plot No 5 S No 234 235 245 Indialand Global Industrial Park Taluka Mulsi Phase I Hinjawadi Pune 411057 Maharashtra India Phone 91 020 66761111 Aust...

Reviews: