


EN
OPERATION
4
Tennant T2 (07--08)
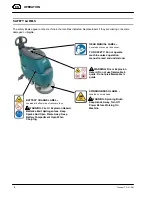
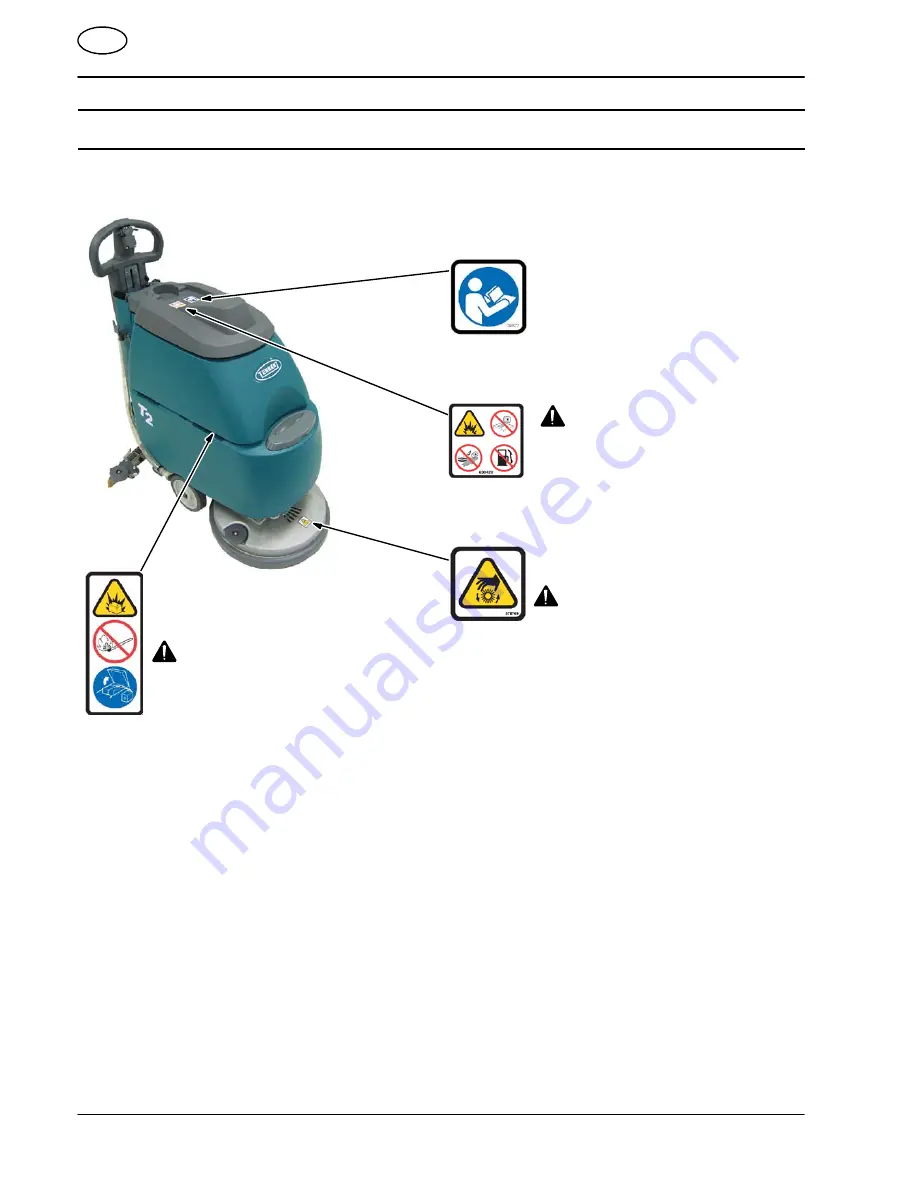
SAFETY LABELS
The safety labels appear on the machine in the locations indicated. Replace labels if they are missing or become
damaged or illegible.
SPINNING BRUSH LABEL
--
Located on scrub head
WARNING: Spinning Brush.
Keep Hands Away. Turn Off
Power Before Working On
Machine.
READ MANUAL LABEL --
Located on recovery tank cover.
FOR SAFETY: Do not operate
machine unless operation
manual is read and understood.
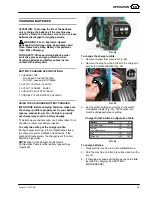
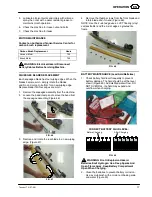
BATTERY CHARGE LABEL --
Located at bottom side of recovery tank.
WARNING: Fire Or Explosion Hazard.
Batteries Emit Hydrogen Gas. Keep
Sparks And Open Flame Away. Keep
Battery Compartment Open When
Charging.
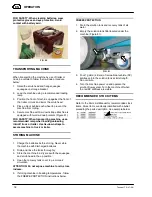
WARNING: Fire or Explosion
Hazard. Do not use flammable li-
quids. Do not pick flammable li-
quids


