35
Turn off power to machine by depressing the red stop/off
button and lockout upstream power at the main electrical
panel.
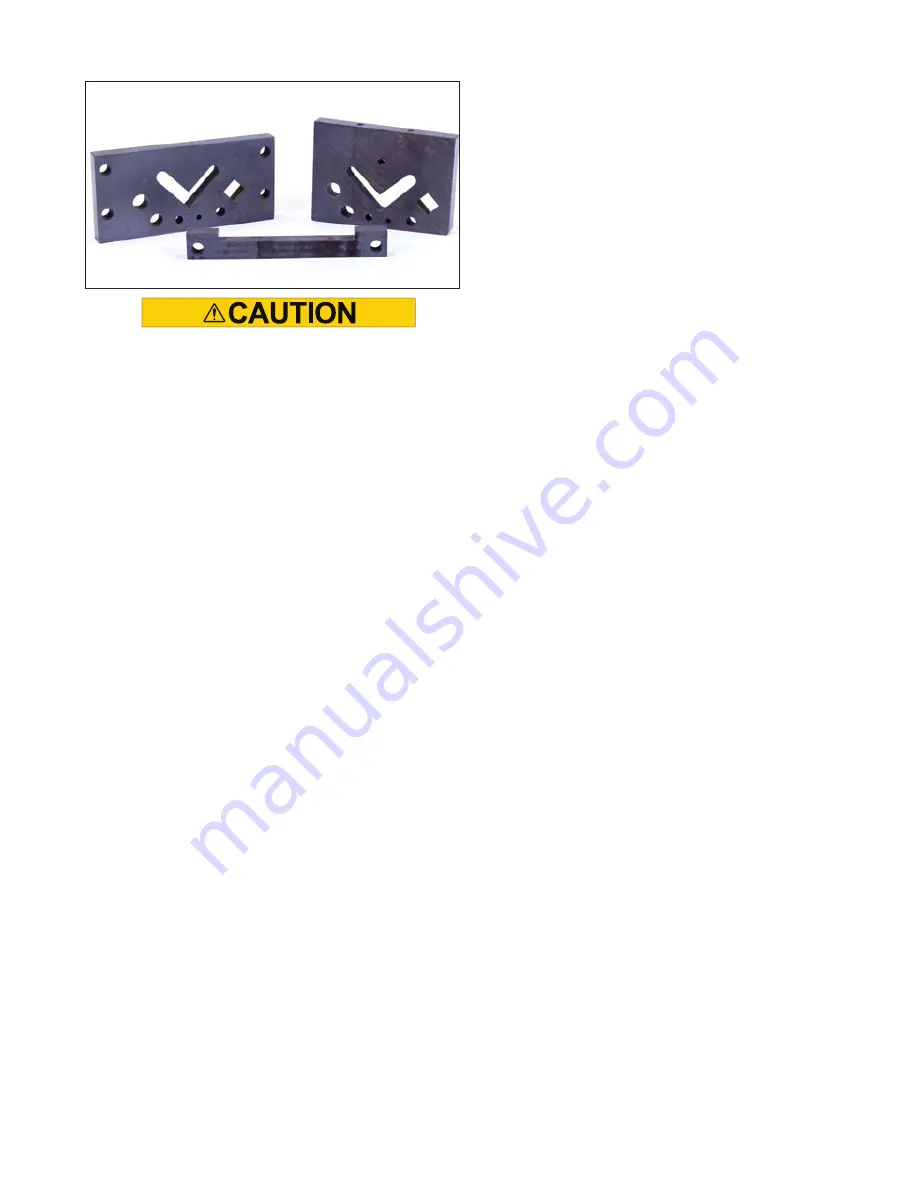
Clearances should not be altered. When all cutting edges
are worn, replace blades.
Observe the following procedures when maintaining or
replacing components of the Rod or Multi-Shear assemblies:
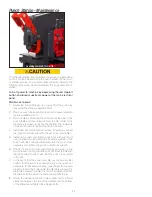
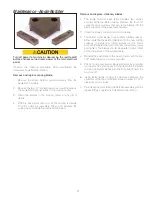
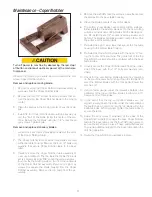
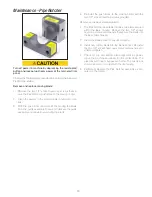
Remove and replace moving blade:
1. Remove Rod Shear or Multi-Shear assembly from tooling
station by removing the four 1/2" bolts, nuts and washers.
2. Remove the two 1/2" allen head screws that secure the
push block to the moving blade. Remove damaged blade
from base housing. Reserve the push block and return
springs for installation of new blade.
3. Clean the push block and return springs of any dirt or
debris.
4. Install new moving top blade to push block with allen head
screws provided. Re-install return springs. and return
moving blade to base housing.
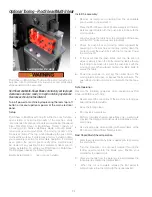
Remove and replace stationary blade:
1 The Rod Shear or Multi-Shear assembly includes one or
two blades secured within the base housing. Remove the
six 1/2" socket head cap screws and spacers that secure
the guard and blade into the base housing.
2. Clean the blade pocket of any dirt or debris.
3. Install new cutting blades into the blade pocket. Re-
install the guarding and the six 1/2" socket head cap
screws and spacers provided and tighten.
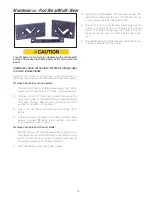
4. Check for moving and stationary blade alignment by
powering up the machine and slowly jog the center
down. The blades will bypass each other. The push
block should not come in contact with the base hous-
ing.
5. Periodically lubricate the Rod Shear or Multi-Shear as-
sembly as indicated on the tooling.
Maintenance - Rod Shear/Multi-Shear
Summary of Contents for 55 Ton
Page 2: ......
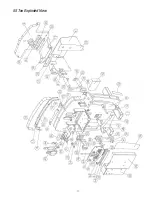
Page 41: ...37 55 Ton Exploded View ...
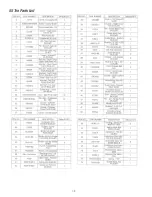
Page 42: ...38 55 Ton Parts List ...
Page 44: ...40 www clevelandsteeltool com 474 E 105th St Cleveland OH 44108 800 446 4402 ...

