6 - 20
User’s Manual
6
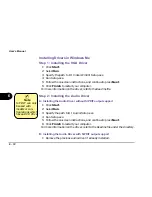
Installing Drivers in Windows NT4.0
Step 1: Installing the VGA Driver
1: Click Start.
2: Select Settings and Control Panel.
3: Double click the Display icon.
4: Click the Settings tab.
5: Click Display Type.
6: Click Change.
7: Click Have Disk.
8: Choose Browse and specify the path to D:\Video\Nt40. Press Open.
9: Choose OK.
10: Press OK again.
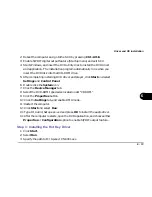
11: If a “Third-party Drivers” dialog box asking if you want to install the
driver appears, click Yes.
12: Close the Properties window and restart your computer.
For more information on the driver, refer to the Readme file.
Step 2: Installing the Audio Driver
1: Click Start.
2: Select Run.
3: Specify the path to D:\Audio\Setup.exe
After installing
Windows NT4.0
please install
Service Pack 6 or
above to enhance
NT 4’s functions.
Download the
latest Service
Pack version from
the Microsoft web
site.
Note
Summary of Contents for Notebook
Page 1: ......
Page 21: ......
Page 39: ...Notes ...
Page 59: ...Notes ...
Page 96: ...5 19 BIOS Utilities 5 SCU Screen samples Memory Screen Startup Screen ...
Page 97: ...5 20 User s Guide 5 Disks Screen Components Screen ...
Page 98: ...5 21 BIOS Utilities 5 Power Screen Exit Screen ...
Page 99: ...Notes ...
Page 123: ...Notes ...
Page 141: ...A 6 User s Manual A Notes ...


