4 - 2
User’s Manual
4
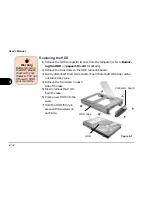
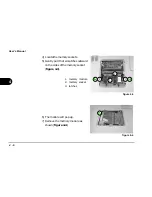
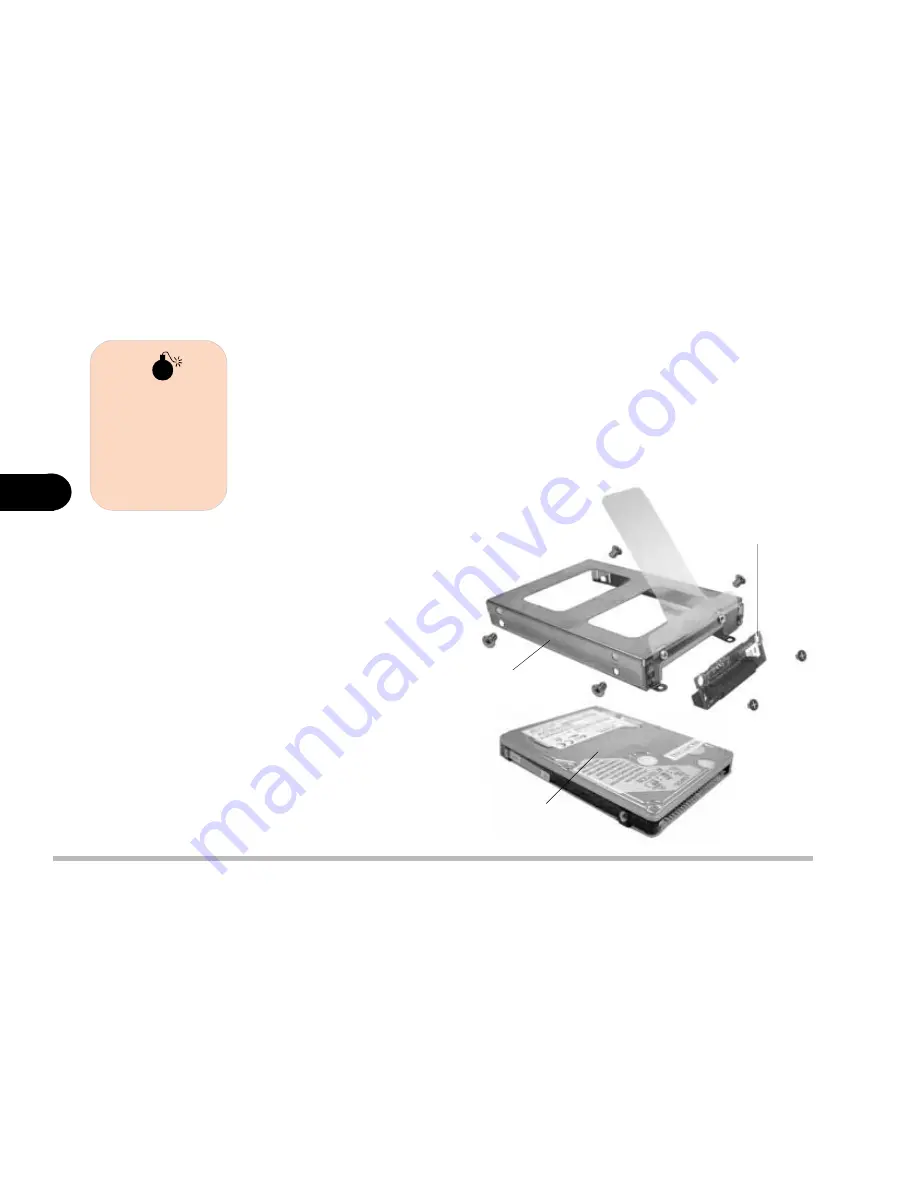
Connector board
HDD
HDD case
figure 4-1
Replacing the HDD
1) Remove the HDD along with its case from the computer (refer to Remov-
ing the HDD on pages 2-8 to 2-9 for details).
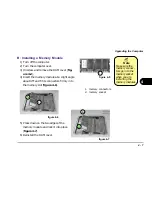
2) Remove the two screws on the HDD connector board.
3) Gently disconnect the HDD connector board from the HDD being careful
not to bend any pins.
4) Remove the two screws on each
side of the case.
5) Slowly remove the HDD
from the case.
6) Place a new HDD into the
case.
7) Hold the HDD firmly in
place with two screws on
each side.
Warning
Before removing
the HDD, please
check with your
dealer to find out
if this will VOID
your warranty.
Summary of Contents for Notebook
Page 1: ......
Page 21: ......
Page 39: ...Notes ...
Page 59: ...Notes ...
Page 96: ...5 19 BIOS Utilities 5 SCU Screen samples Memory Screen Startup Screen ...
Page 97: ...5 20 User s Guide 5 Disks Screen Components Screen ...
Page 98: ...5 21 BIOS Utilities 5 Power Screen Exit Screen ...
Page 99: ...Notes ...
Page 123: ...Notes ...
Page 141: ...A 6 User s Manual A Notes ...


