Modules
6 - 70 PC Camera
6
6.
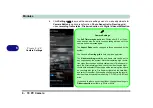
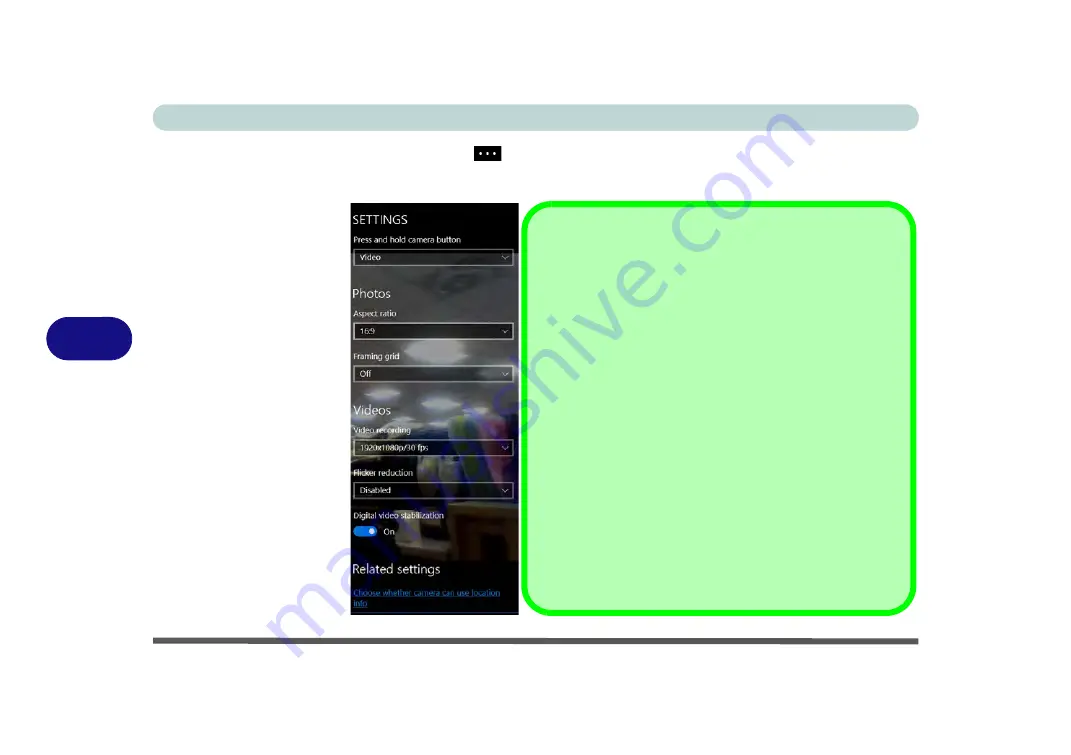
Click
Settings
to access the camera settings menu to make adjustments for
Camera Button
long key press function,
Photo
Aspect ratio, Framing grid
,
video
recording frame rates, Flicker reduction
and
Digital video stabilization
.
Figure 6 - 49
Camera Settings
Camera Settings
The
Self Timer may be set
to take Photos after
2
, 5 or
10
sec-
onds and can also be set to continue taking pictures until the
camera button is pressed again.
The
Aspect Ratio
can be changed to those supported by the
system.
You can use a
Framing grid
to help you line up pictures.
The
Video recording
resolution and frame rate can be set to
any supported by the system. Note that capturing high resolu-
tion video files requires a substantial amount of disk space for
each file. After recording video, check the video file size (right-
click the file and select Properties) and the remaining free space
on your hard disk (go to File Explorer, right-click the hard disk,
and select Properties). If necessary you can remove the record-
ed video file to a removable medium e.g. CD, DVD or USB Flash
drive.
If you need to reduce any screen flicker, change the settings in
Flicker reduction
to either e.g. 50Hz or 60Hz.
Summary of Contents for P6x0Hx
Page 1: ...V17 6 00 ...
Page 2: ......
Page 20: ...XVIII Preface ...
Page 36: ...XXXIV Preface ...
Page 84: ...Quick Start Guide 1 48 1 ...
Page 128: ...Power Management 3 26 3 ...
Page 240: ...Modules 6 82 6 ...
Page 260: ...Troubleshooting 7 20 7 ...
Page 310: ...Control Center Flexikey B 46 B ...
Page 368: ...Specifications D 6 D ...

