Inserting the Battery - Model A 1 - 17
Quick Start Guide
1
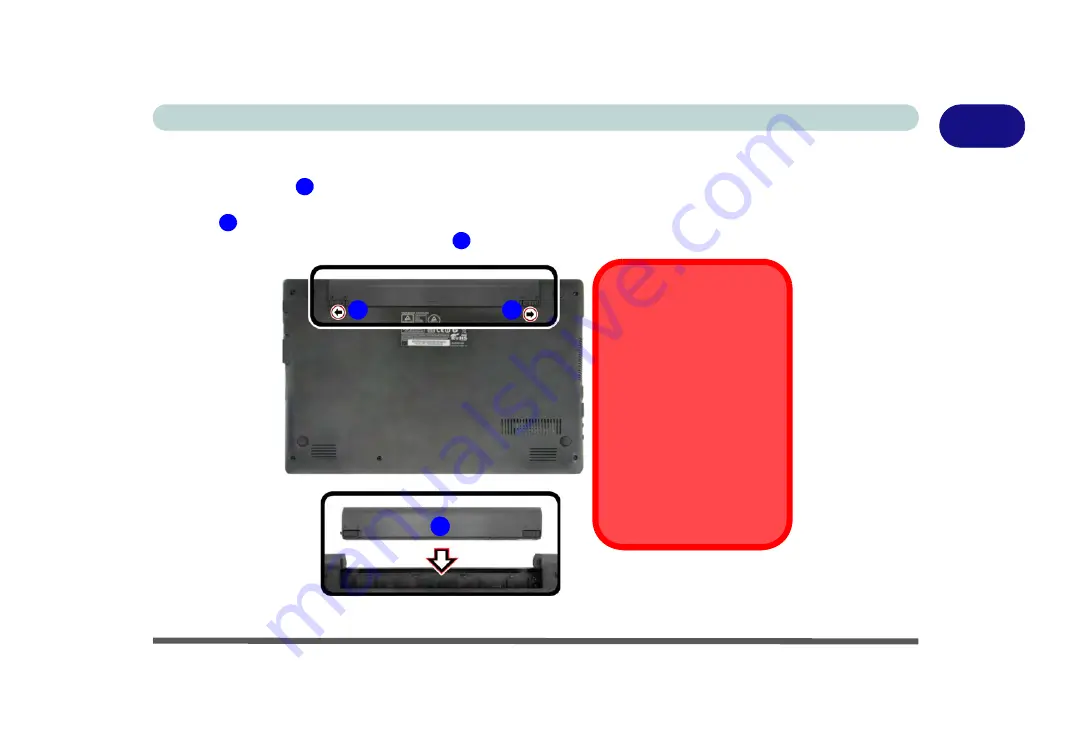
Inserting the Battery - Model A
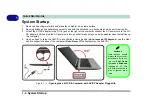
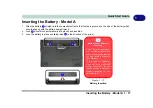
1.
Slide the battery
straight into the compartment (note that there are grooves on the side of the battery which
should align up with the battery compartment).
2.
Lock
should lock automatically into place upon insertion.
3.
Lock the battery in place by sliding latch
in the direction of the arrow
.
1
2
3
1
2
3
Bottom Cover Removal
Warning
Do not remove any cover(s)
and /or screw(s) for the pur-
poses of device upgrade as
this may violate the terms of
your warranty.
If you need to replace/re-
move the hard disk/RAM/
optical device etc., for any
reason, please contact your
distributor/supplier for fur-
ther information.
Figure 1 - 10
Battery Insertion
Summary of Contents for W515GU
Page 1: ...V18 1 00 ...
Page 2: ......
Page 30: ...XXVIII Preface ...
Page 64: ...Quick Start Guide 1 34 1 ...
Page 110: ...Power Management 3 30 3 ...
Page 142: ...BIOS Utilities 5 22 5 ...
Page 184: ...Troubleshooting 7 14 7 ...
Page 188: ...Interface Ports Jacks A 4 A ...
Page 194: ...Control Center B 6 B ...
Page 220: ...Video Driver Controls C 26 C ...
Page 224: ...Specifications D 4 D ...

