Disassembly
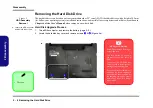
Removing the Hard Disk Drive 2 - 7
2.Disassembly
3.
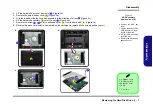
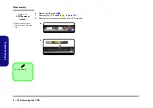
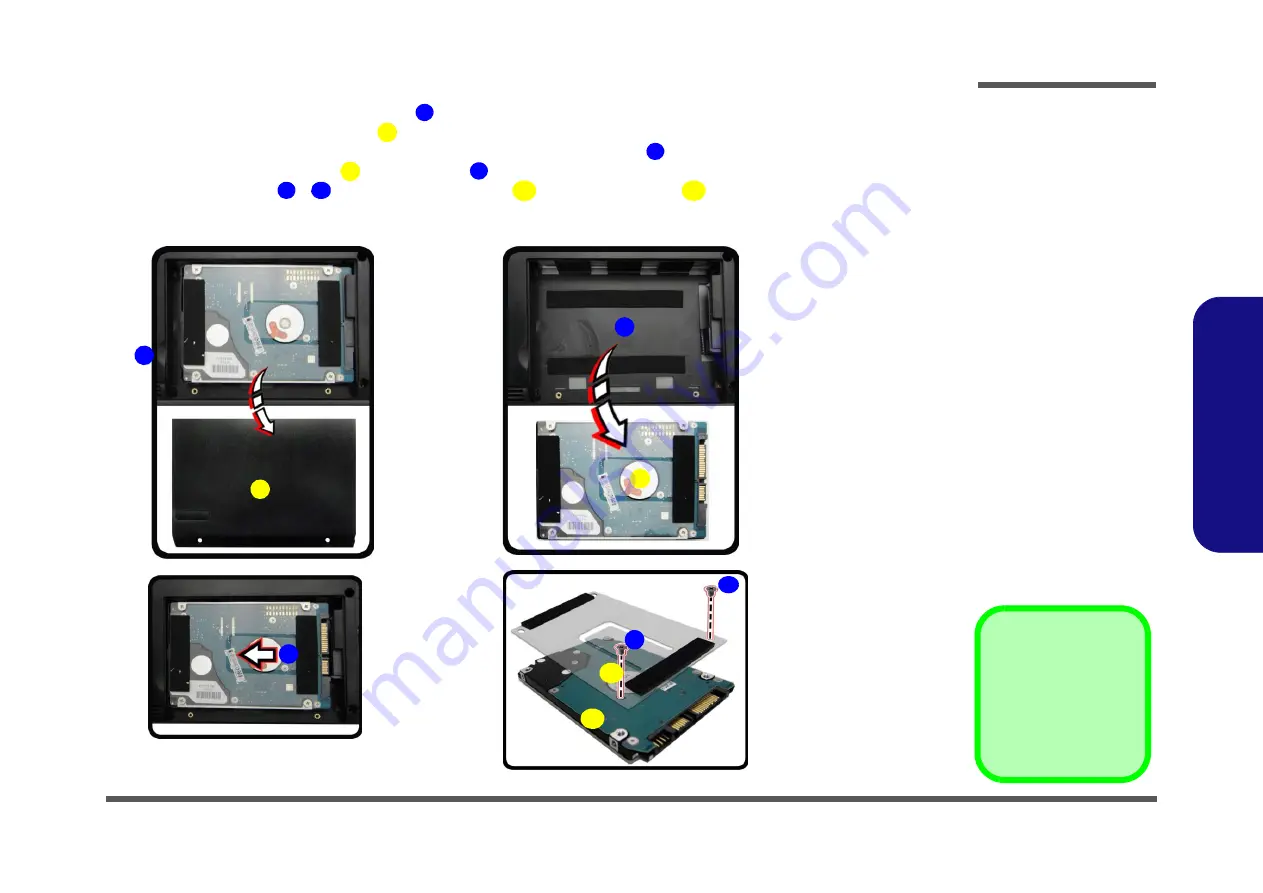
Lift the hard disk bay cover from point
).
4.
Remove the hard disk bay cover
).
5.
Grip the tab and slide the hard disk assembly in the direction of arrow
).
6.
Lift the hard disk assembly
out of the bay
(
)
.
7.
Remove the screw
-
and the adhesive cover
from the hard disk
(
)
.
8.
Reverse the process to install a new hard disk (do not forget to replace all the screws and bay cover).
3
6
4
5
6
6
7
8
9
10
11
b.
c.
7
8
d.
4
e.
10
11
6
9
3
5
3. HDD Bay Cover
5. HDD Assembly
10. Adhesive Cover
11. HDD
•
2 Screws
Figure 3
HDD Assembly
Removal (cont’d.)
b. Remove the HDD bay
cover.
c. Grip the tab and slide the
HDD assembly in the di-
rection of the arrow.
d. Lift the HDD assembly
out of the bay.
e. Remove the screws and
adhesive cover.
Summary of Contents for W540SU1
Page 1: ...W540SU1 W545SU1 ...
Page 2: ......
Page 3: ...Preface I Preface Notebook Computer W540SU1 W545SU1 Service Manual ...
Page 24: ...Introduction 1 12 1 Introduction ...
Page 47: ...Top W540SU1 A 3 A Part Lists Top W540SU1 Figure A 1 Top W540SU1 ...
Page 48: ...A 4 Top W545SU1 A Part Lists Top W545SU1 Figure A 1 Top W545SU1 ...
Page 49: ...Bottom A 5 A Part Lists Bottom Figure A 2 Bottom ...
Page 50: ...A 6 SATA BLU RAY COMBO A Part Lists SATA BLU RAY COMBO 非耐落 Figure A 3 SATA BLU RAY COMBO ...
Page 51: ...DVD DUAL A 7 A Part Lists DVD DUAL Figure A 4 DVD DUAL 非耐落 ...
Page 52: ...A 8 Dummy ODD A Part Lists Dummy ODD Figure A 5 Dummy ODD ...
Page 53: ...LCD W540SU1 A 9 A Part Lists LCD W540SU1 設變 Figure A 6 LCD W540SU1 ...
Page 54: ...A 10 LCD W545SU1 A Part Lists LCD W545SU1 設變 Figure A 7 LCD W545SU1 ...

